- 12/19/2023
- 16 Min Read
- By: Christian Schaefer
How To Walnut Blast Intake Valves On An Audi 3.0t Engine

One of the largest annoyances of current direct-injected cars is the buildup of carbon deposits. This is no different for any Audi with the 3.0t engine. One of the most widely used ways to clean your Audi's intake of carbon deposits is with the use of walnut blasting.
Fuel injection has been relatively the same since the early nineties. The computer side of things has advanced greatly, allowing precise measurements of the air/fuel ratio to produce the maximum amount of horsepower with the best fuel economy. The mechanical side of things, however, is still the same with fuel injectors in each intake runner. Through the last five years, we've seen a new way start to become popular. Rather than the fuel being added before the intake valves, it is now being added into the mix directly into the cylinder, known as direct injection.
The direct-port fuel injection has increased power and fuel economy for internal combustion engines enough that all modern engines are adopting the technology. However, the largest downside to this new tech, carbon build-up in the intake ports and on the intake valves, has proven to be a tedious issue to tackle. While you can take your Audi to a dealer to get the issue fixed, you can save a bunch of money fixing the issue yourself.
Audi models and years applicable:
| 2011-2015 Audi Q7 | 2012-2015 Audi A7 |
| 2012-2015 Audi A6 | 2013-2014 Audi A8 |
| 2013-2016 Audi S4 | 2013-2017 Audi S5 |
| 2013-2017 Audi Q5 | 2014-2017 Audi SQ5 |
Symptoms of carbon build-up on intake valves:
- Rough running
- Misfire at idle
- Reduced engine power
- Reduced gas mileage
The cylinder heads on the 3.0t engines are designed with a specific size to optimize the engine's displacement and the amount of boost that it receives from the supercharger. As carbon and oil build in the intake ports, they shrink in size, causing all sorts of issues.
How long will it take to clean the intake valves on an Audi 3.0t?
Set aside a full day to complete the job. Removing the supercharger and intake manifolds is a challenge without practice. Plus, both the coolant and fuel systems need to be opened, and the valves need to be closed completely.
At several points during this DIY, the engine's intake ports will be exposed. Caution must be taken to ensure that no foreign material, other than the walnut shells, enters the ports.
How much does it cost to clean the intake valves on an Audi 3.0t?
The cost of parts for this job comes out to roughly $70 as the only parts for the job are miscellaneous gaskets and seals and a jug of coolant. However, the cost of the walnut blaster, the walnut shells, and the intake port adapter come out to just under $250.
On top of that, we recommend that you purchase the 034 Motorsports steel supercharger bleeder screws. The plastic factory pieces commonly break. In total, budget around $500 to complete the job yourself. The larger budget gives wiggle room to buy valve cleaning fluid, rags, and brake clean.
Parts required to clean the intake valves on an Audi 3.0t:
- Audi PCV Valve Hose
- Audi Coolant
- Audi Intake Manifold Gasket (x6)
- Audi Fuel Injector O-Rings
- Supercharger Bleeder Screw Kit (Recommended)
Tools required to clean the intake valves on an Audi 3.0t:
- 8mm Socket
- 10mm Socket
- 13mm Socket
- 16mm Socket
- 17mm Socket
- 19mm Socket
- 27mm Socket
- T20 Torx Socket
- T25 Torx Socket
- T30 Torx Socket
- Picks
- Walnut Blaster
- 034 Motorsports Intake Port Adapter
- CTA 1412
- LIQUI MOLY Valve Cleaner
- Torque Wrench
- Air Compressor
- Vacuum
- Boroscope
- Zip ties
Steps required to clean the intake valves on an Audi 3.0t:
Step 1: Remove the supercharger
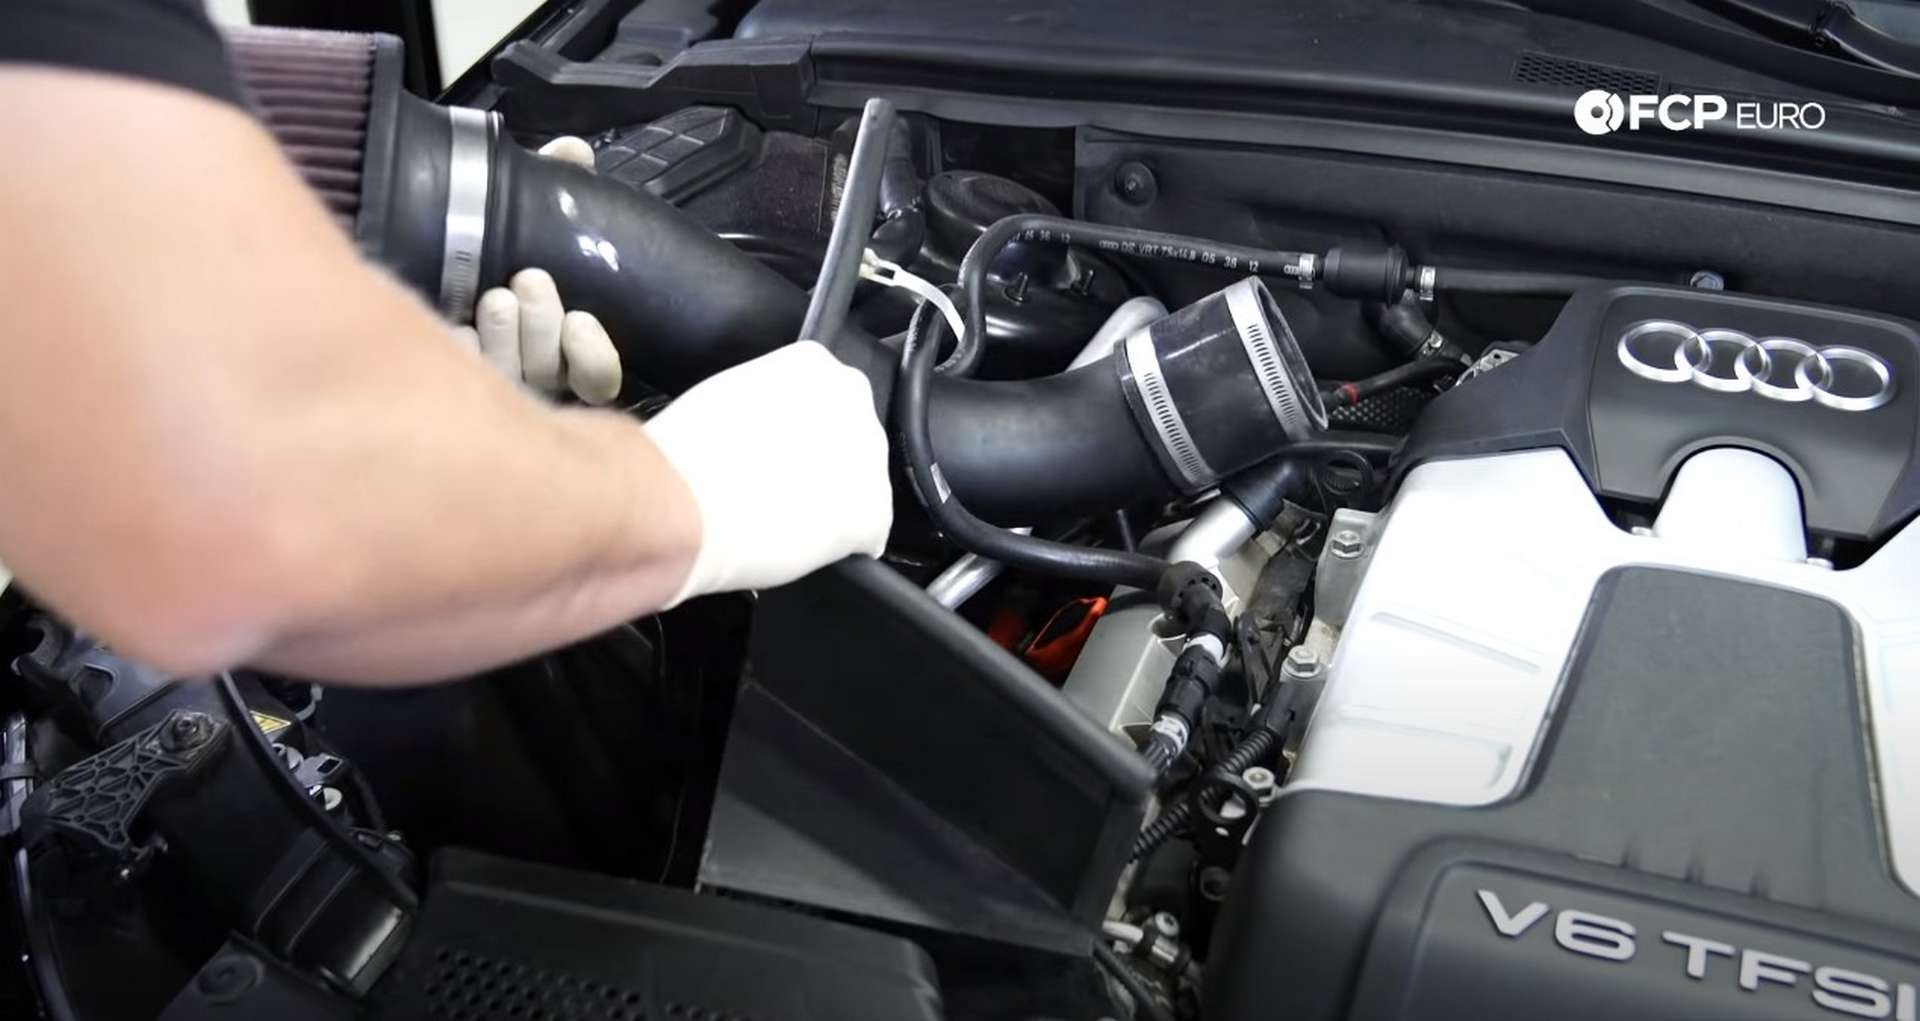
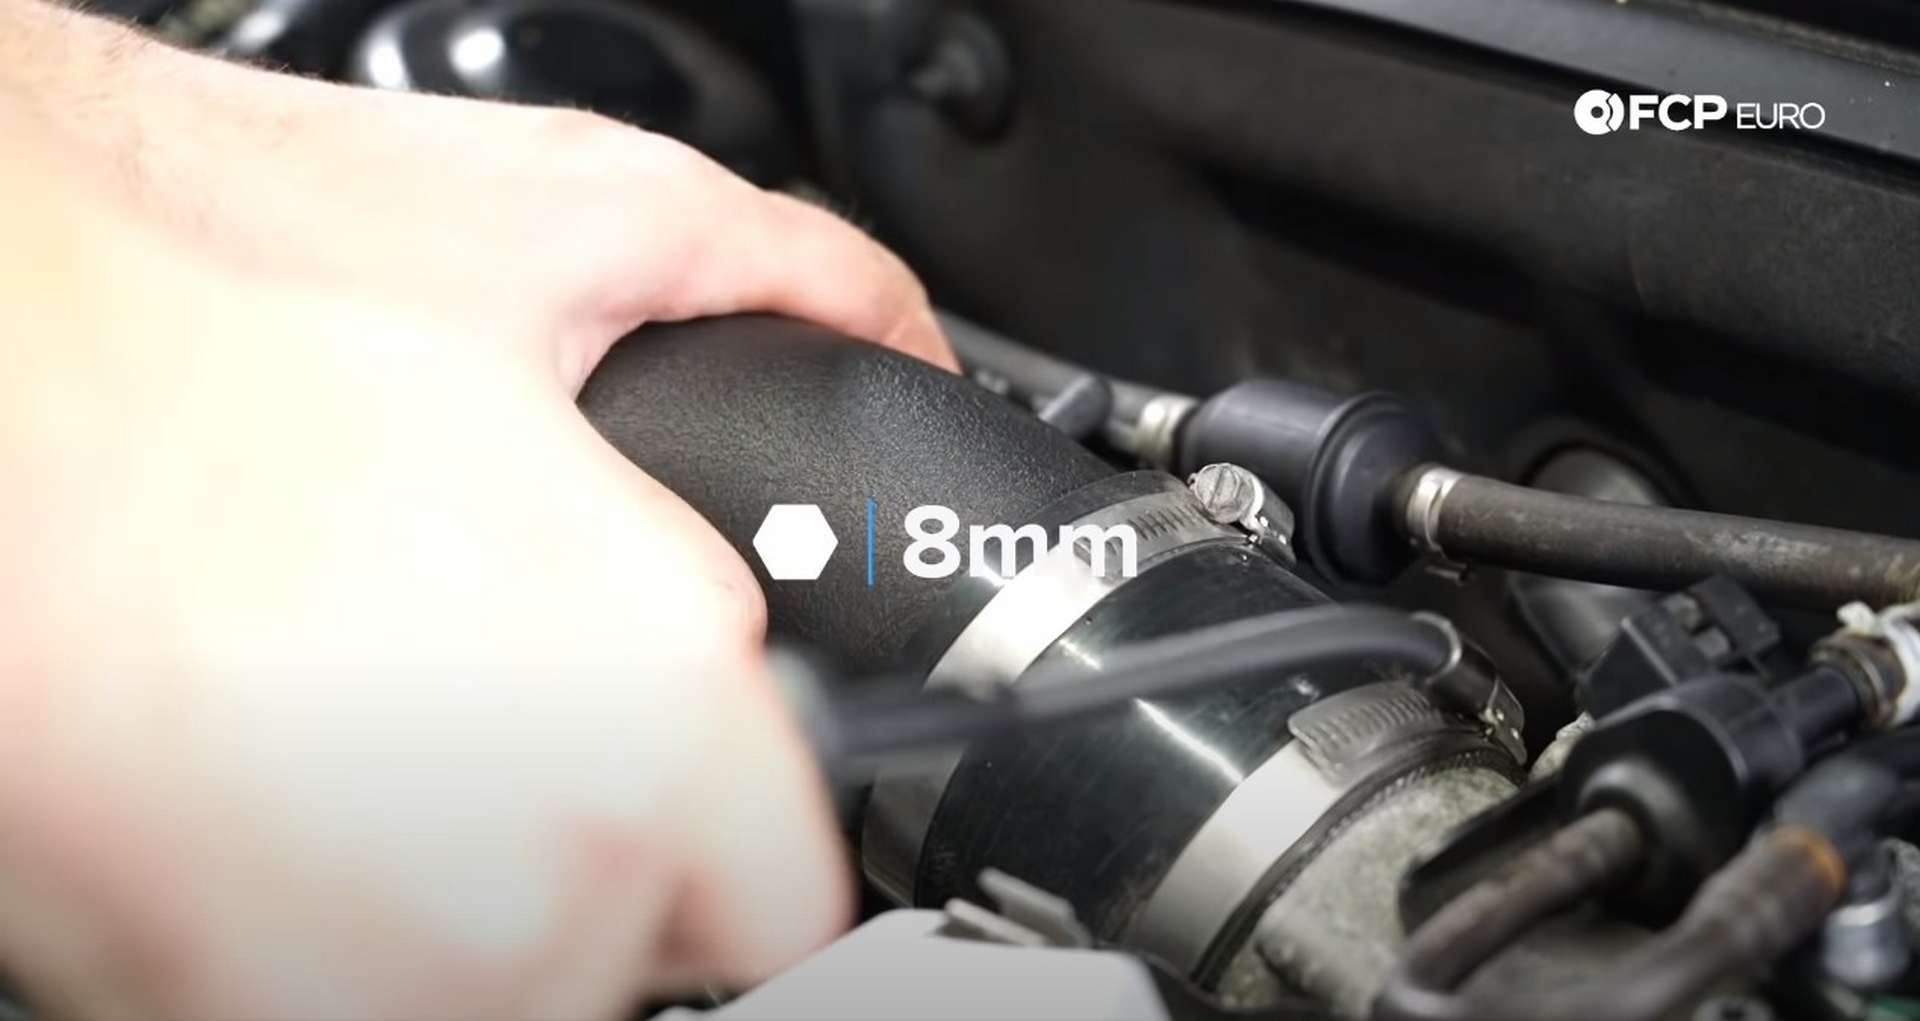
Start by removing any vacuum line from the intake tube. Use an 8mm socket to release the hose clamp for the intake tube on the throttle body and pull up on the airbox to remove it from its mounting grommets. Then, remove the intake assembly from the engine bay.
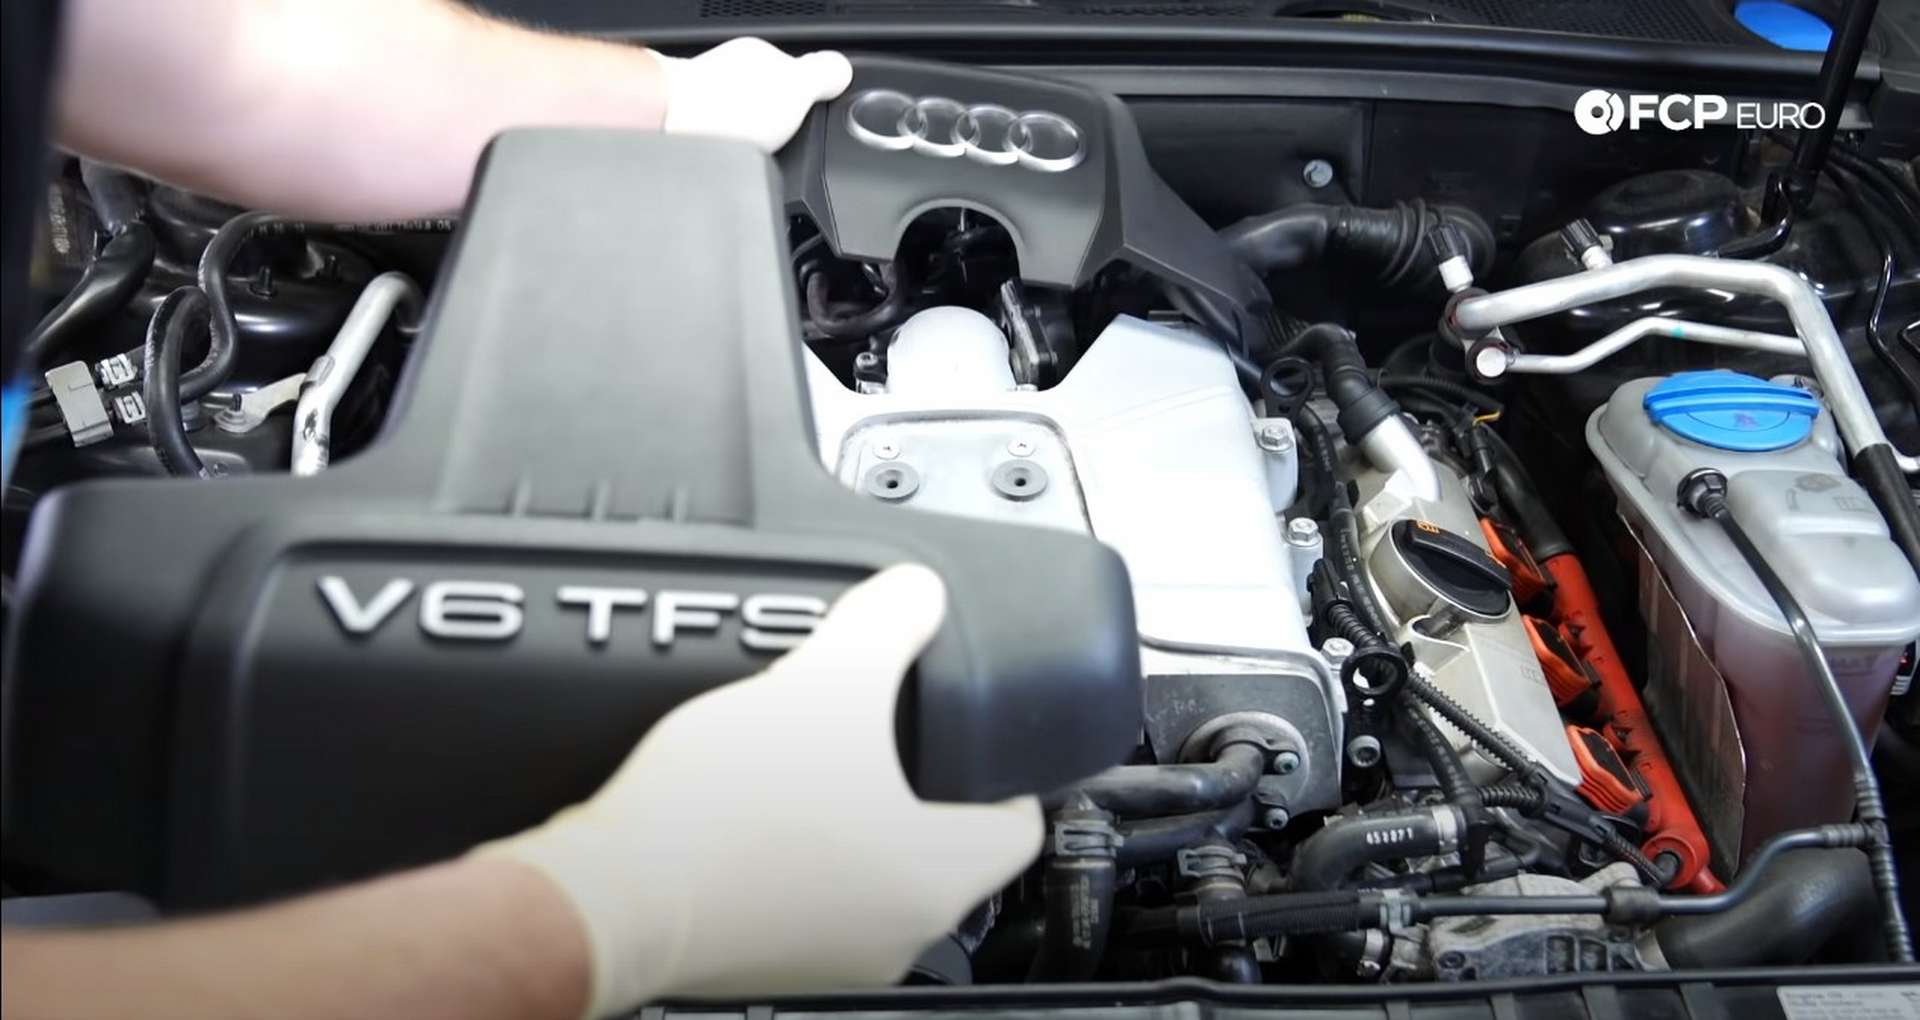
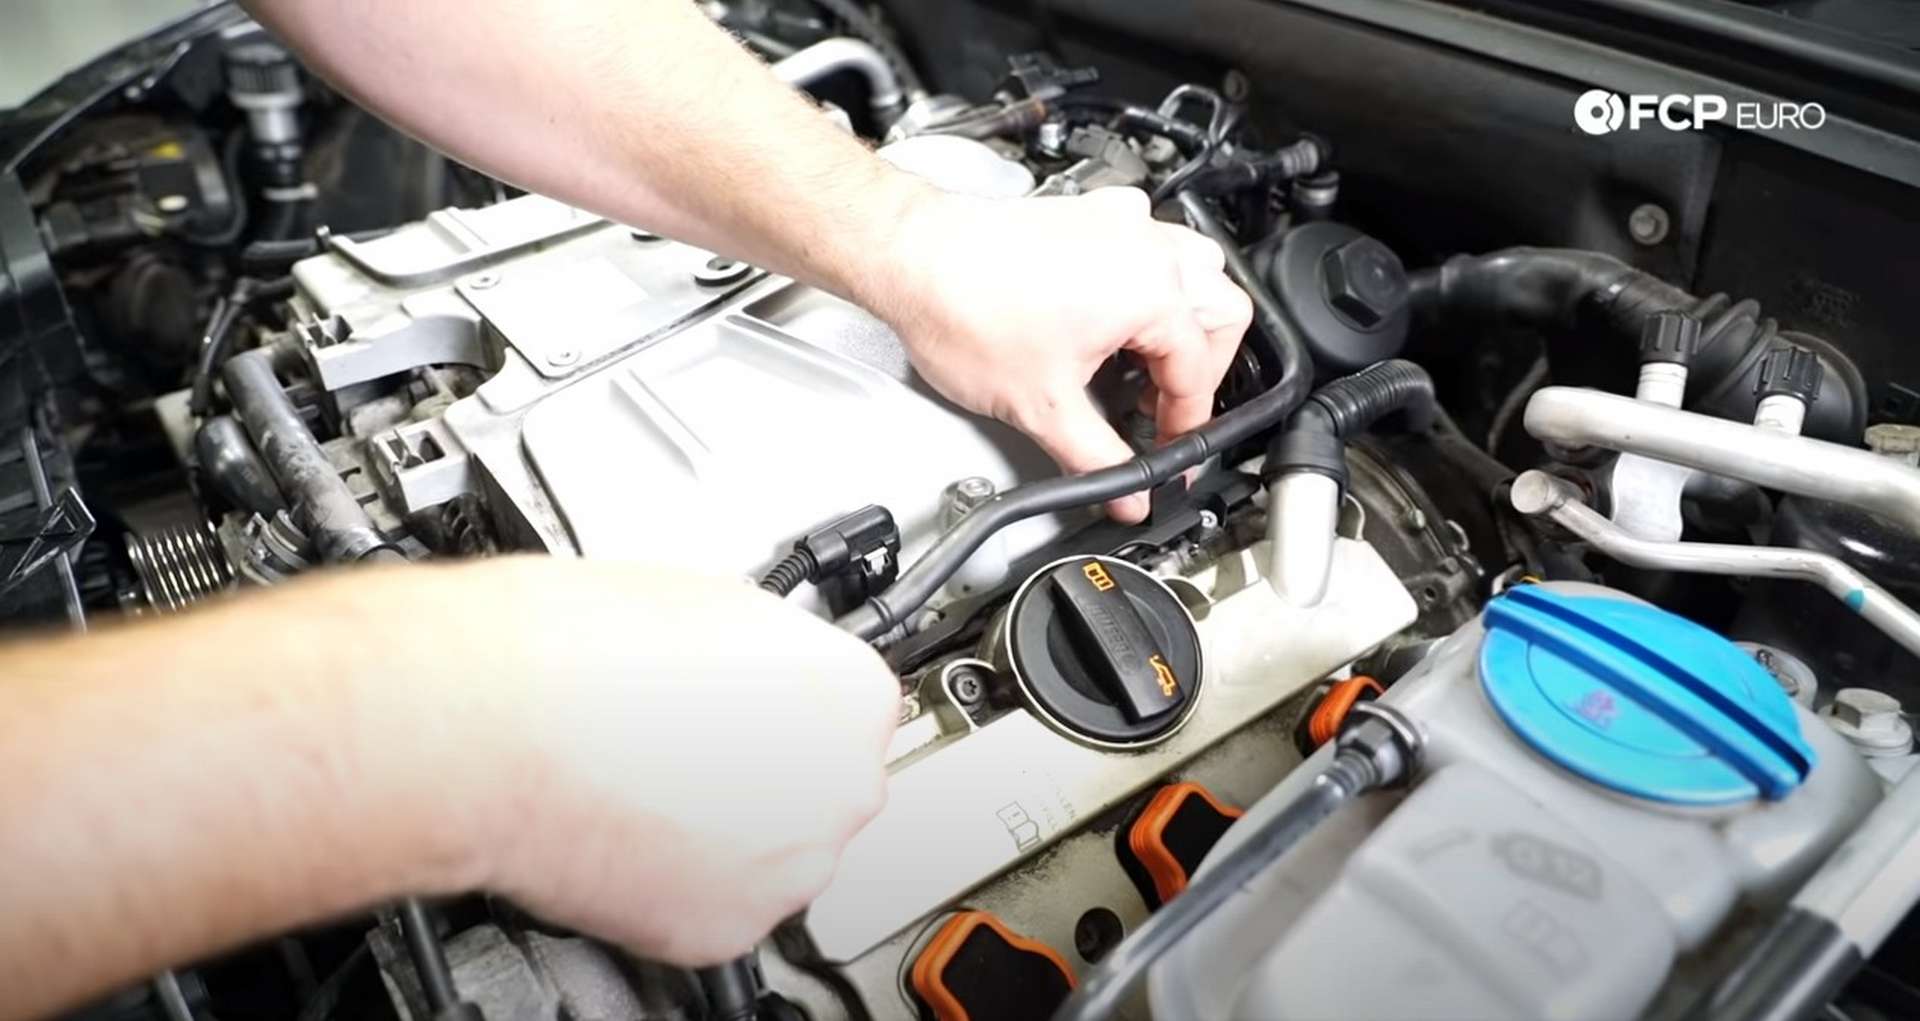
Next, remove the engine dress-up covers to reveal the sensors and solenoids behind the supercharger.
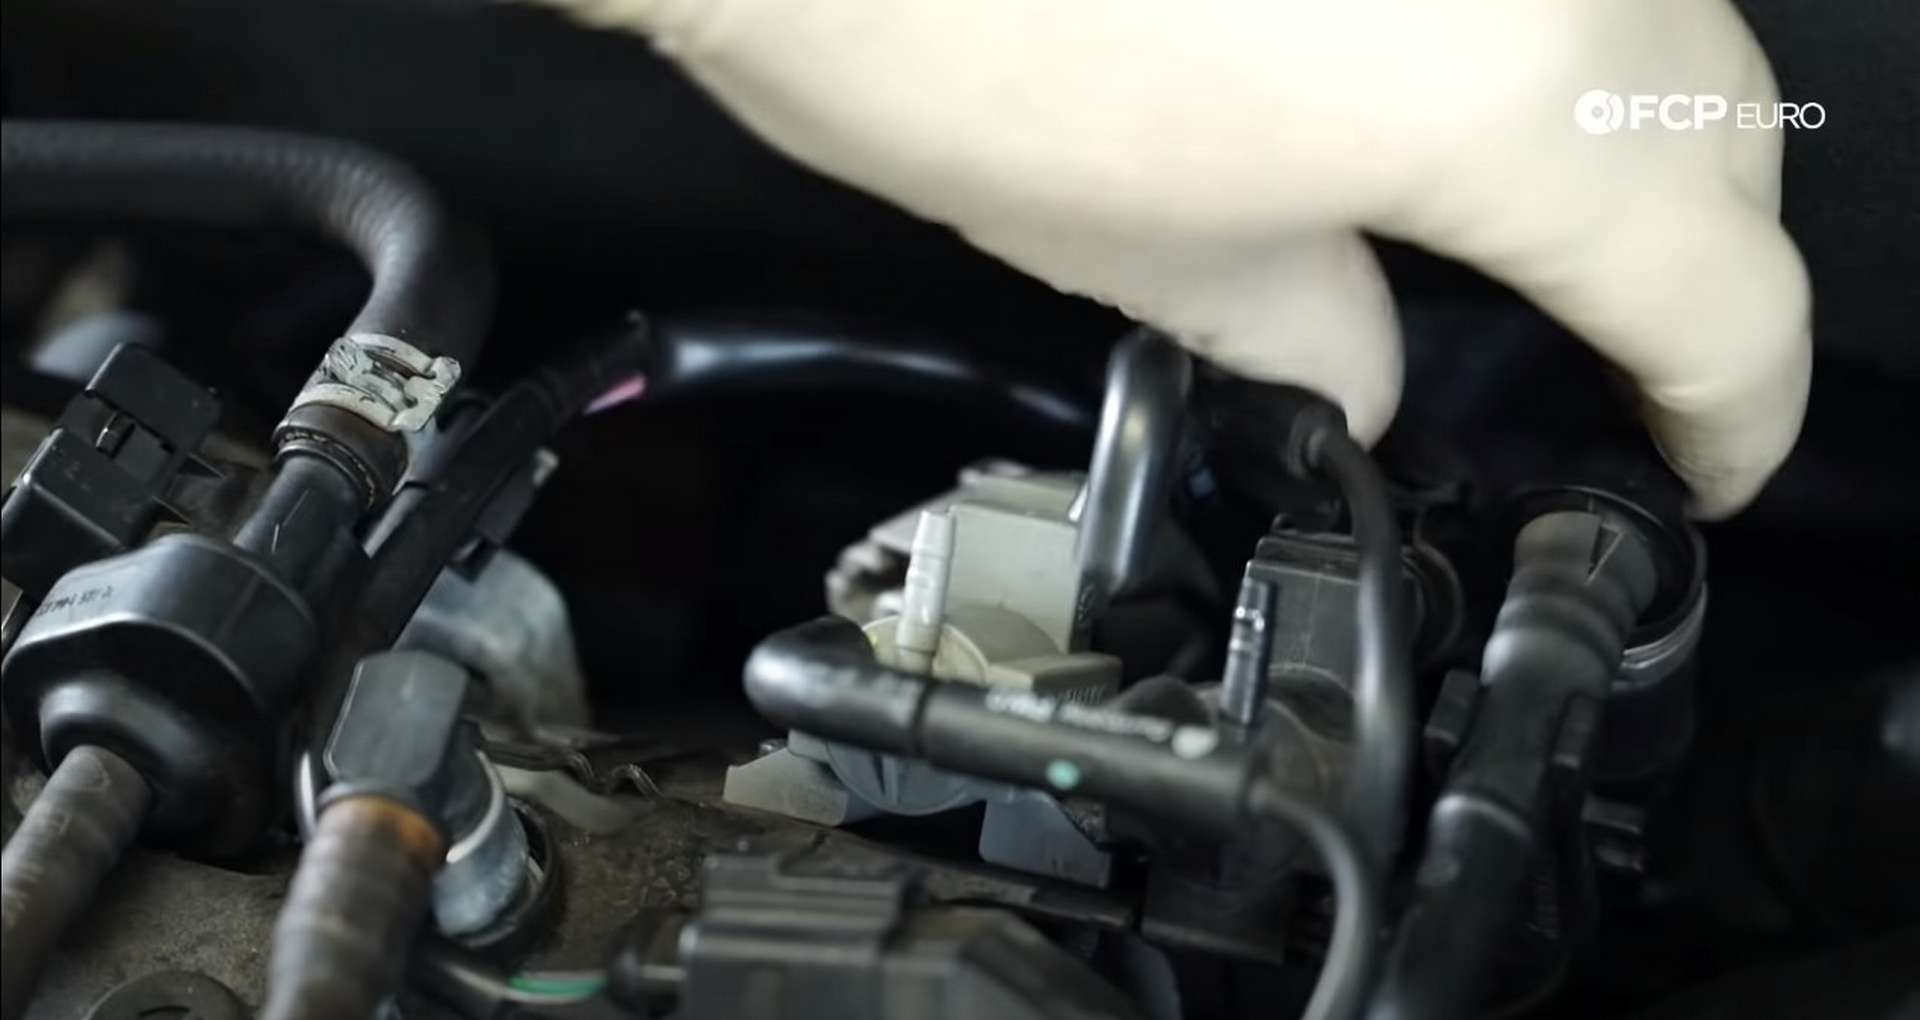
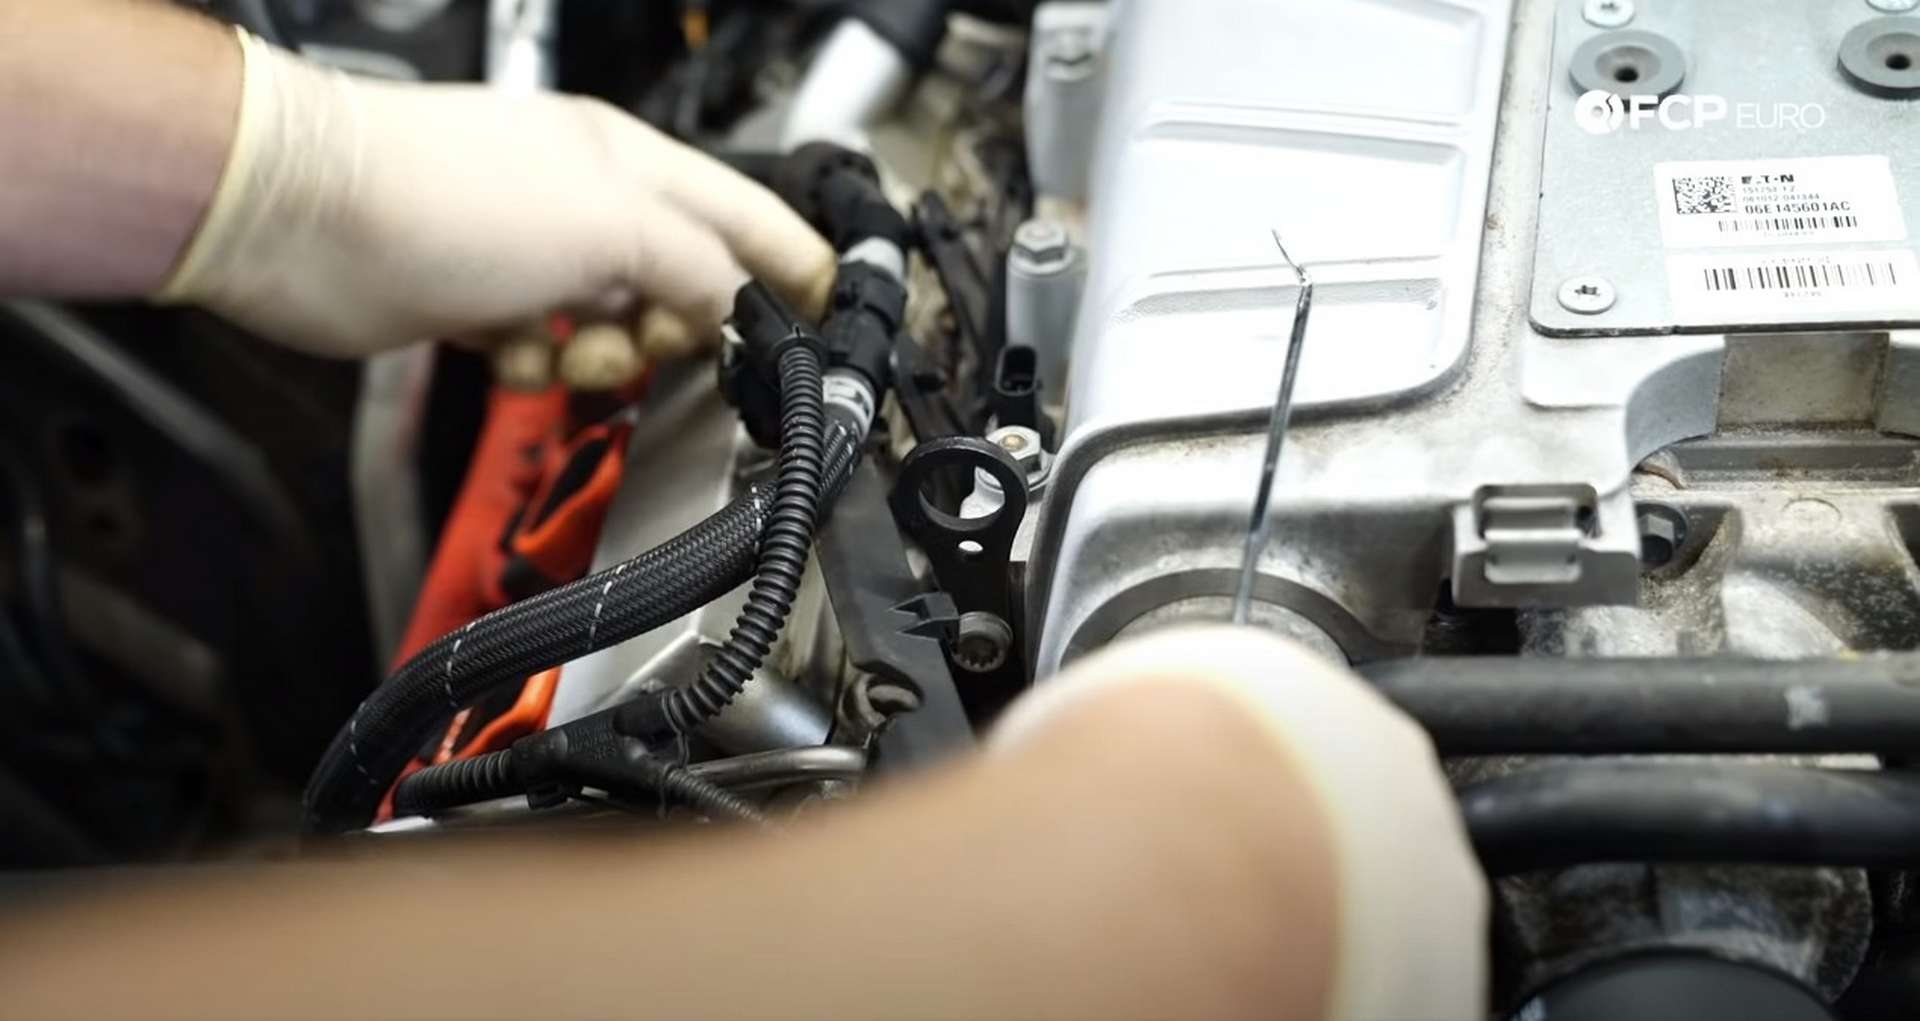
The vacuum lines on the back of the supercharger all have their specific places. Use something like a sharpie to mark the lines to ensure that they don't get mixed up during reinstallation. Then, disconnect all of the electrical connections from the back of the supercharger.
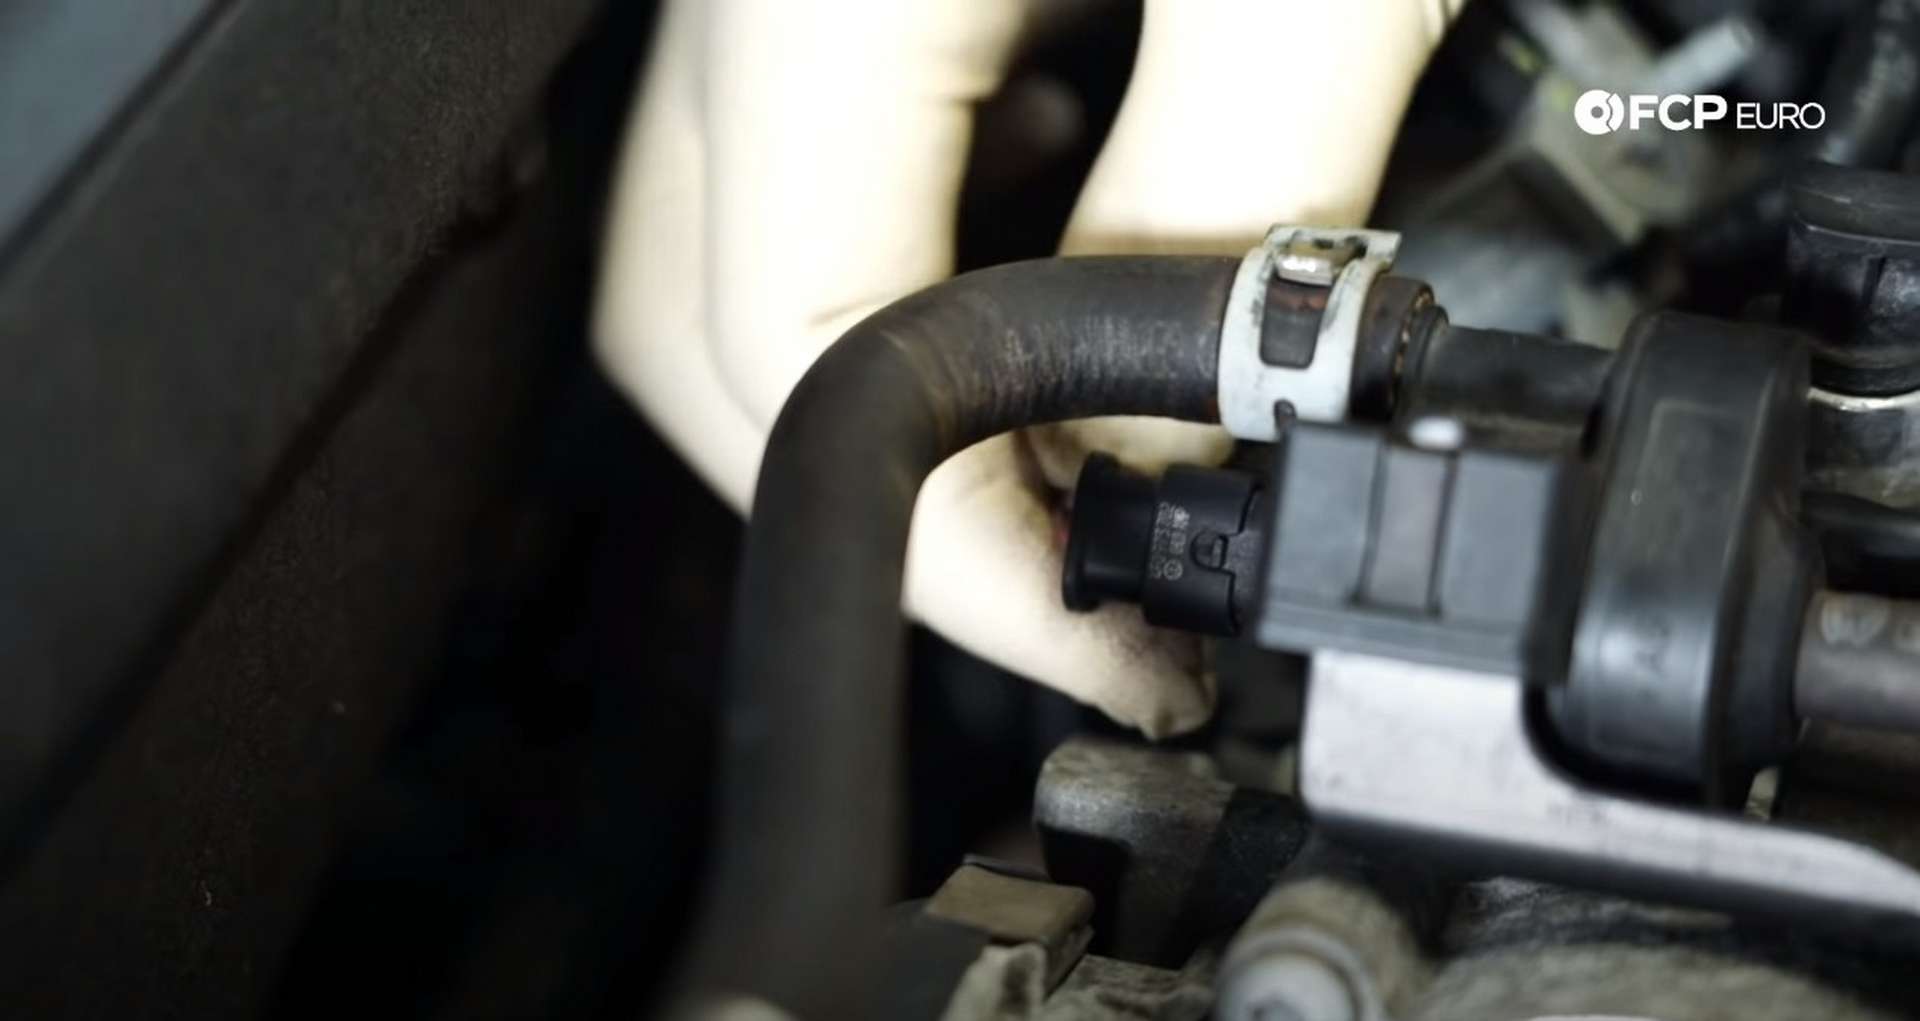
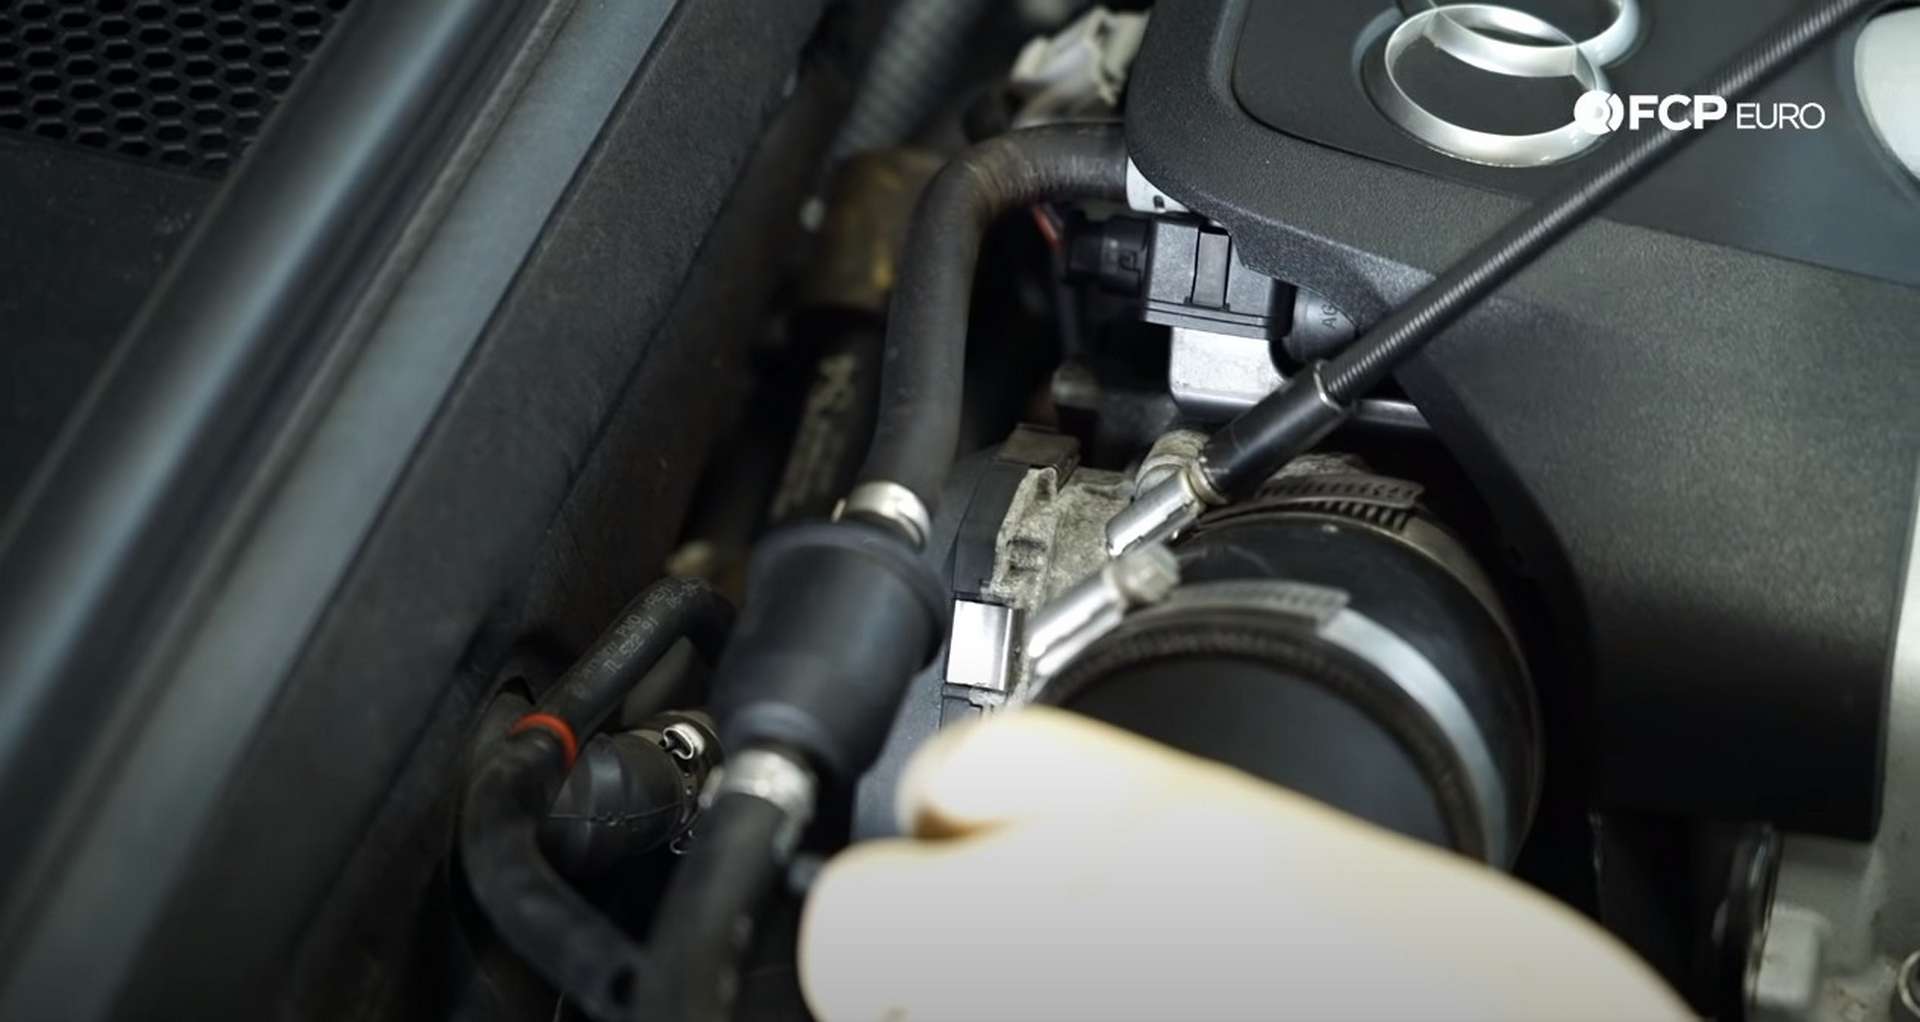
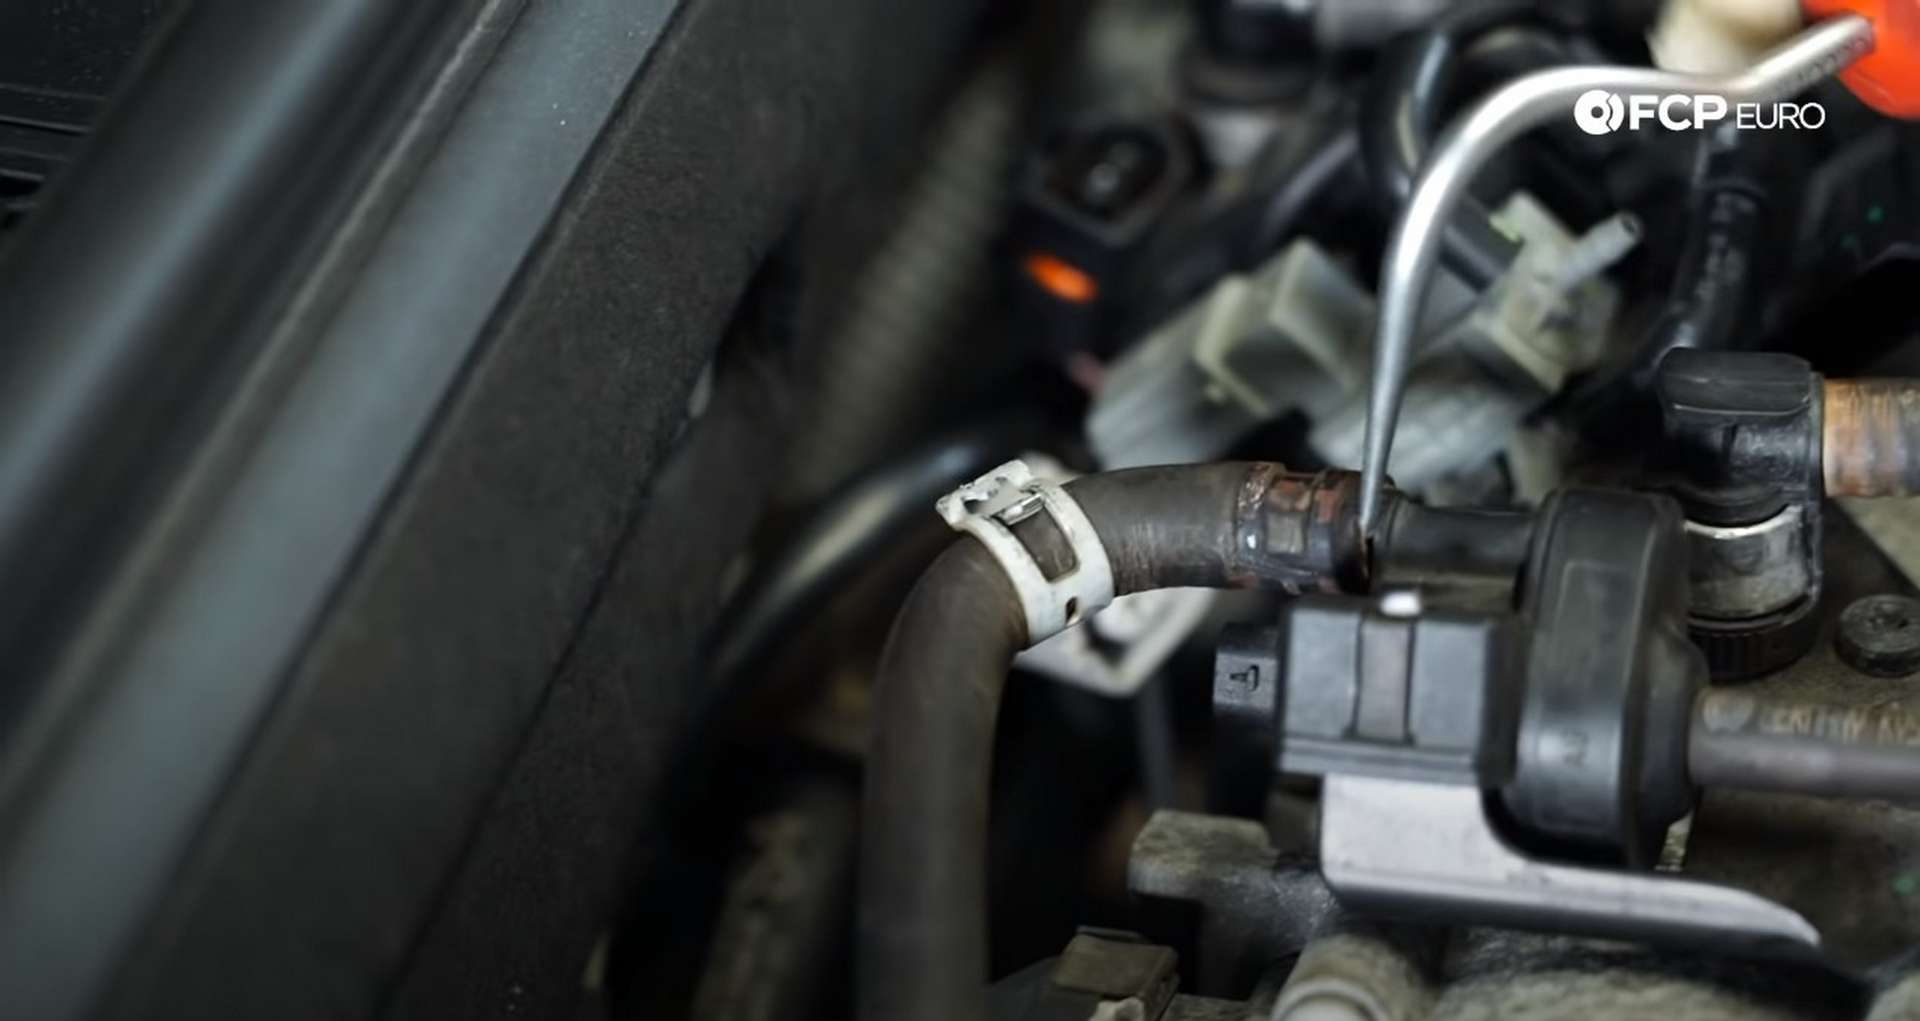
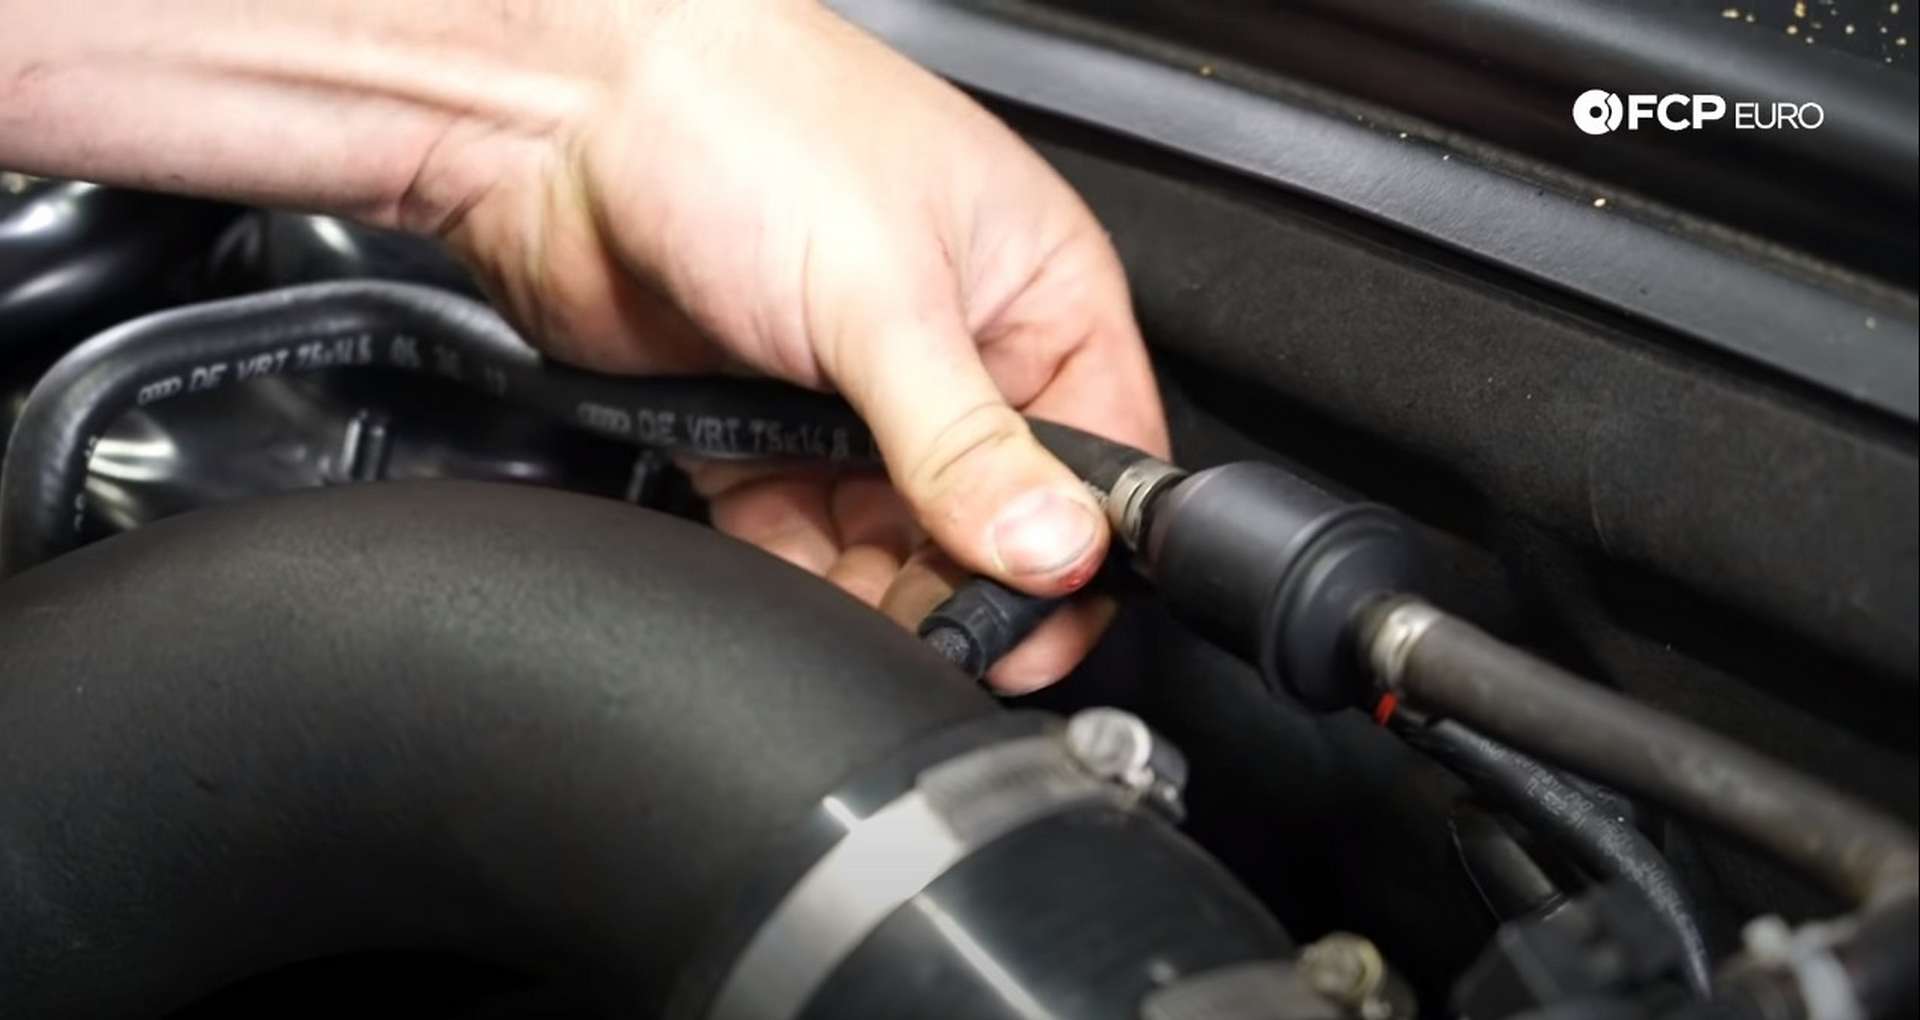
Next, remove the evap hose from the throttle body.
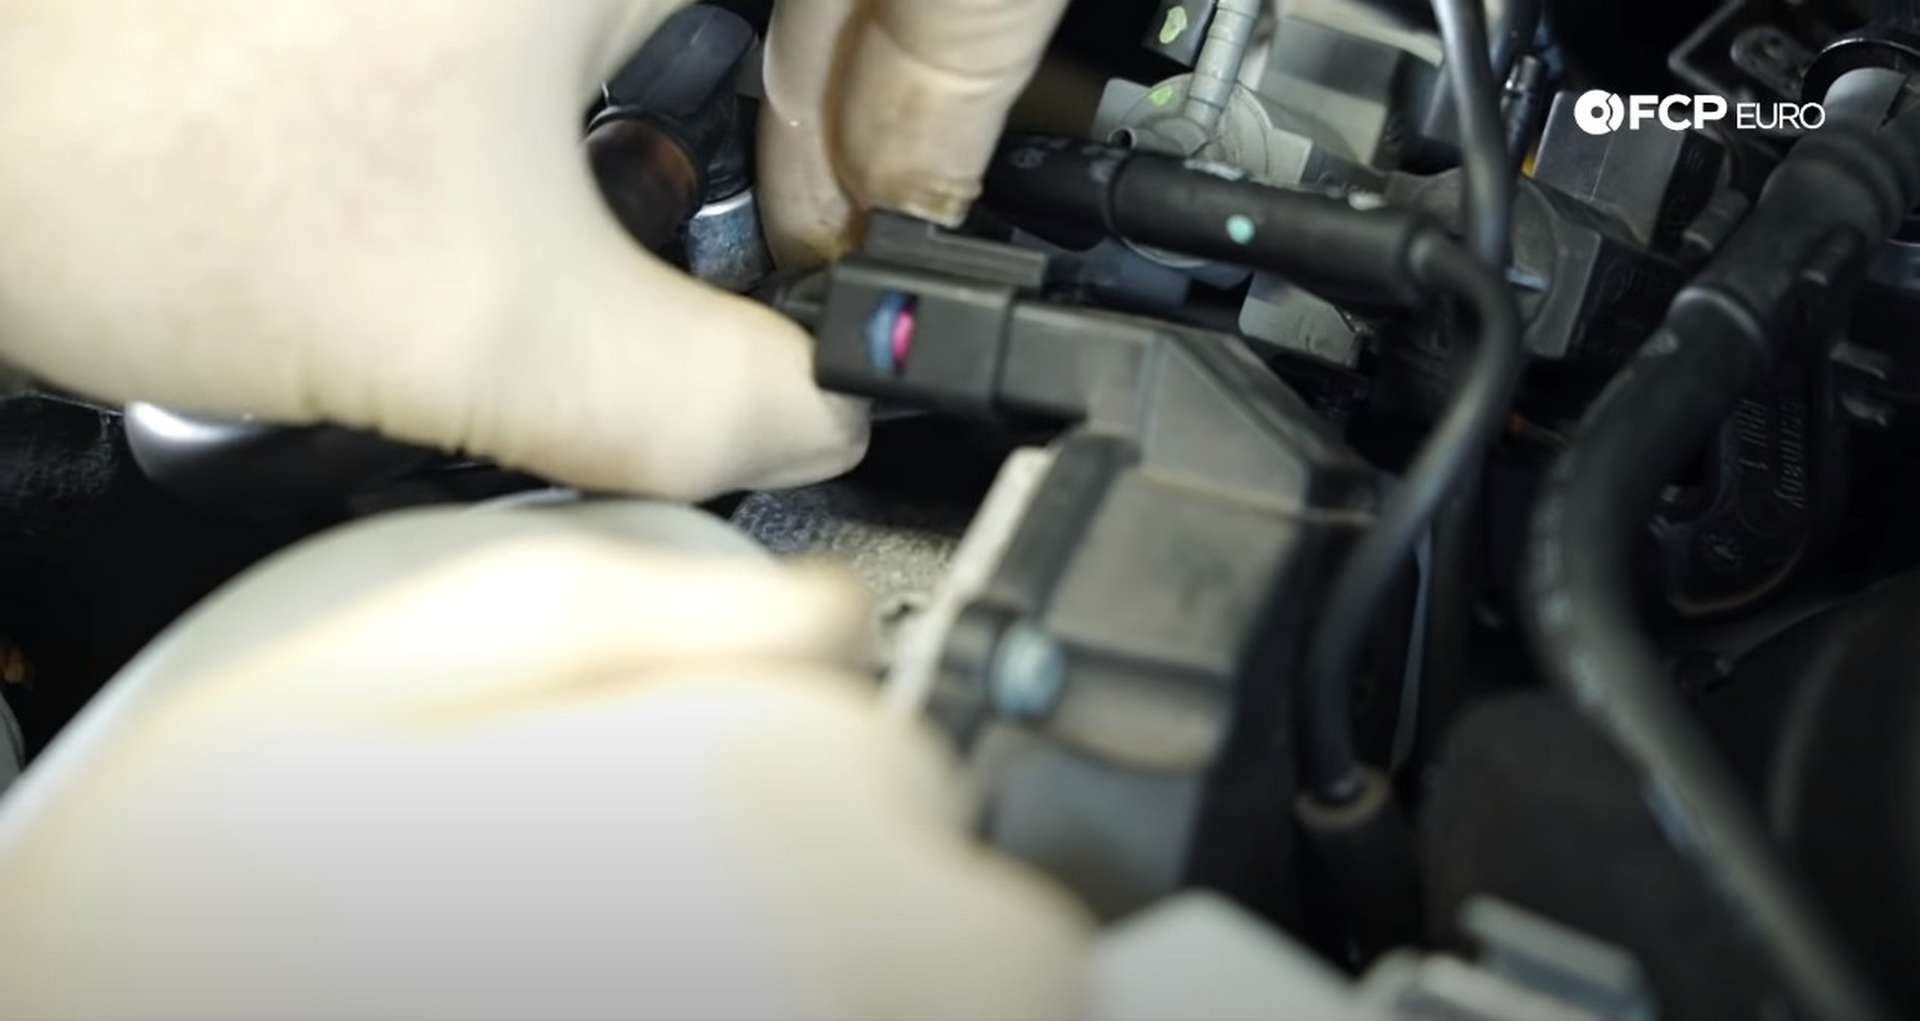
On either side of the supercharger is a MAP sensor. Pull up on the white tab and disconnect the sensors.
In between the MAP sensors and the valve covers are long and thin plastic covers. The removal process will be different depending on the model year. Early 3.0t model must use a T25 Torx socket to remove two bolts that fasten down the clever. Later models need a pick to lift on the left side cover's locking tabs and the T25 for the right side cover.
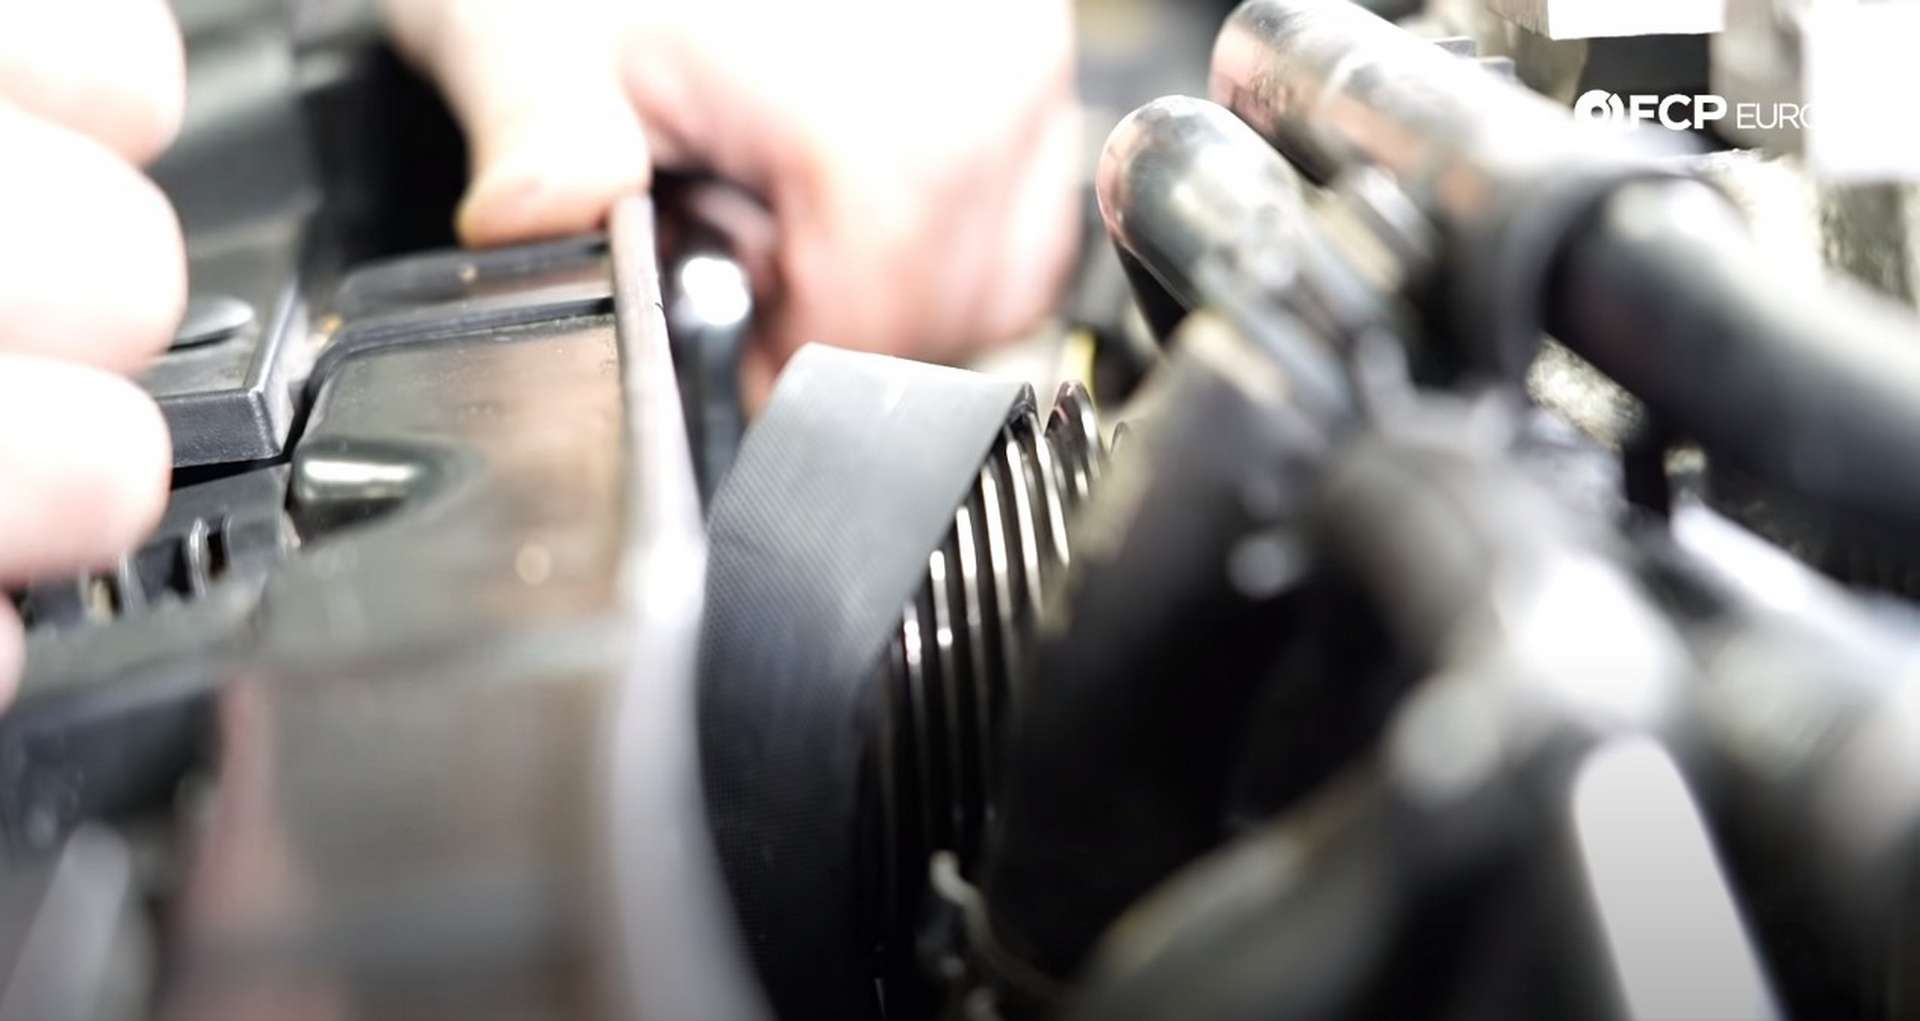
Next, take a long 16mm wrench and slide it between the front of the engine and the radiator to loosen the supercharger belt tensioner. Position the wrench on the tensioner's bolt and rotate it to the right. Then, pull the belt off of the supercharger.
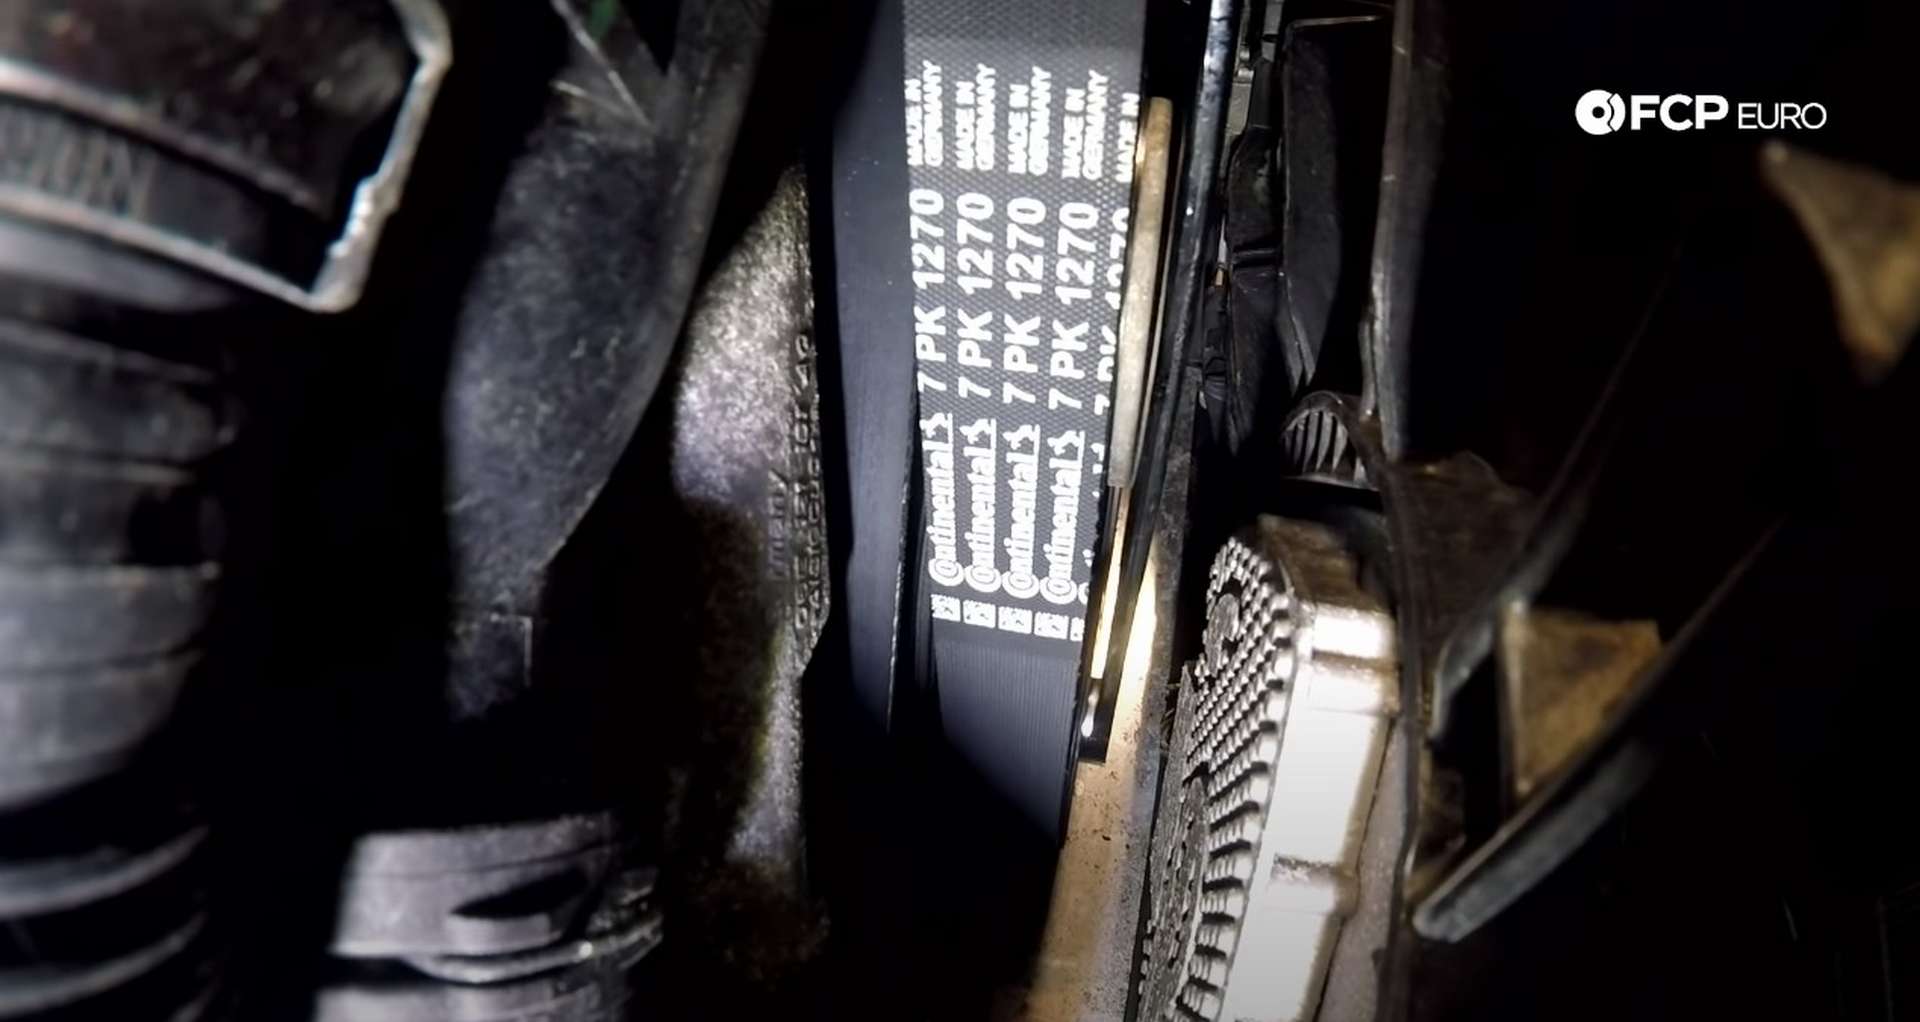
If you are reusing the belt, you can leave it in place after you slip it off of the supercharger. Then, head over to the coolant expansion tank and open the cap to relieve the coolant system of its pressure.

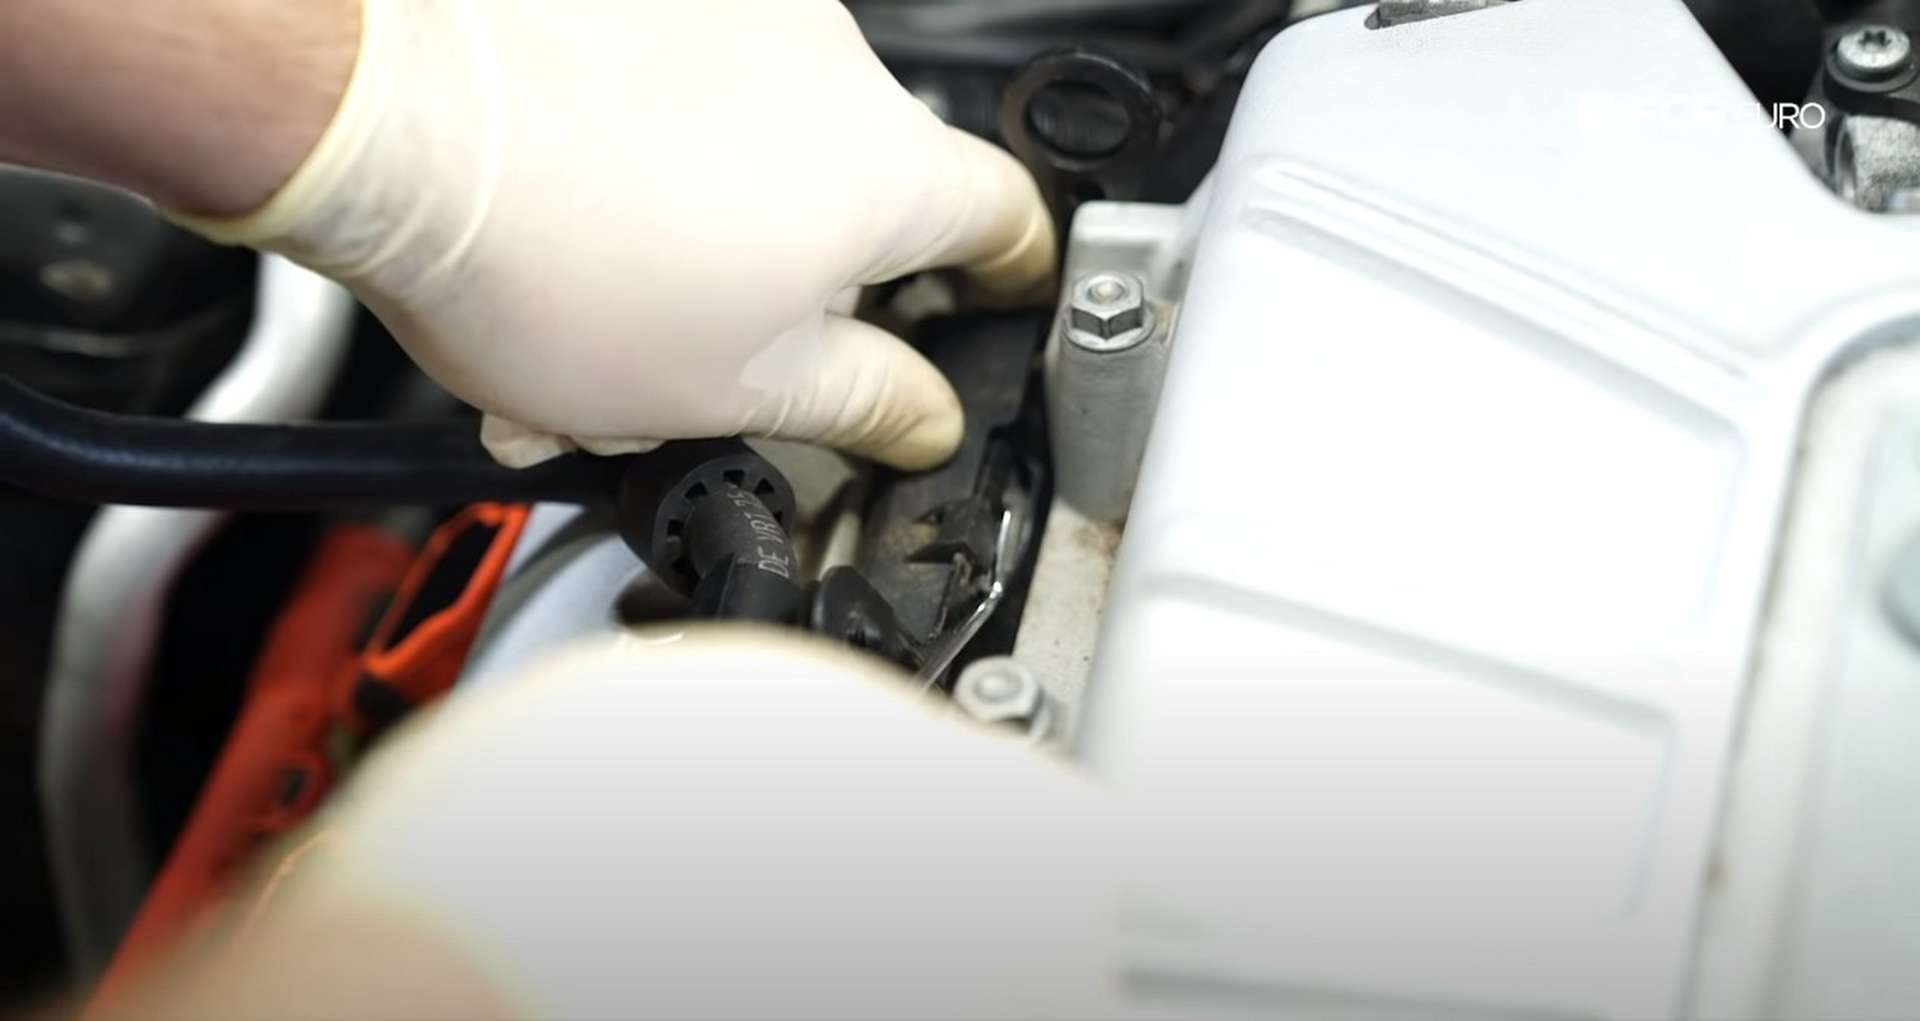
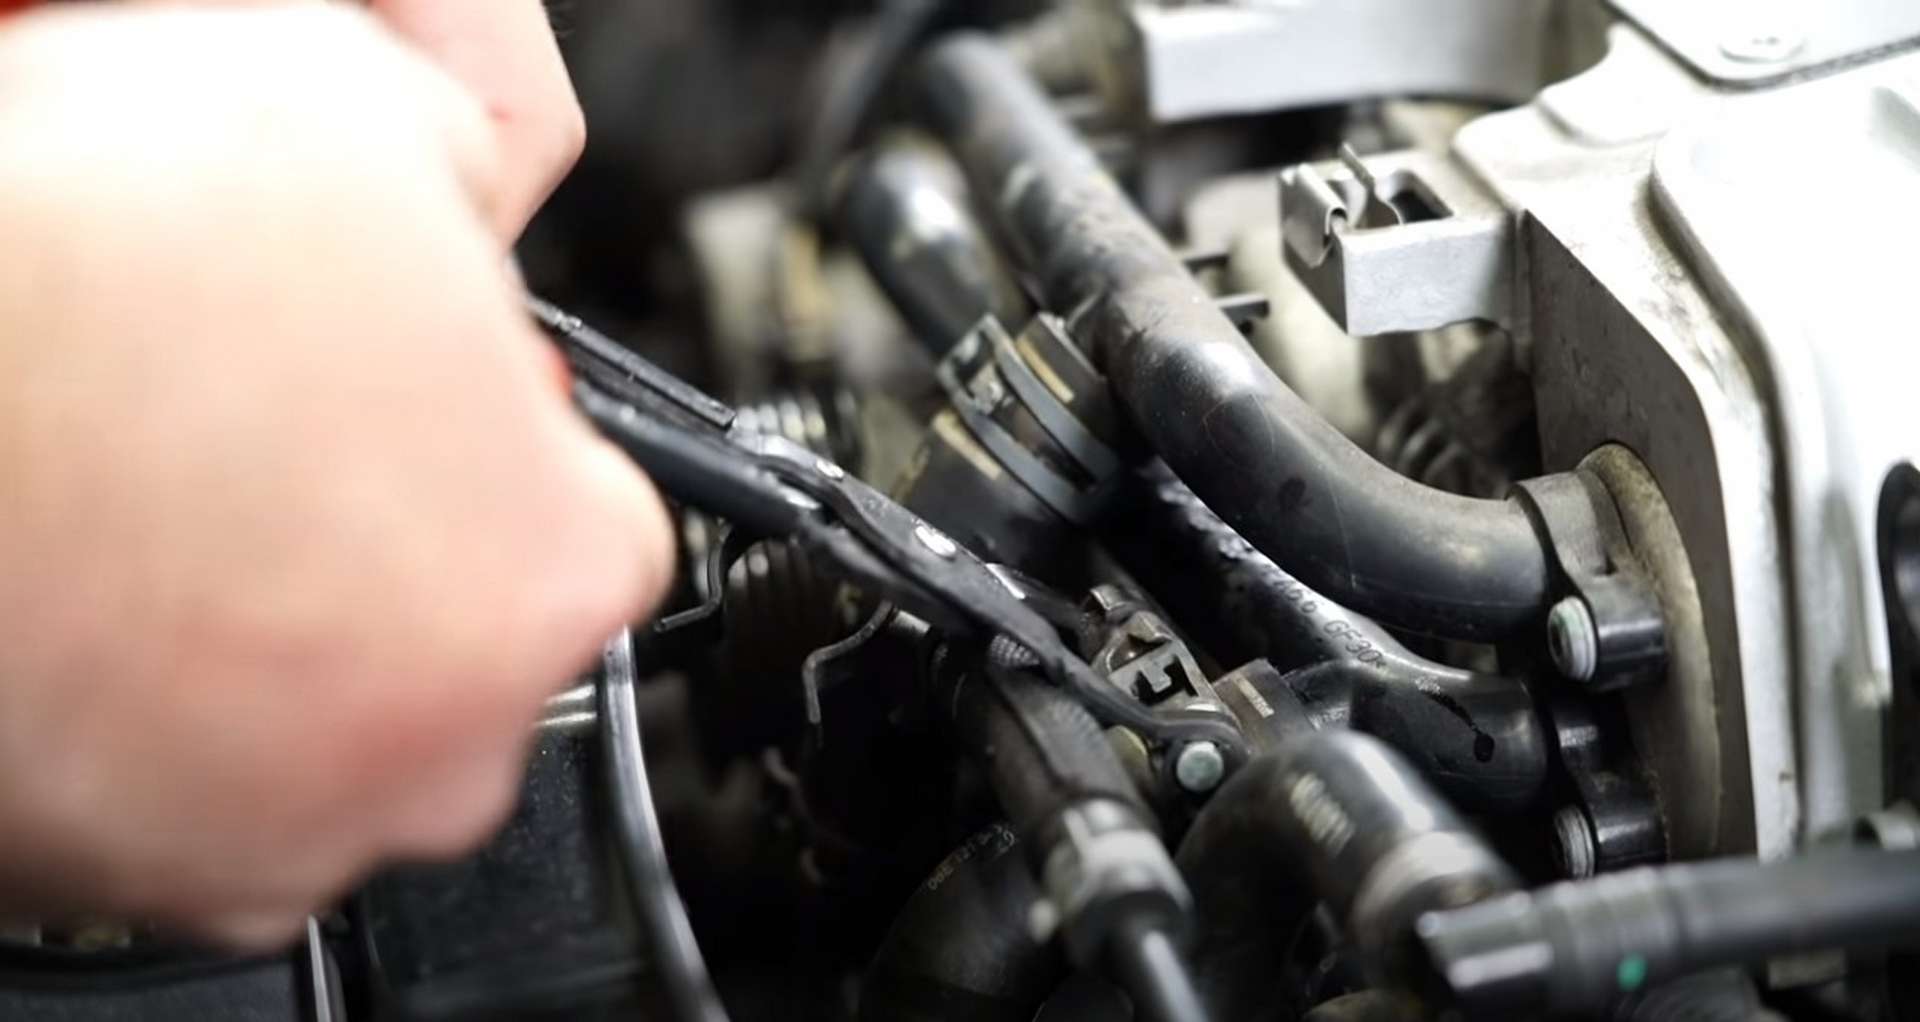
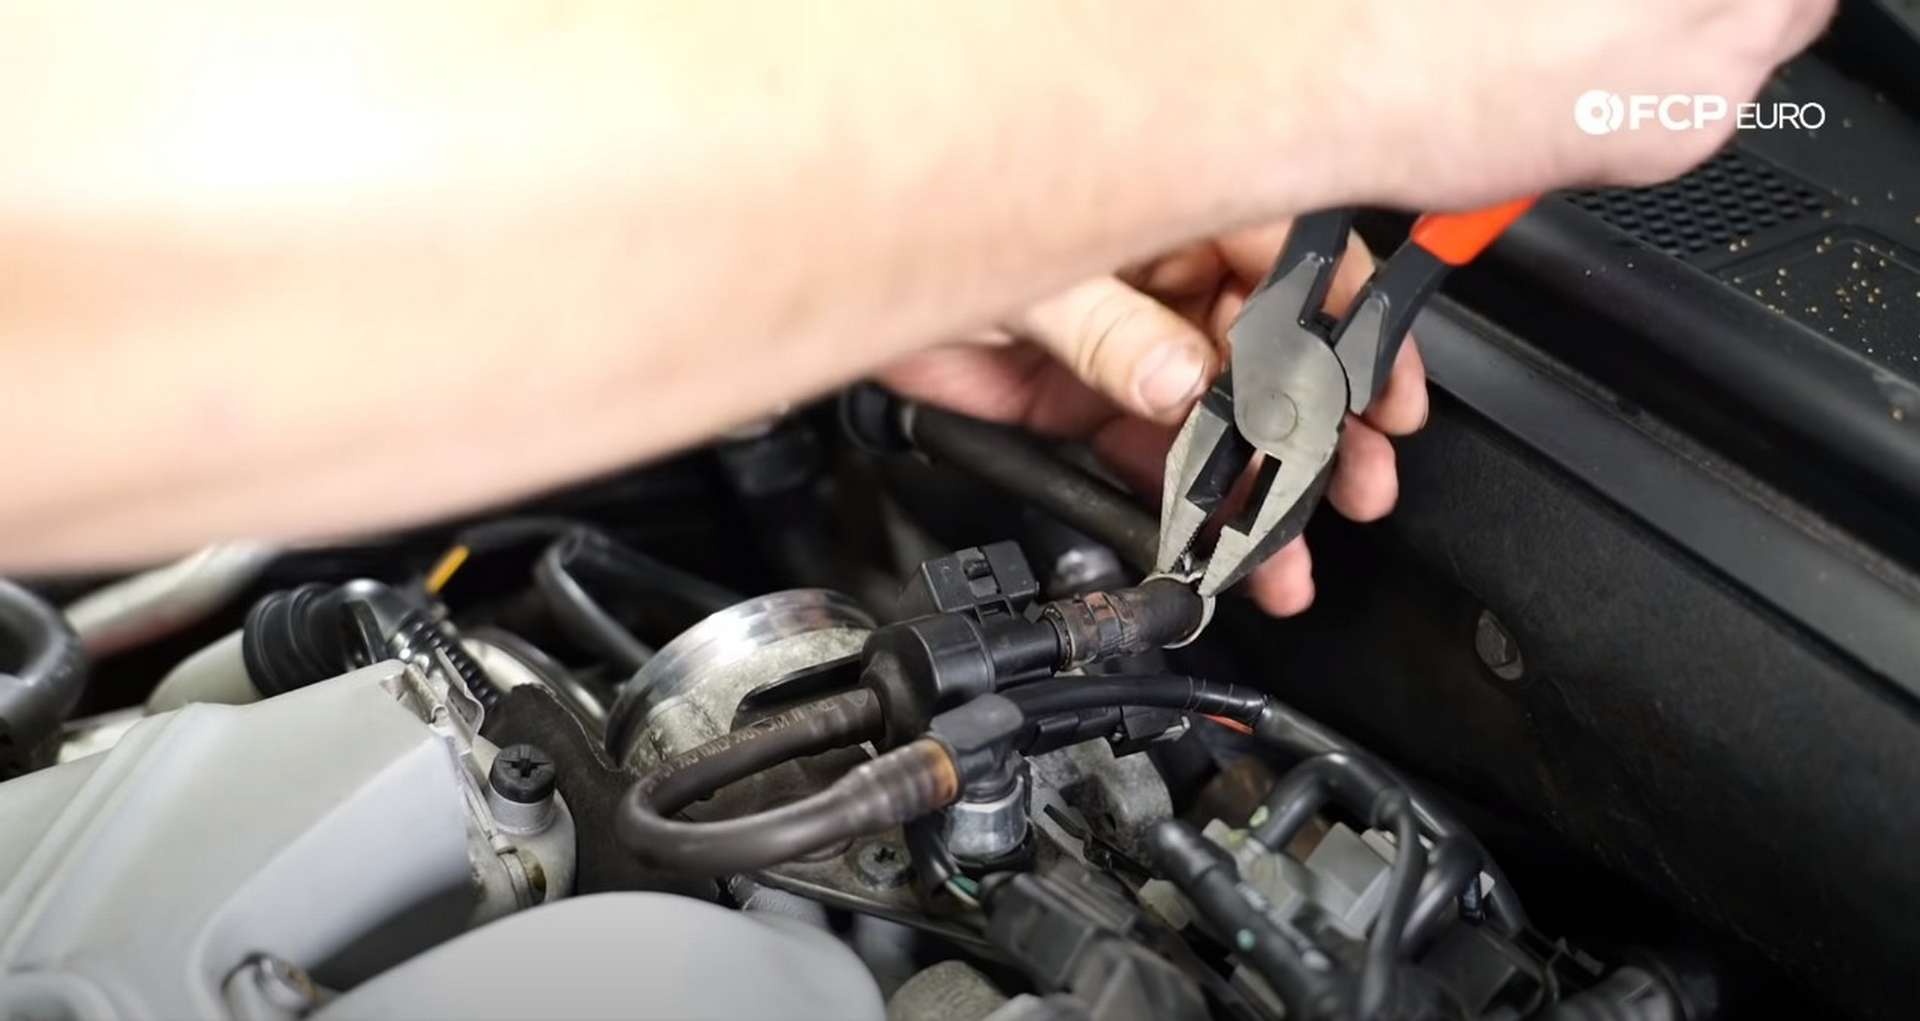
Then, remove the clamps from the two coolant lines on the front of the supercharger. Use a pick to break any coolant build-up preventing the hose from moving before pulling the hose off the supercharger.

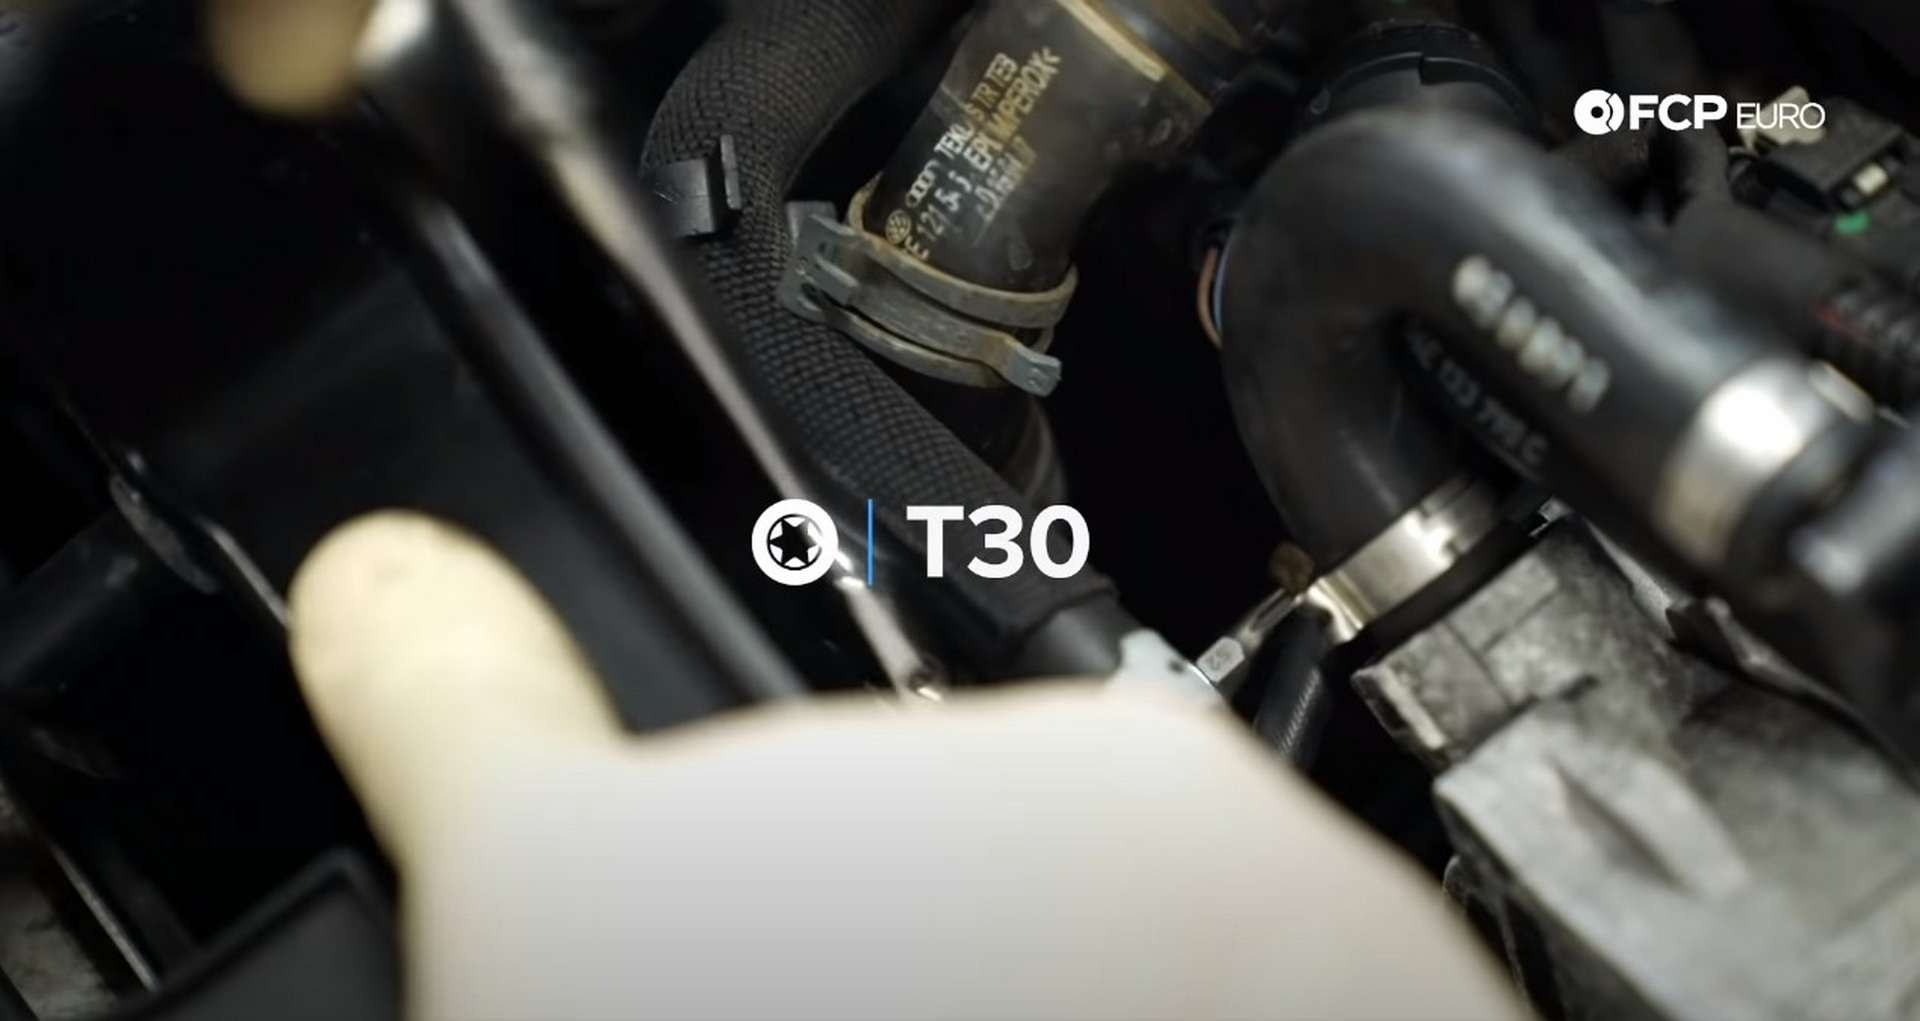
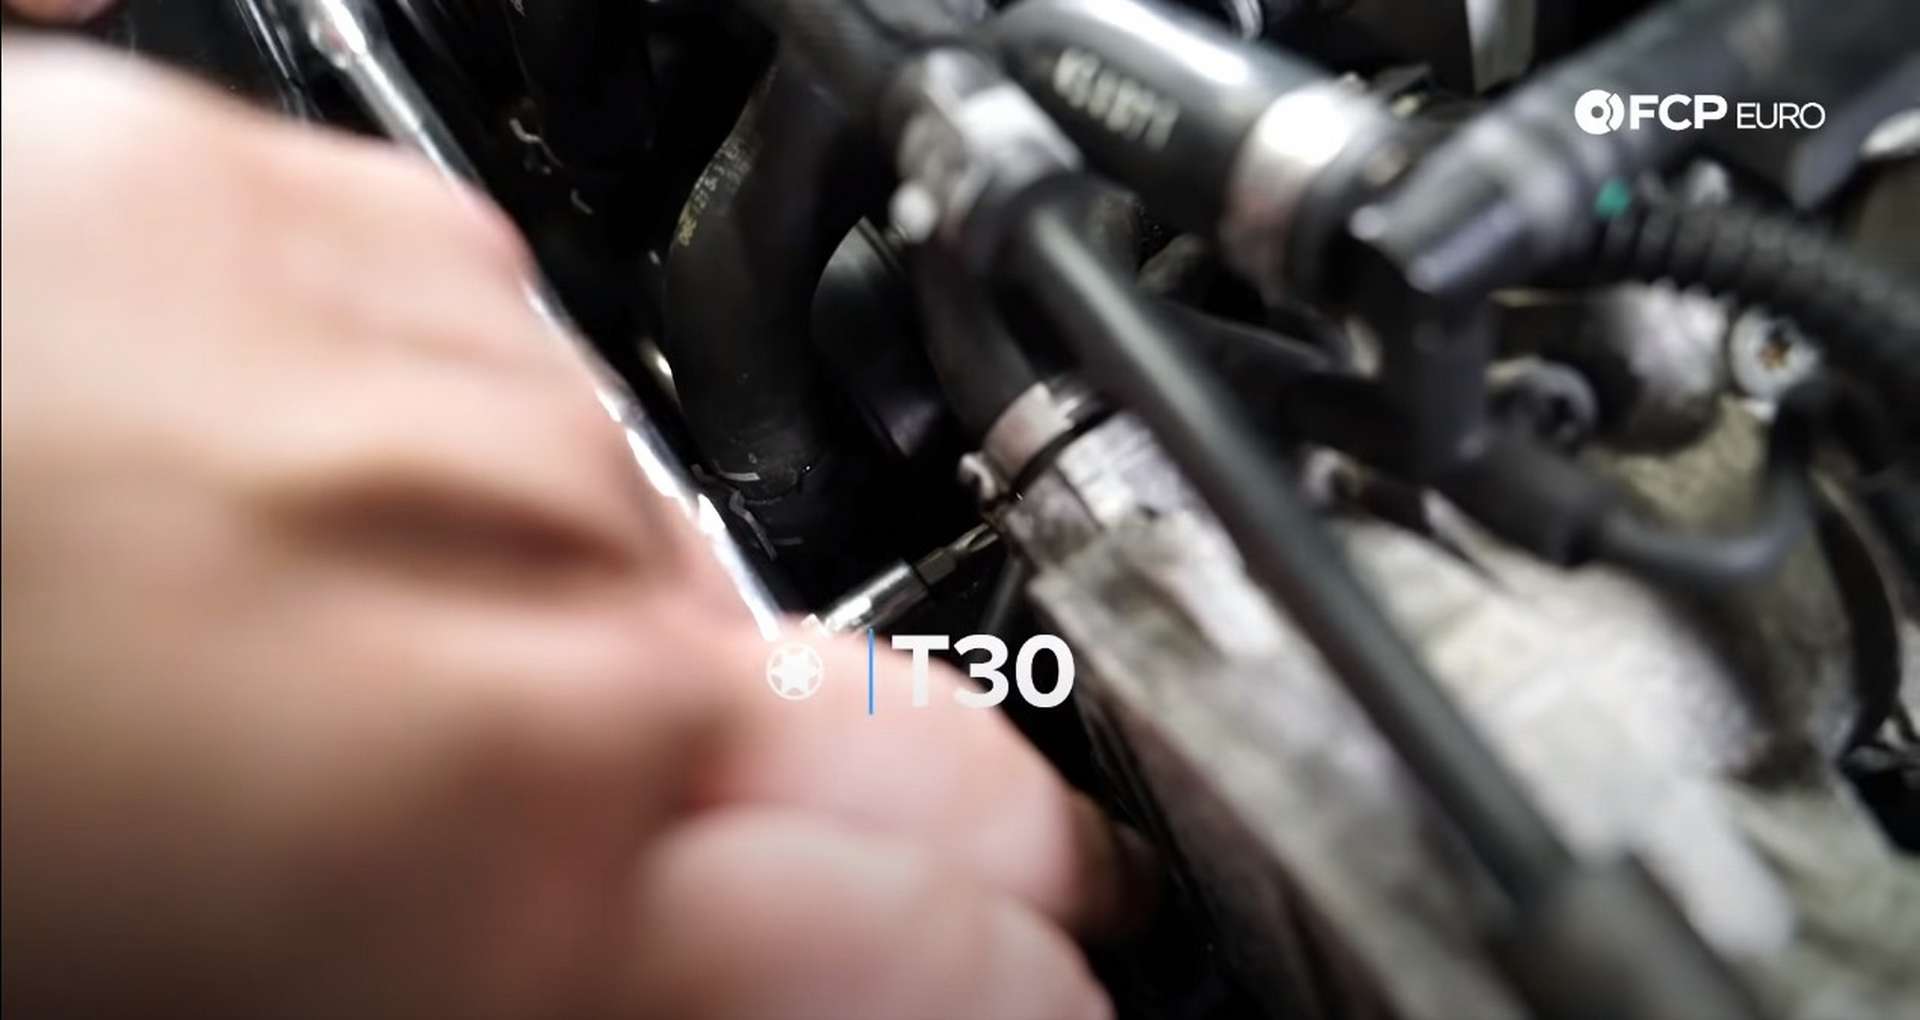
The coolant hoses mount to the engine on the driver's side cylinder head. Use a T30 Torx socket to remove the bolt and allow the hoses to move freely. Then, pull the coolant hoses off of the supercharger.
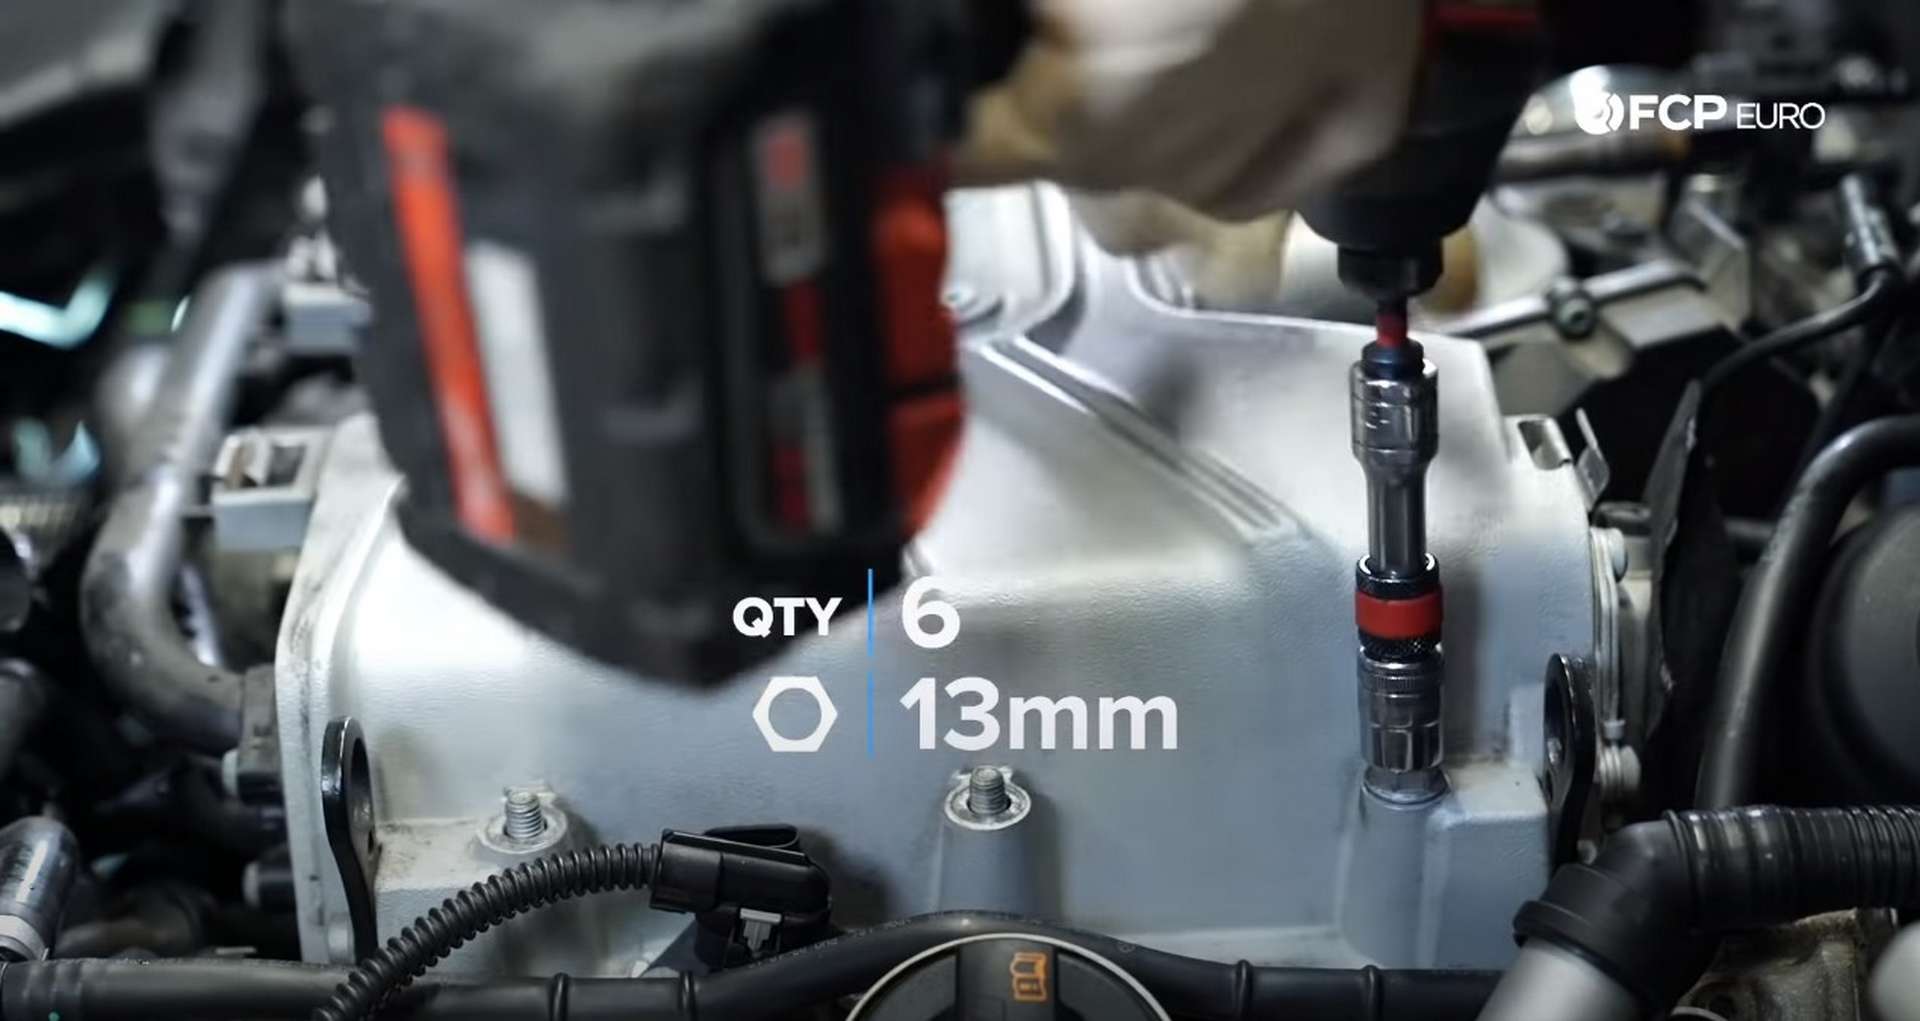
Next, use a 16mm socket to remove the six nuts securing the supercharger to the intake manifold.
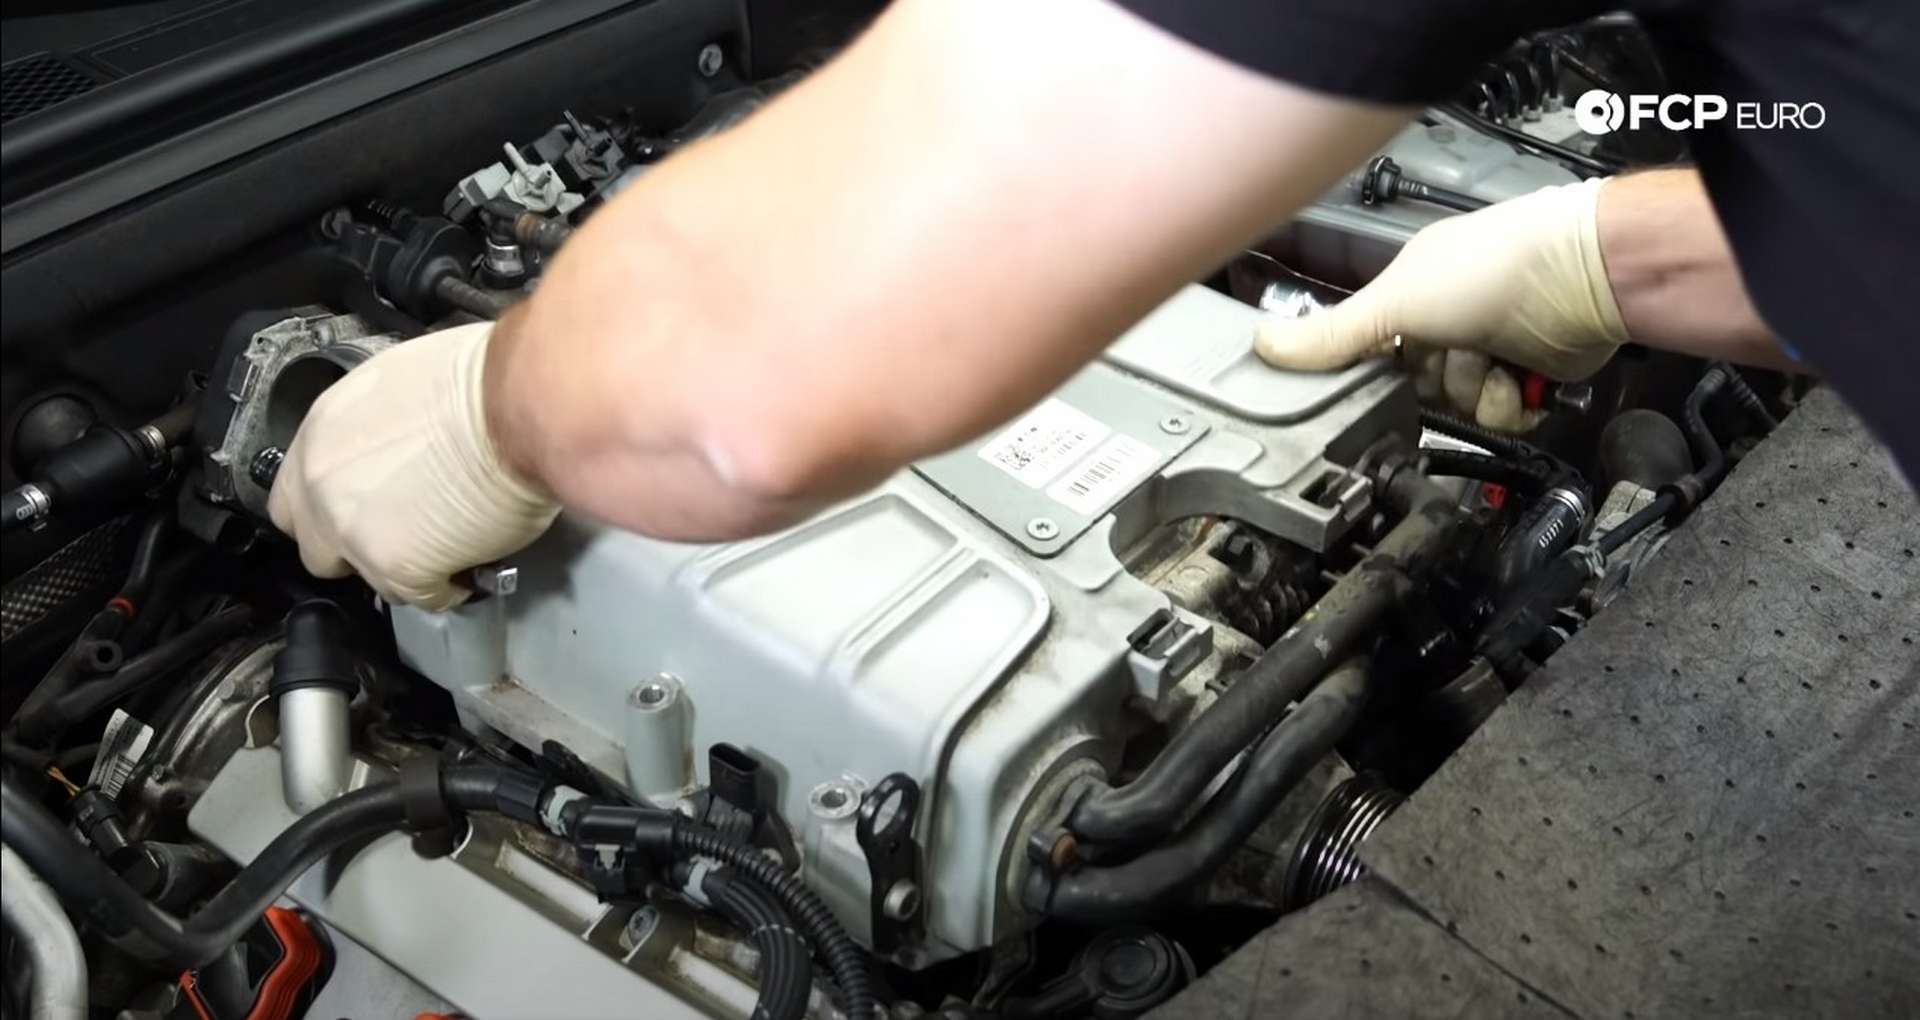
Place some rags or absorbent cloth over the radiator support and front bumper to catch any fluids that may come out of the supercharger as you remove it. Then, place ratchet extensions through the loops on opposite corners of the supercharger to create makeshift handles. Use those handles to lift the supercharger off of the engine.
Step 2: Drain the rest of the coolant
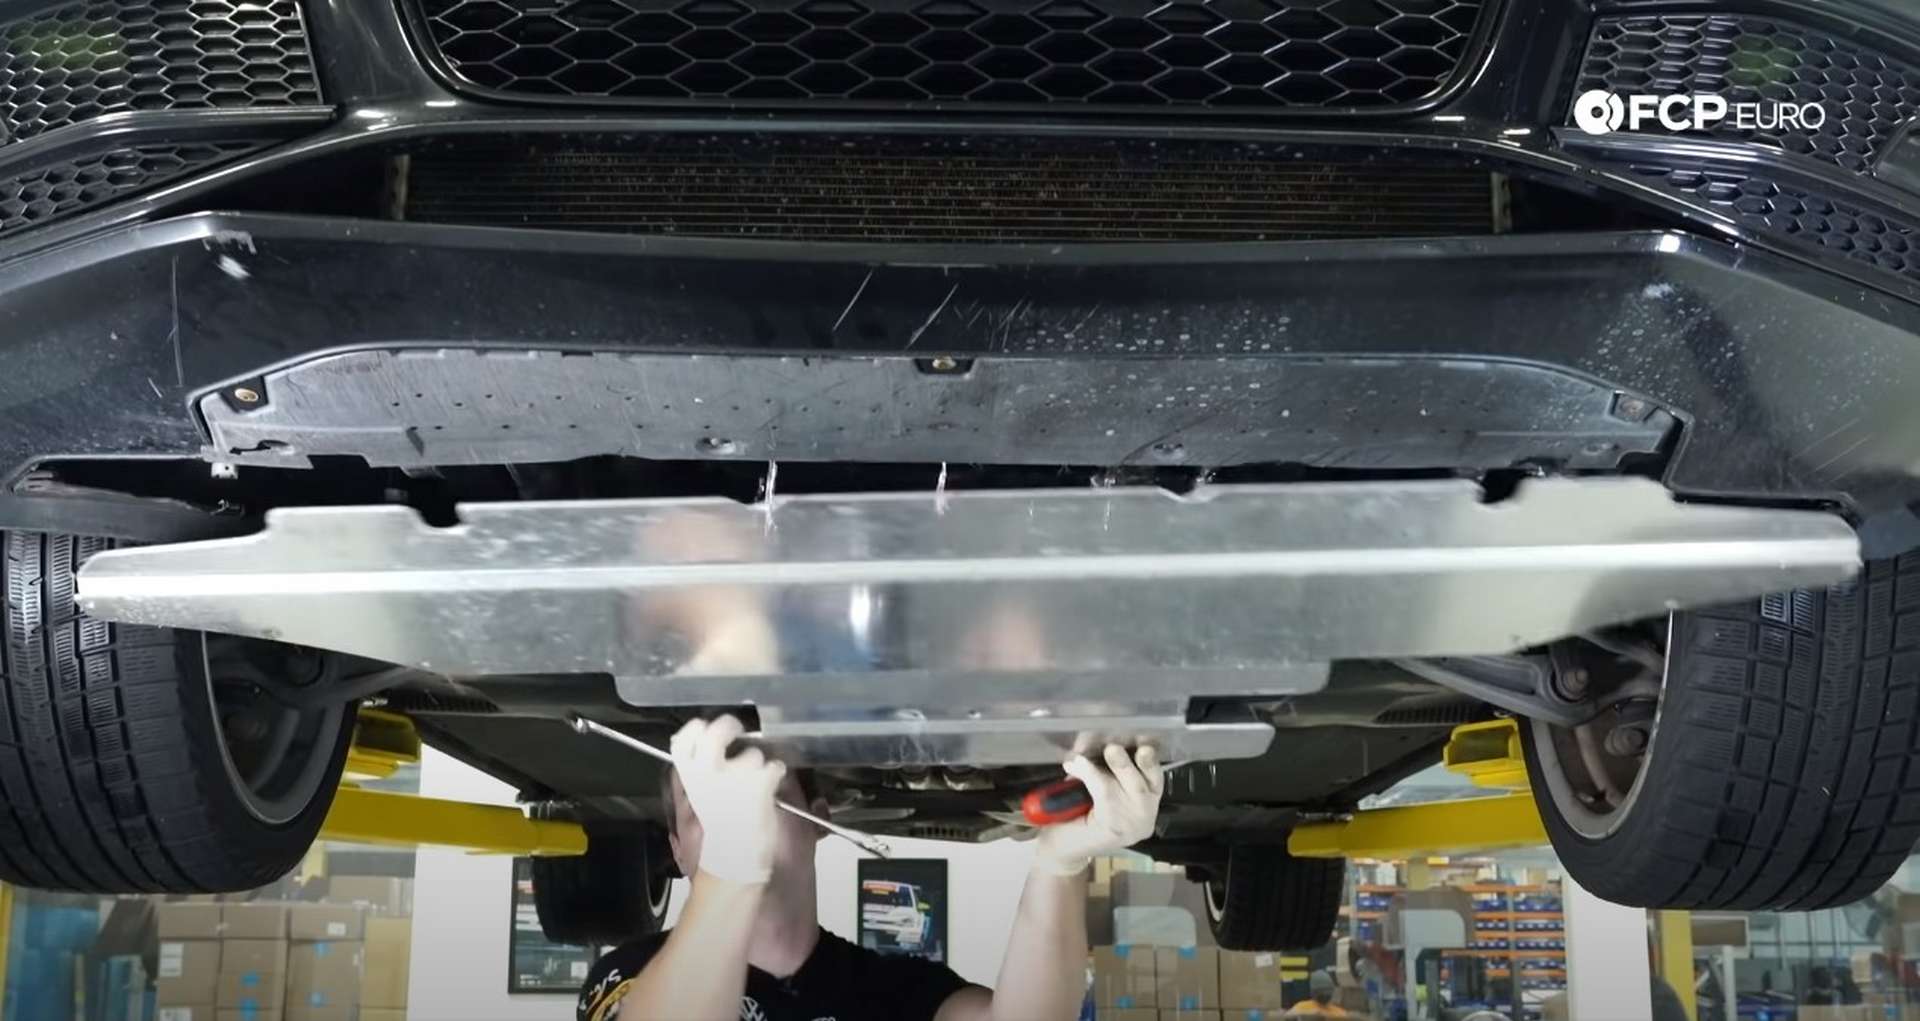
Jack up the front of the car so that you can remove the undertray. Use a T25 Torx bit socket to turn and unlock the fasteners securing the undertray to the chassis. Be aware that dirt, debris, and some coolant from the supercharger will run off of the undertray as you remove it.

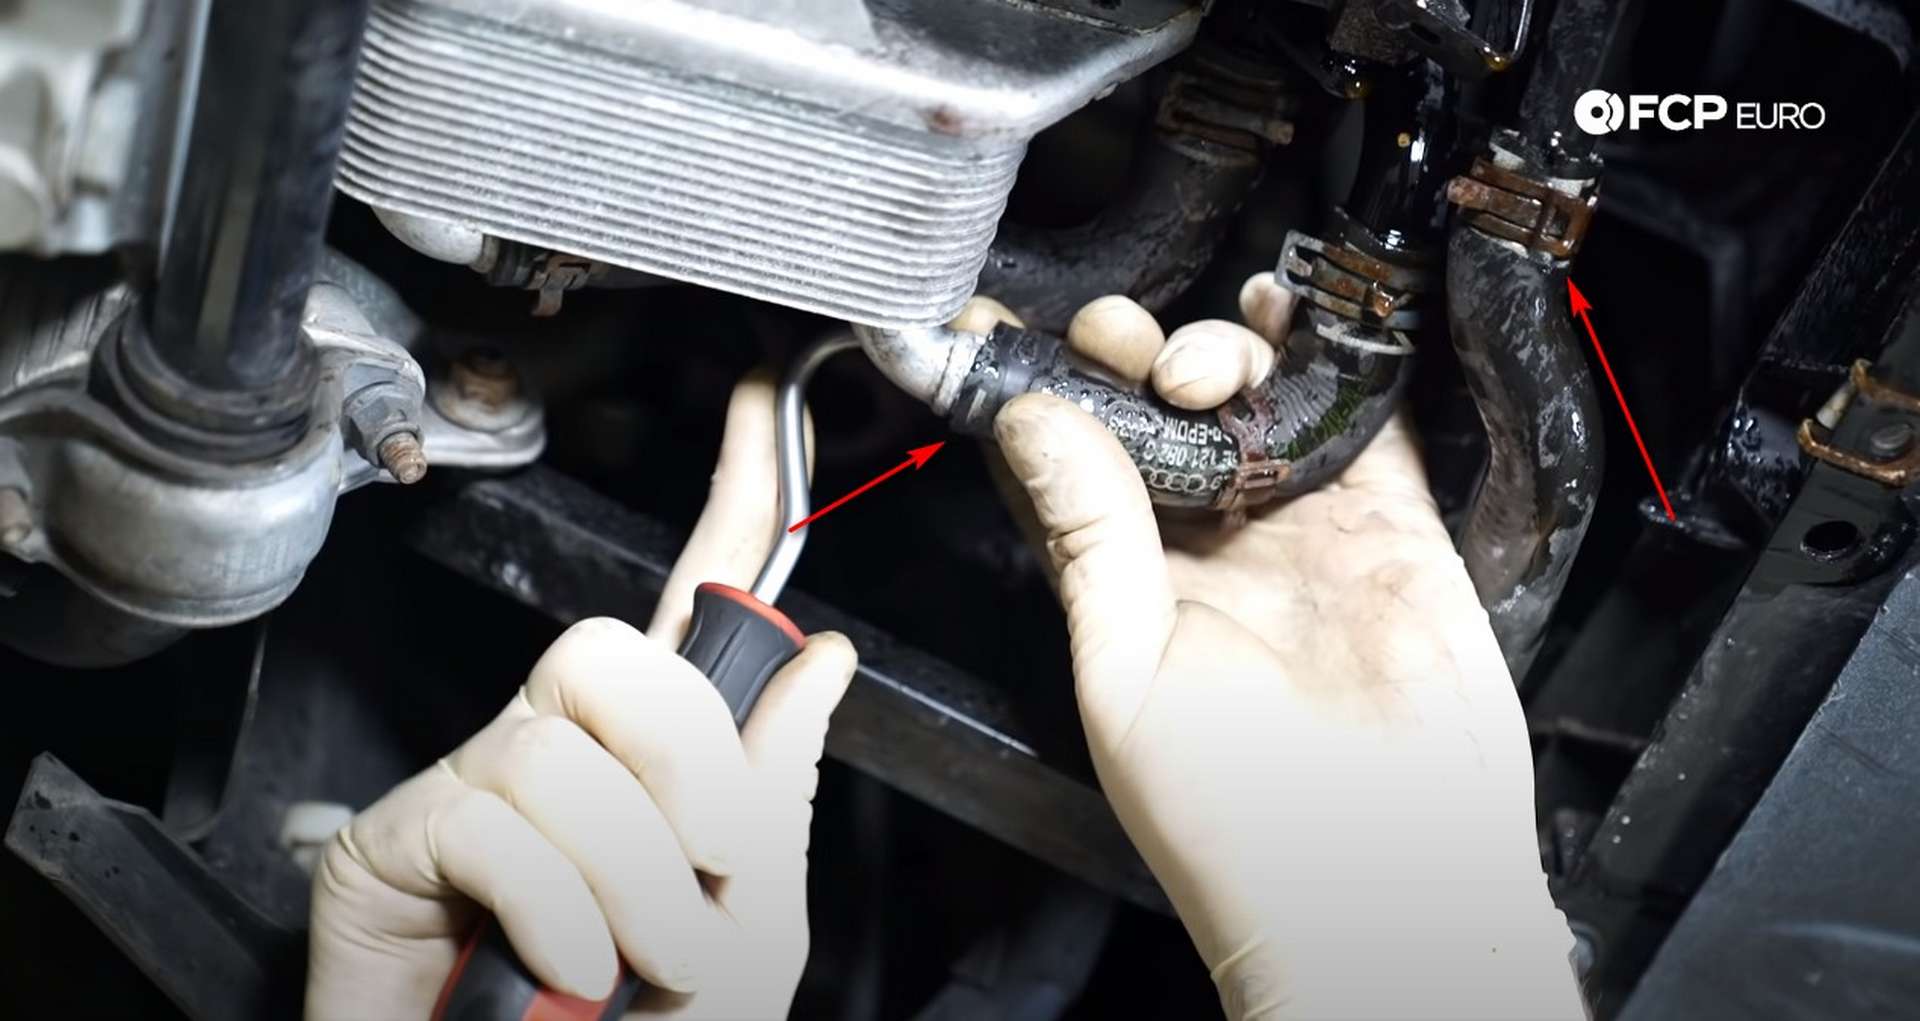
Next, set a drain pan under the heat exchanger. Remove the hose clamp on the coolant hose running to the heat exchanger and the coolant line next to it that runs to the intercooler. Pull the hoses off of the nipples that they are clamped onto and allow all of the coolant to drain out.
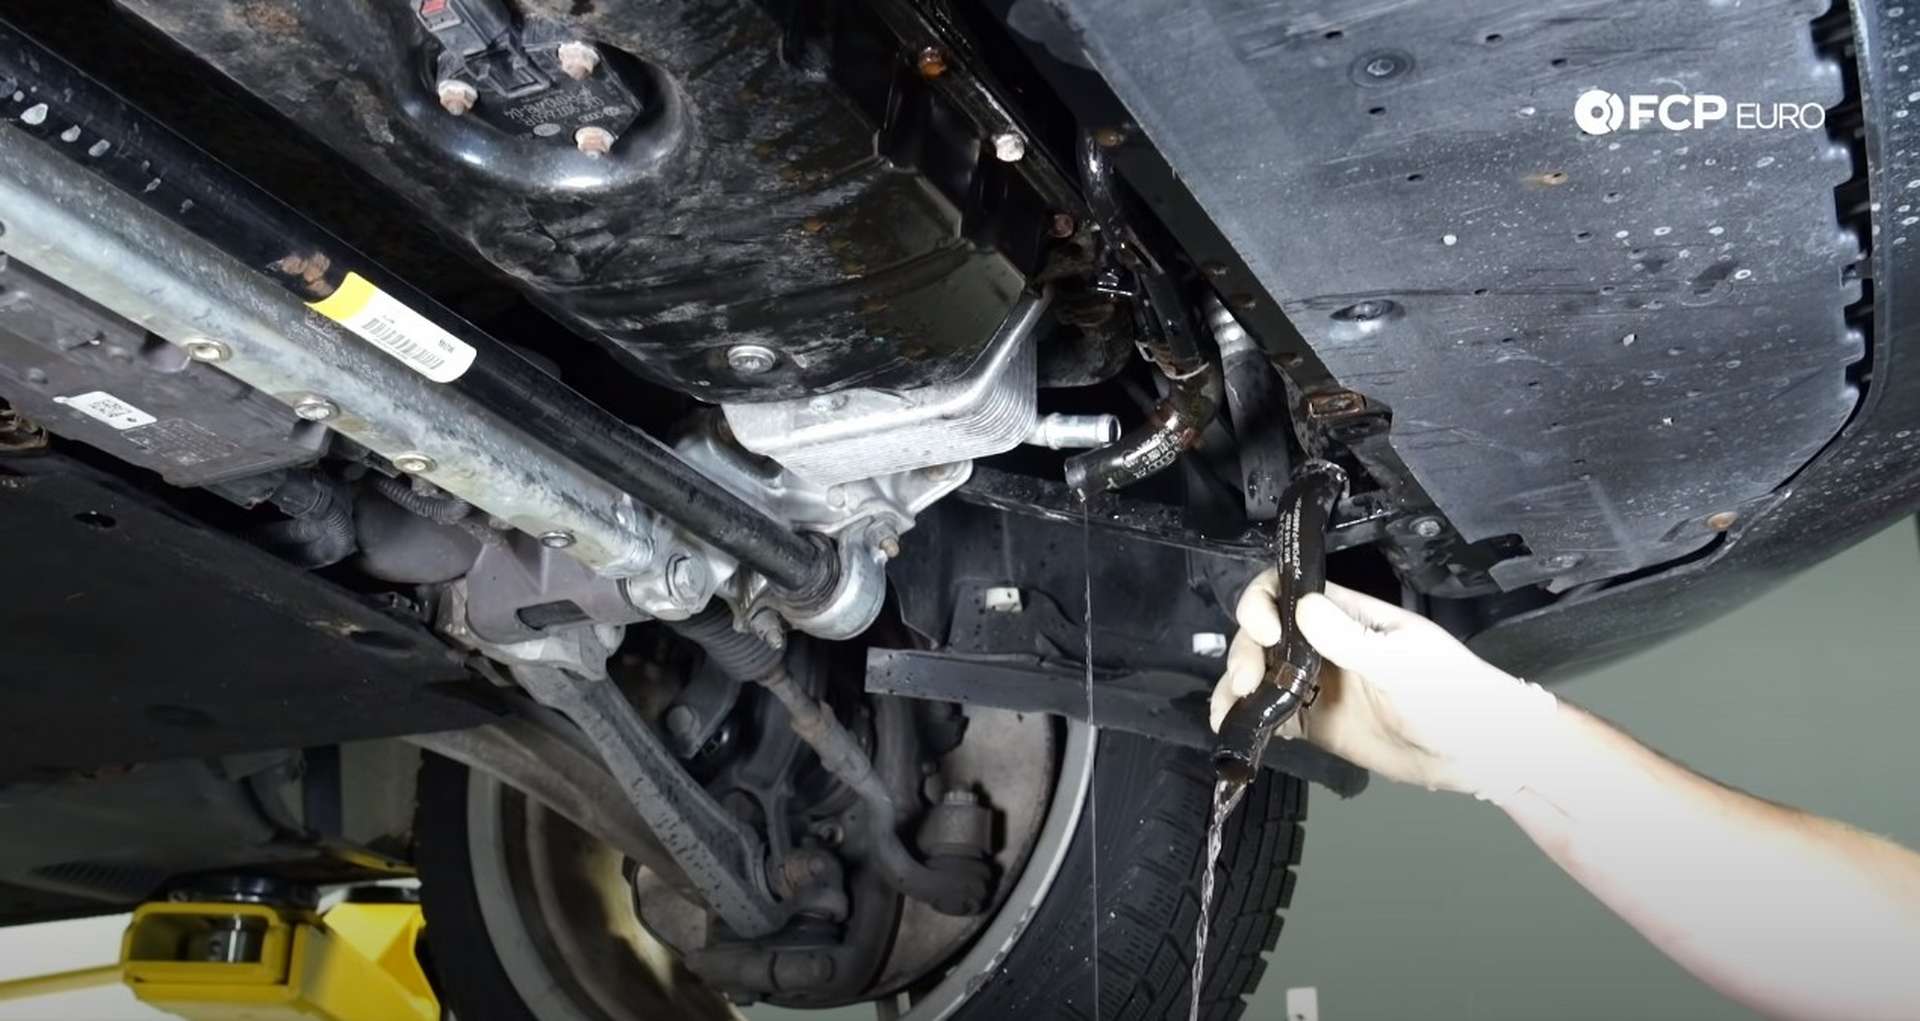
Refit and clamp down the coolant lines once the coolant has stopped draining out.
Step 3: Remove the intake manifolds
Lower the car down and look around the intake manifold. The chances are that there is a good deal of debris sitting around the manifolds and in the vee of the engine. Use a vacuum to suck out any debris.
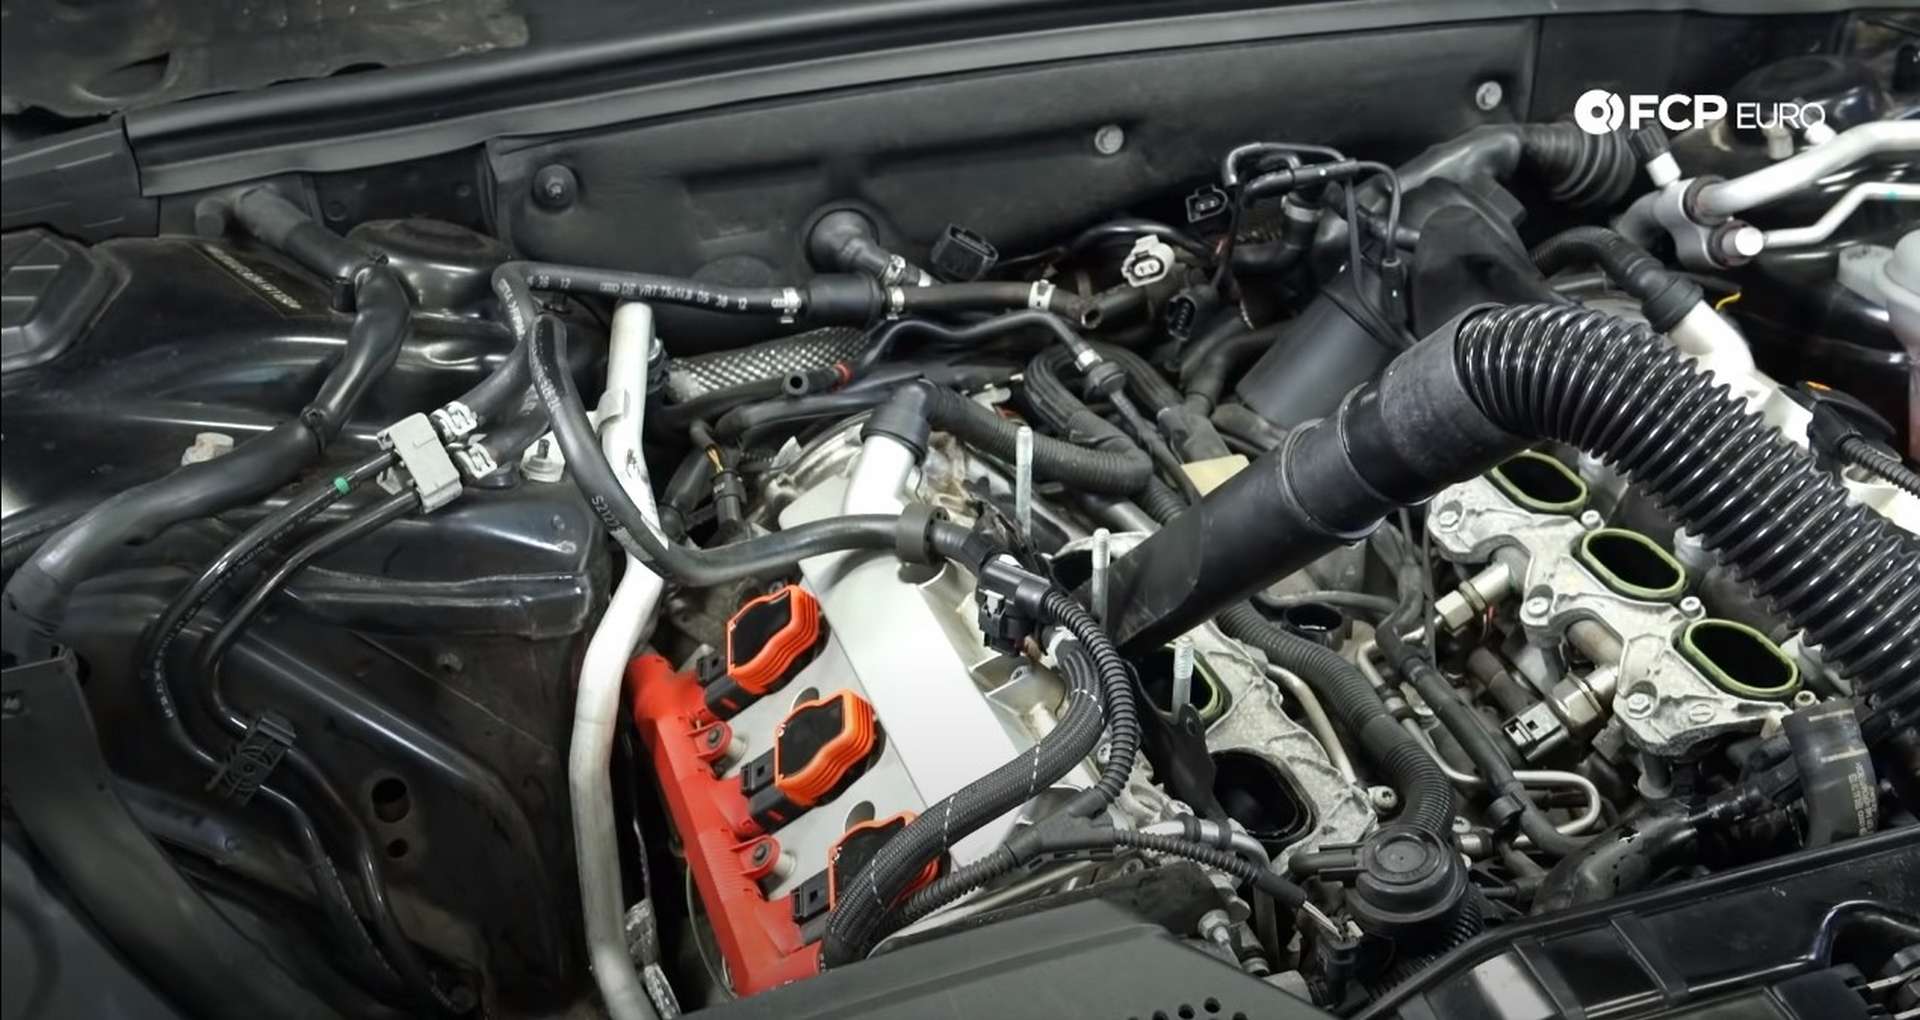
Use compressed air to help push out of tight spaces and into the dirt into the vacuum.
With the dirt vacuumed out, use a 17mm wrench to loosen and remove the manifold's fuel line. Cover the connection with a rag as you loosen the fitting in case any fuel remains under pressure in the line.
Don't open the door after loosening the fuel line, as the car will automatically prime the fuel system. If the fuel system primes while the fuel line is disconnected, fuel will spray out of the line.
Then, move to the front of the manifold and disconnect the short vacuum line.
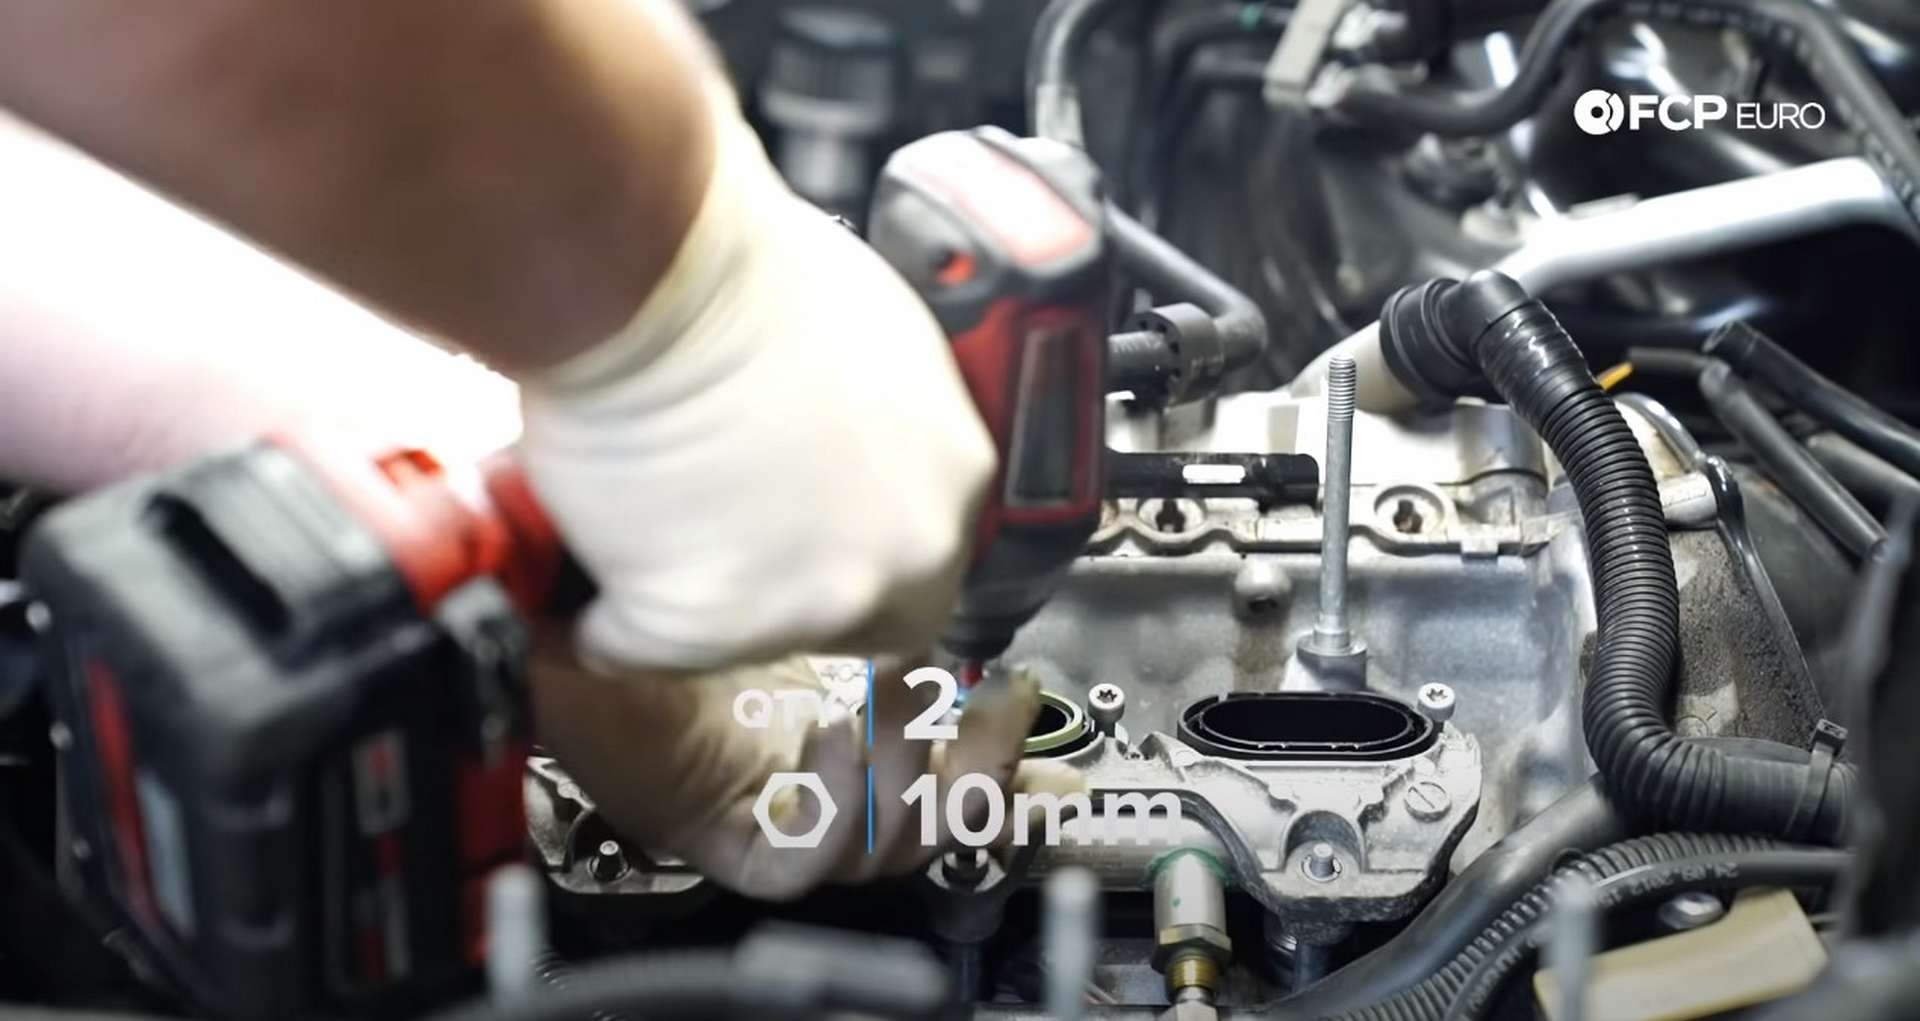
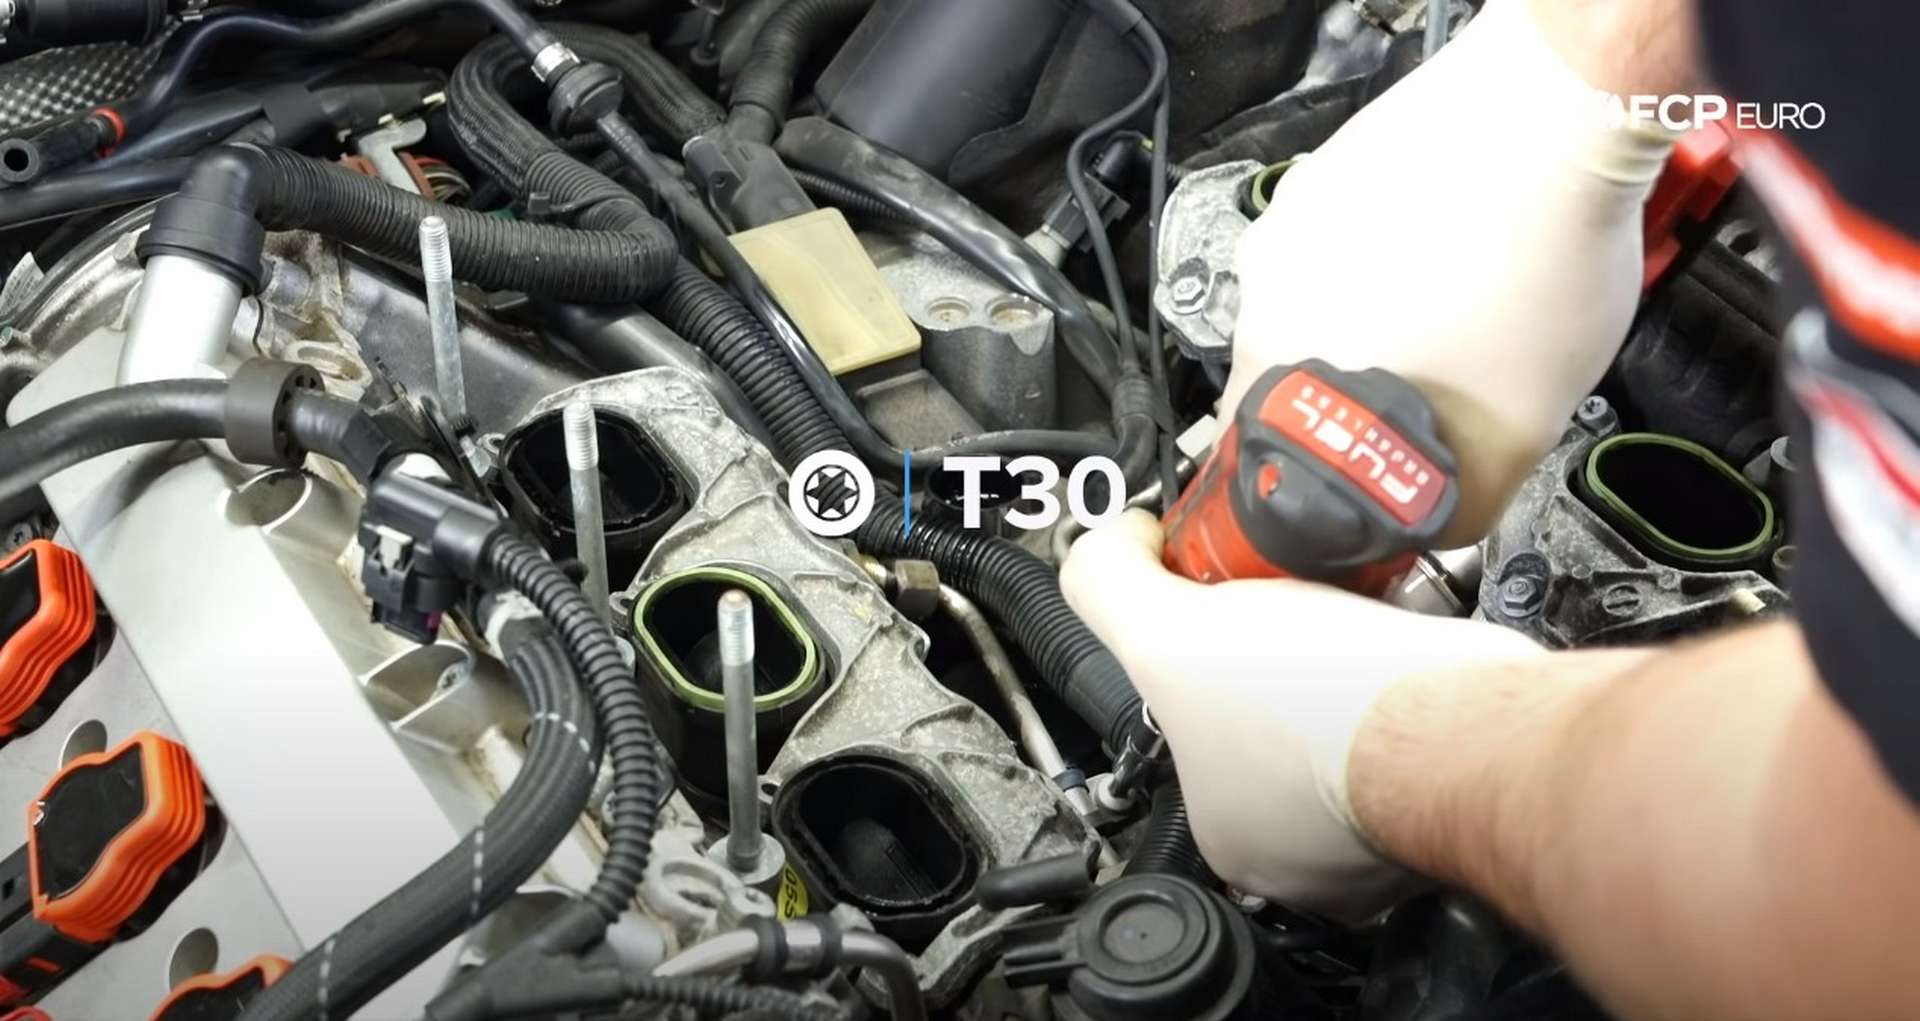
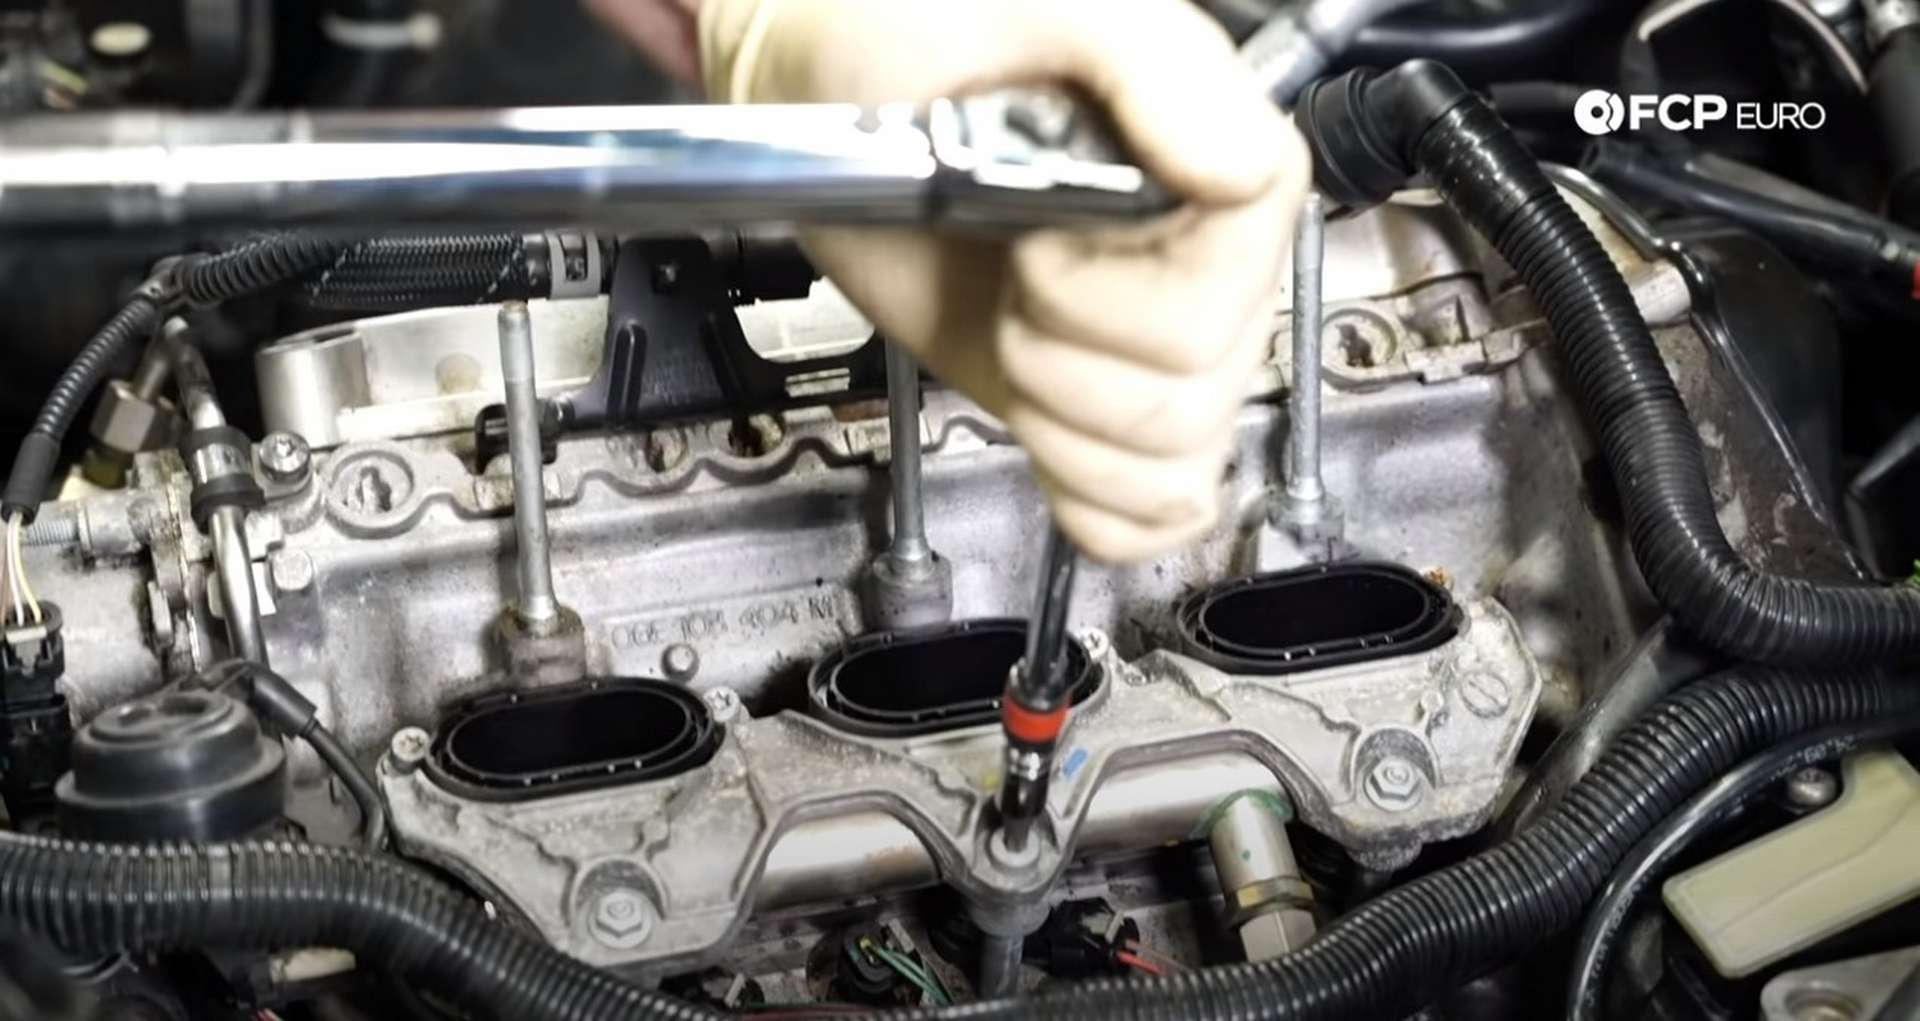
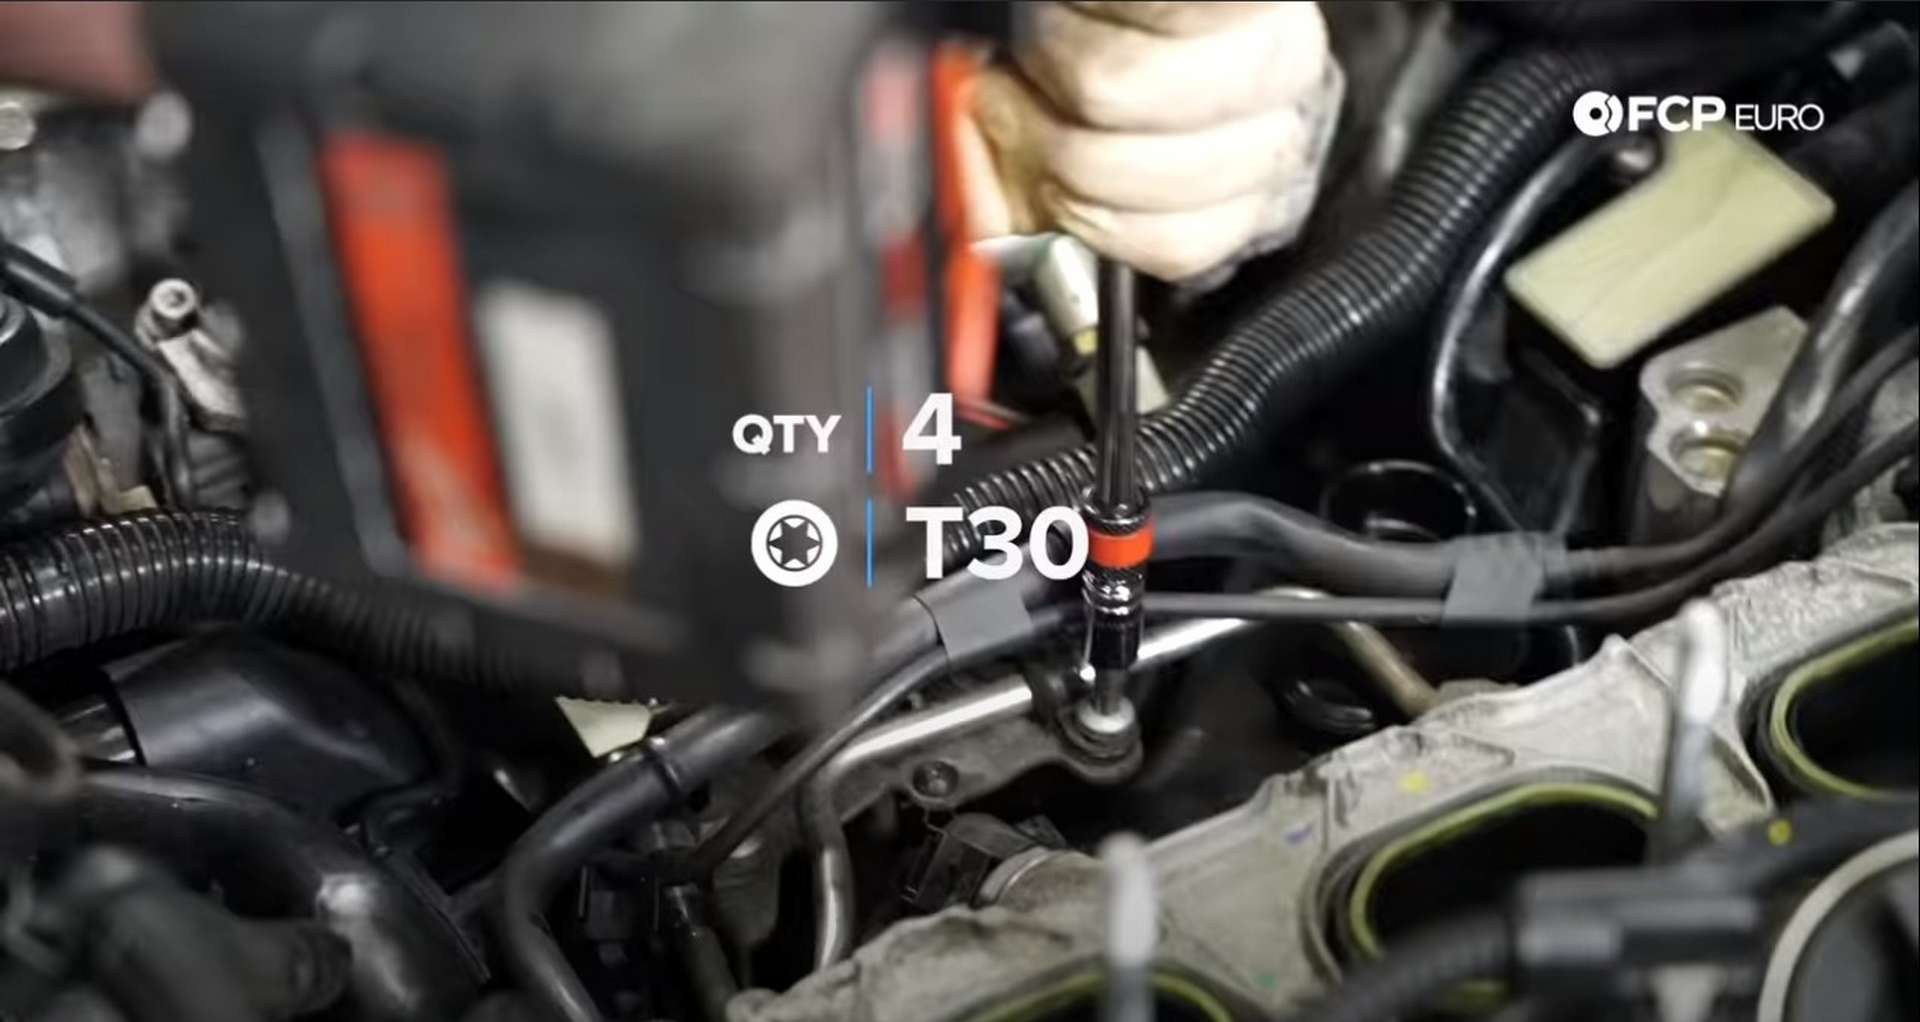
The manifold is bolted t the cylinder head by two nuts and five bolts. Use a 10mm socket to remove the two nuts and a T30 Torx bit to remove the five bolts. Then, use the T30 Torx to remove the bolt.
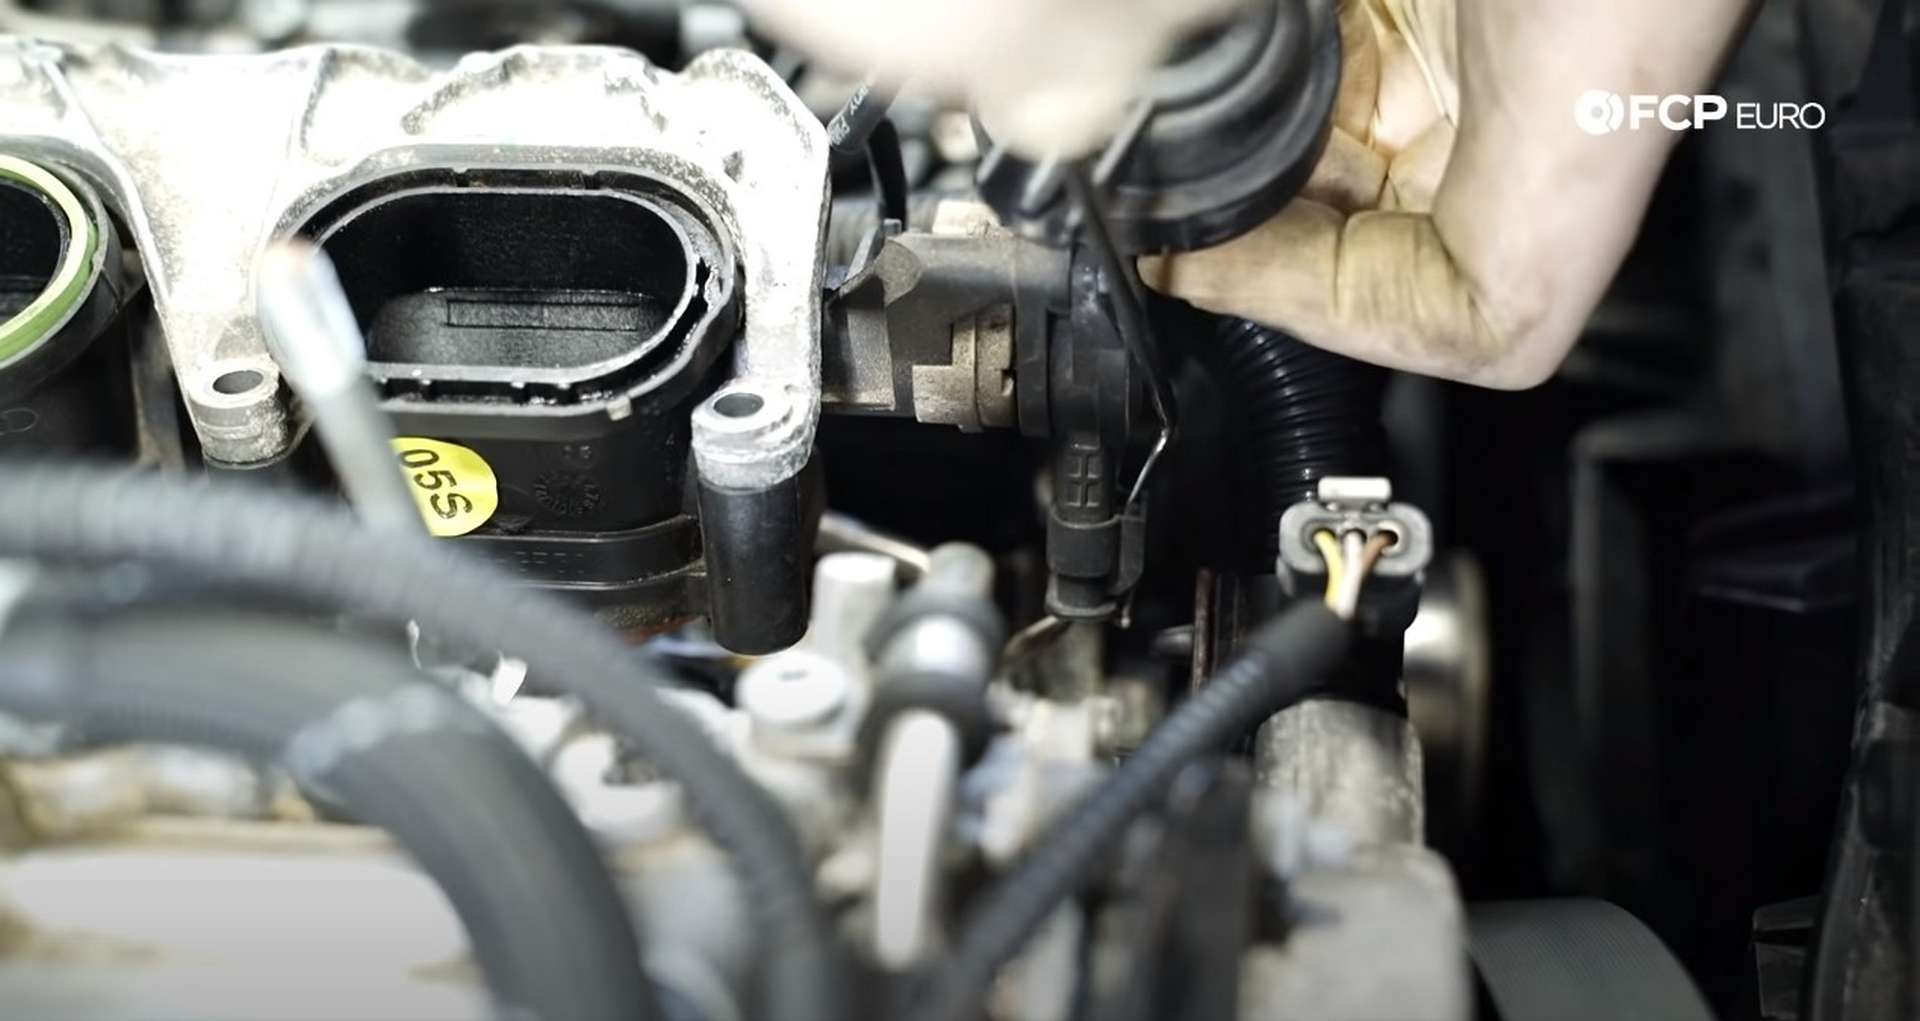
There is an electrical connection for a sensor at the front of the manifold near the disconnected vacuum line. Lift the manifold out slightly to bring the connection into open space, Then use a pick to push down on the white locking tab to unlock the connection.
With the manifold off of the cylinder head, examine the area around the ports. If there are more sand and dirt around intake ports, use the vacuum to eliminate it.
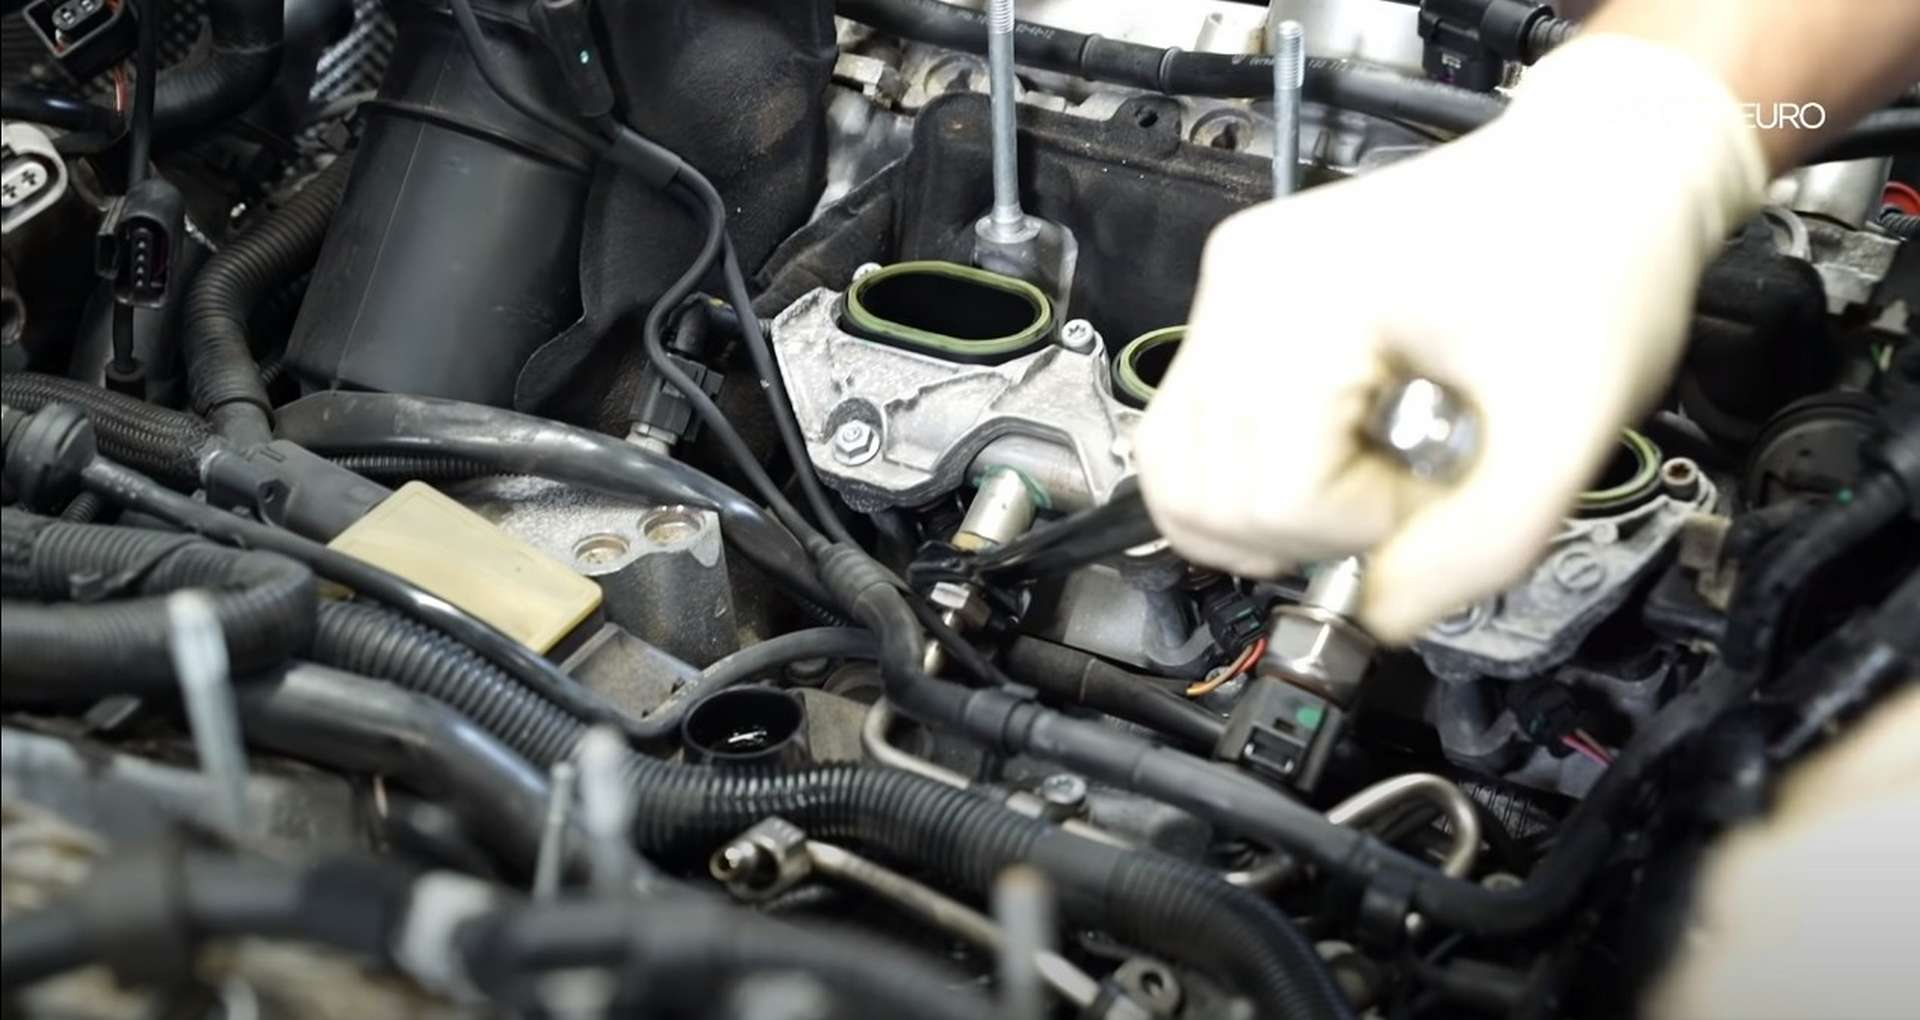
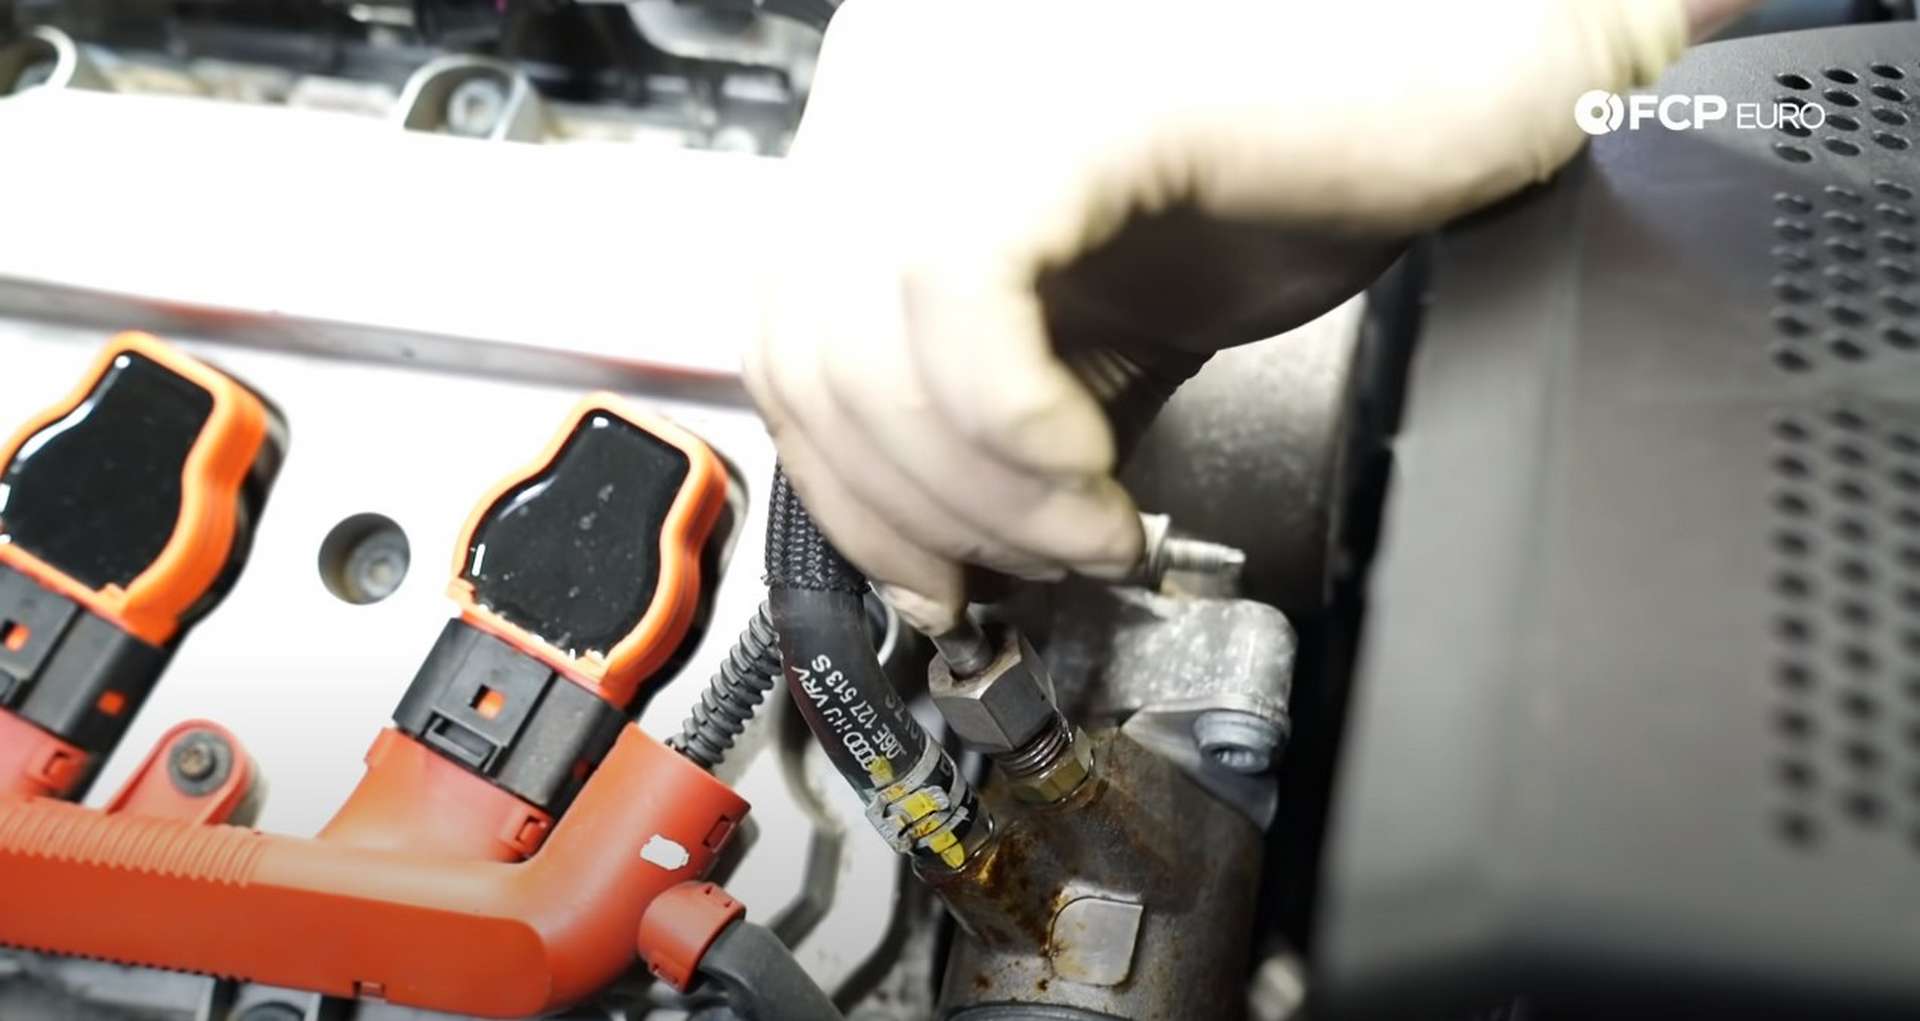
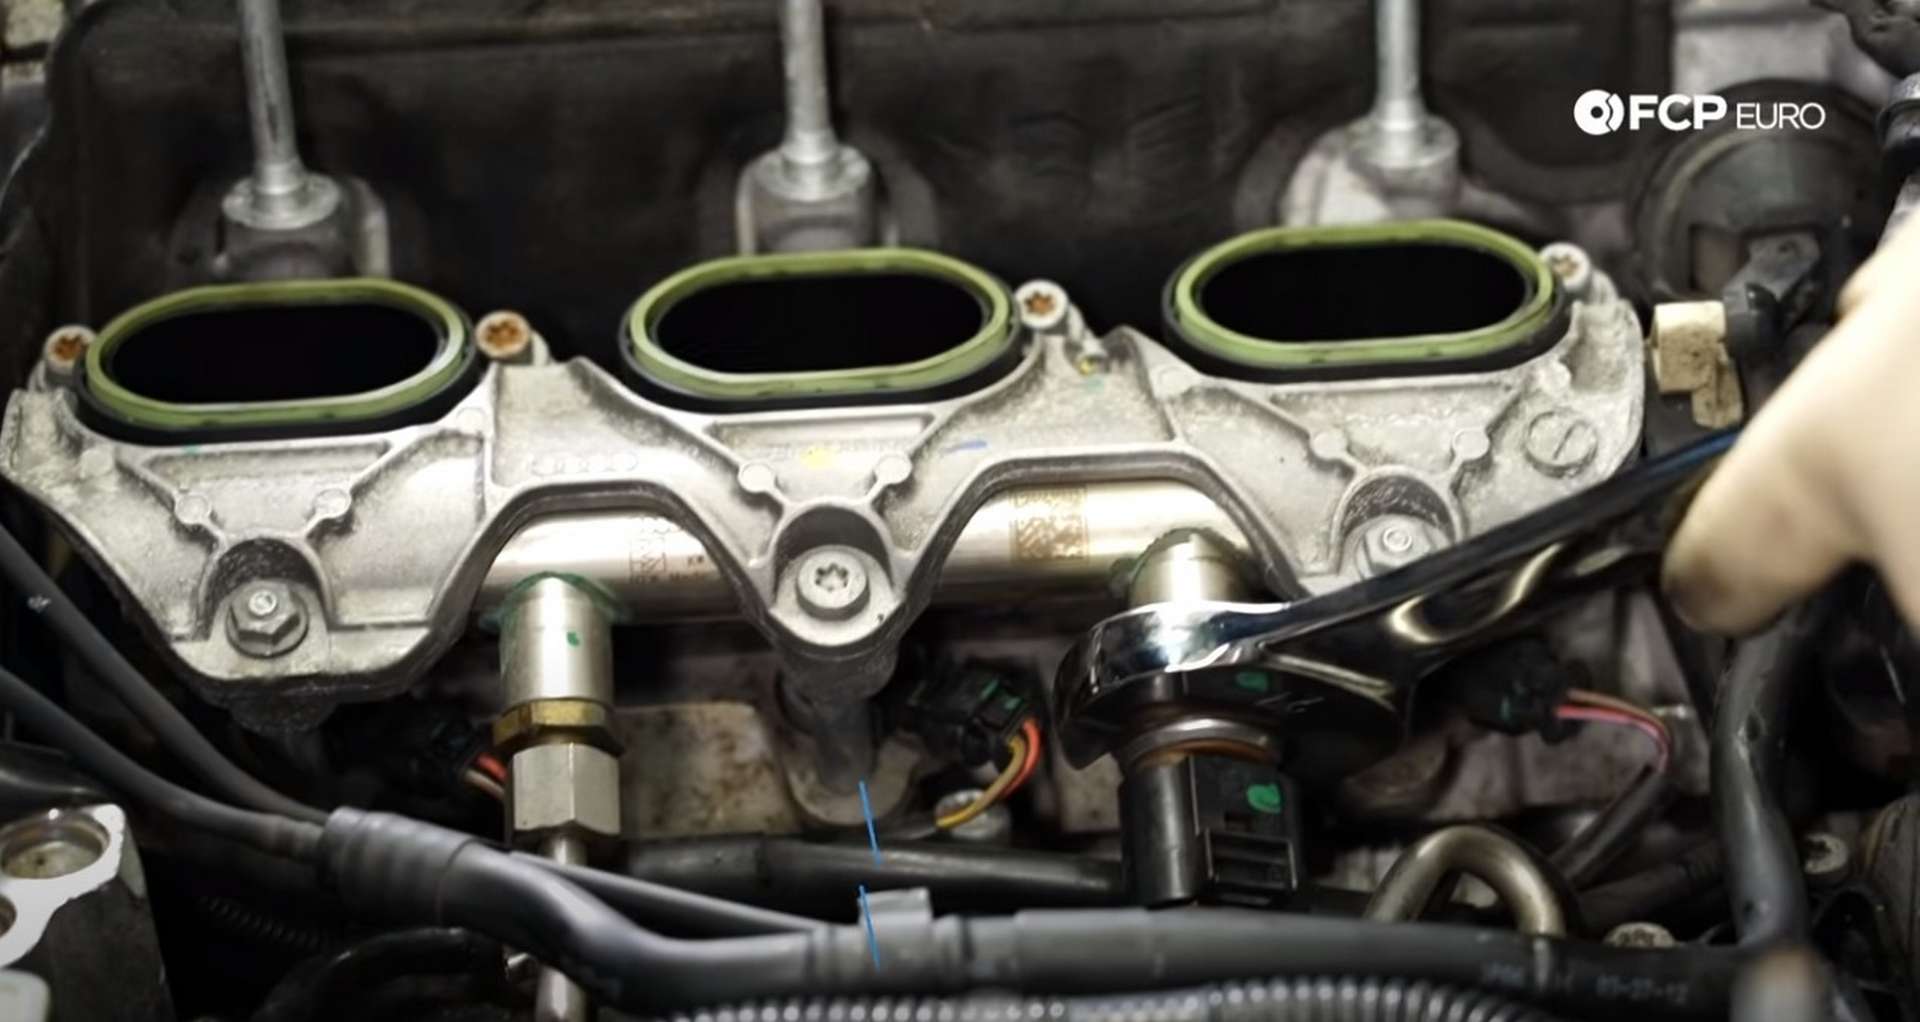
Next, use a 17mm wrench to disconnect the fuel line from the other bank's manifold and use a 22mm wrench to remove the fuel pressure sensor. Follow that fuel line over to the passenger's side cylinder head and remove the three T30 bolts that secure the fuel line to the engine.
Once the fuel line is free of the block, use a 10mm wrench to remove the two nuts for the high-pressure fuel pump cover on the front of the passenger's side cylinder head.
Use a 17mm wrench to disconnect the fuel line that runs to the high-pressure fuel pump. Then, remove the two nuts and five bolts from the remaining intake manifold.
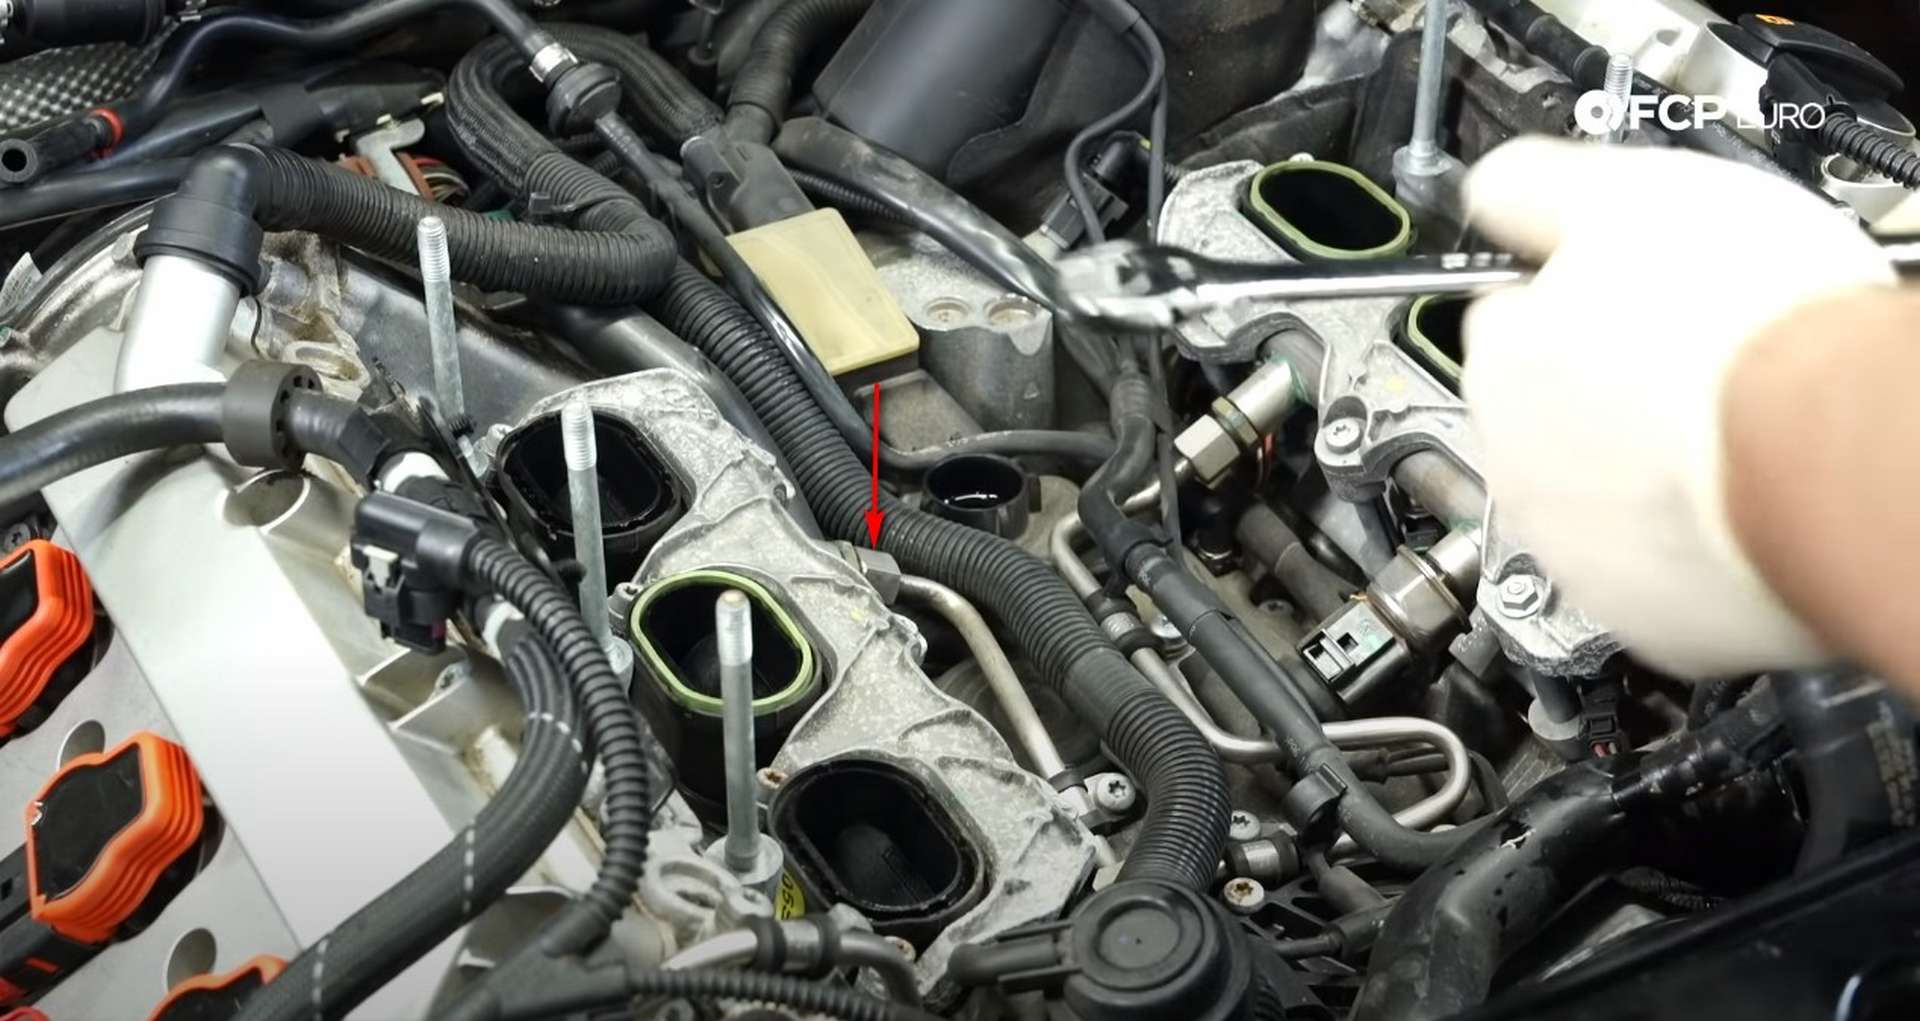
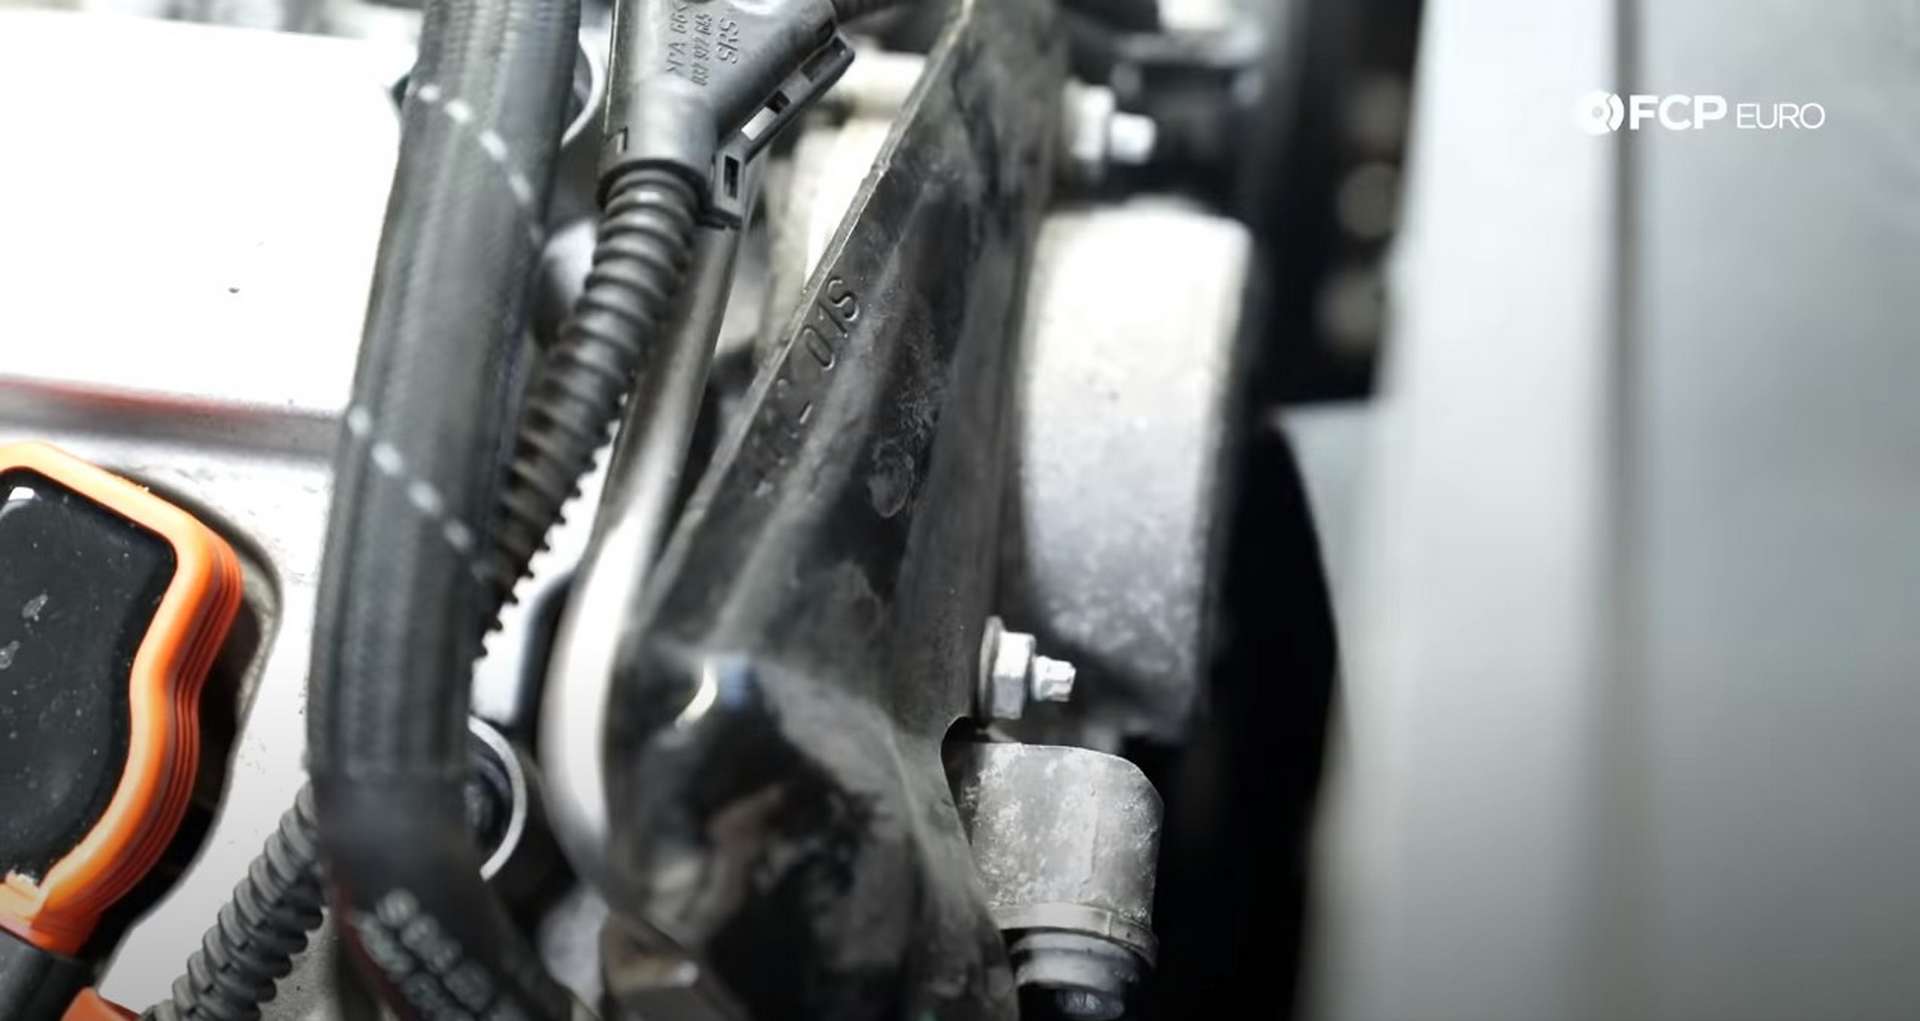
Like the other manifold, you need to disconnect a short vacuum line and unplug the sensor below the line. Additionally, you'll need to disconnect the cam position sensor just above the front of the manifold on the cylinder head.
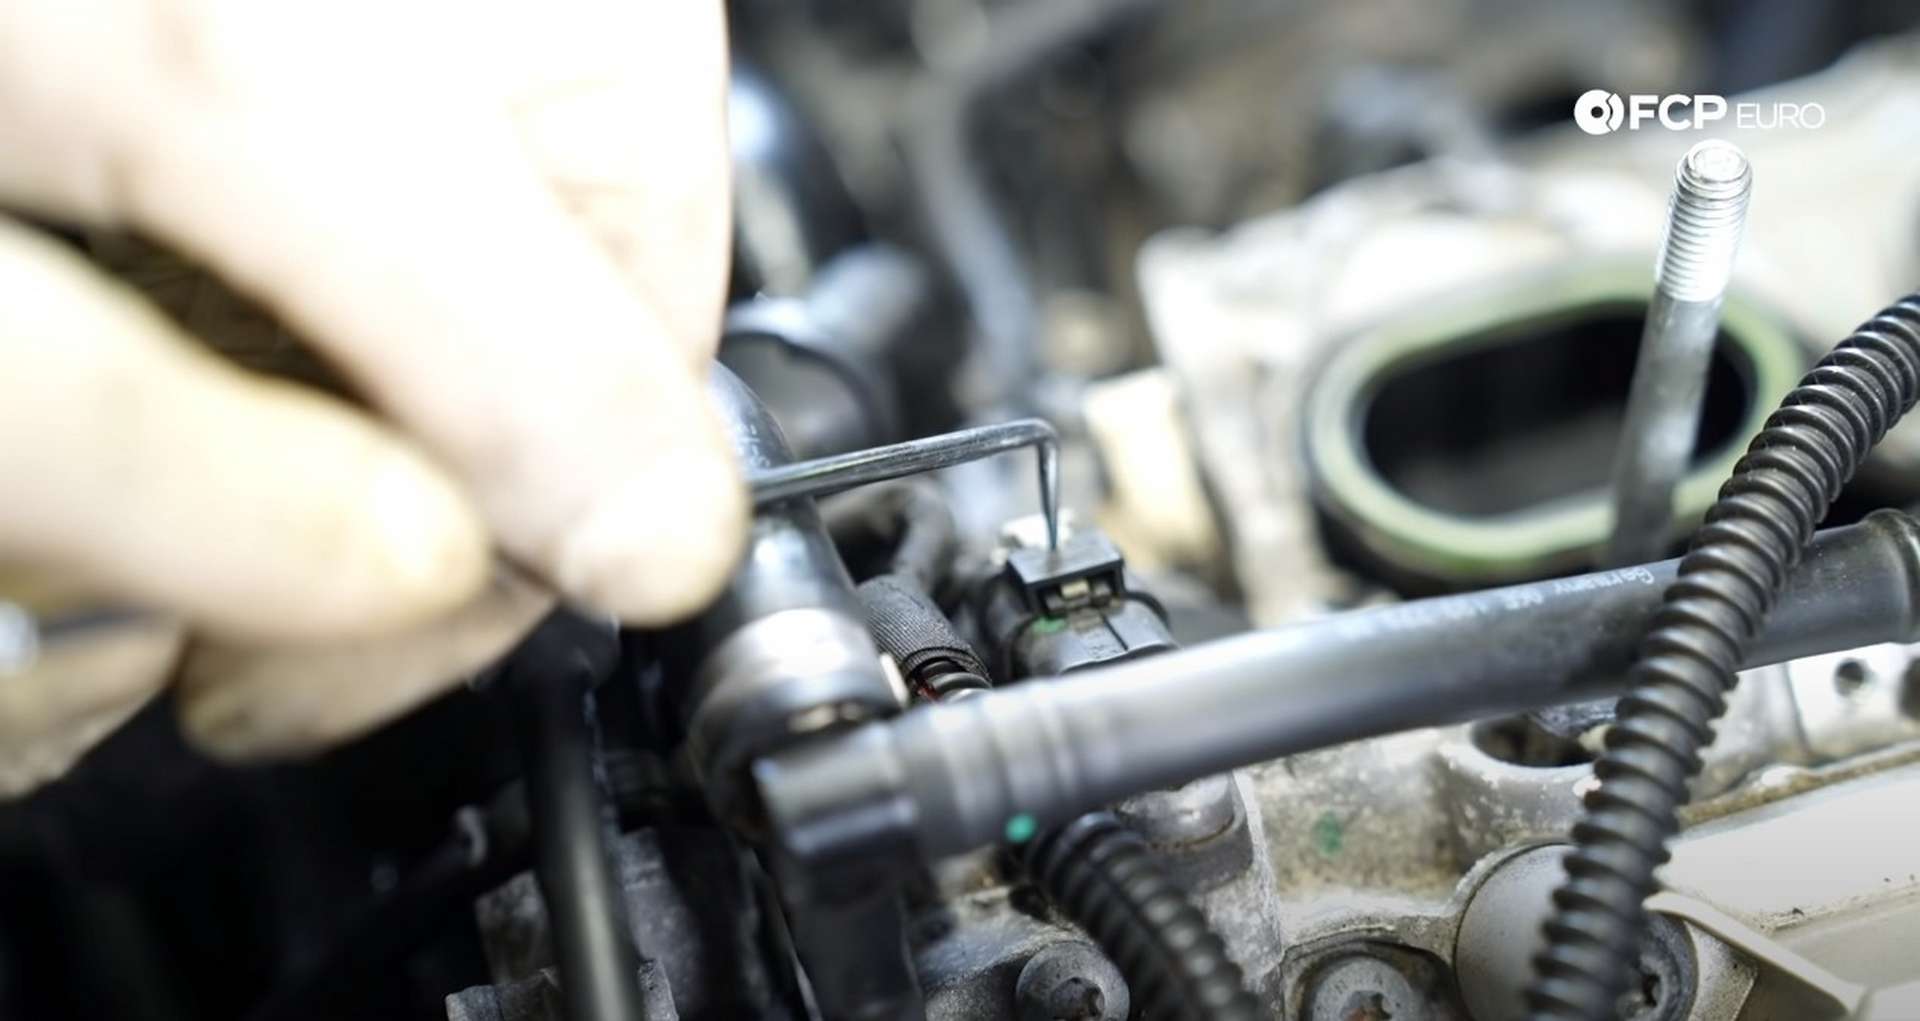
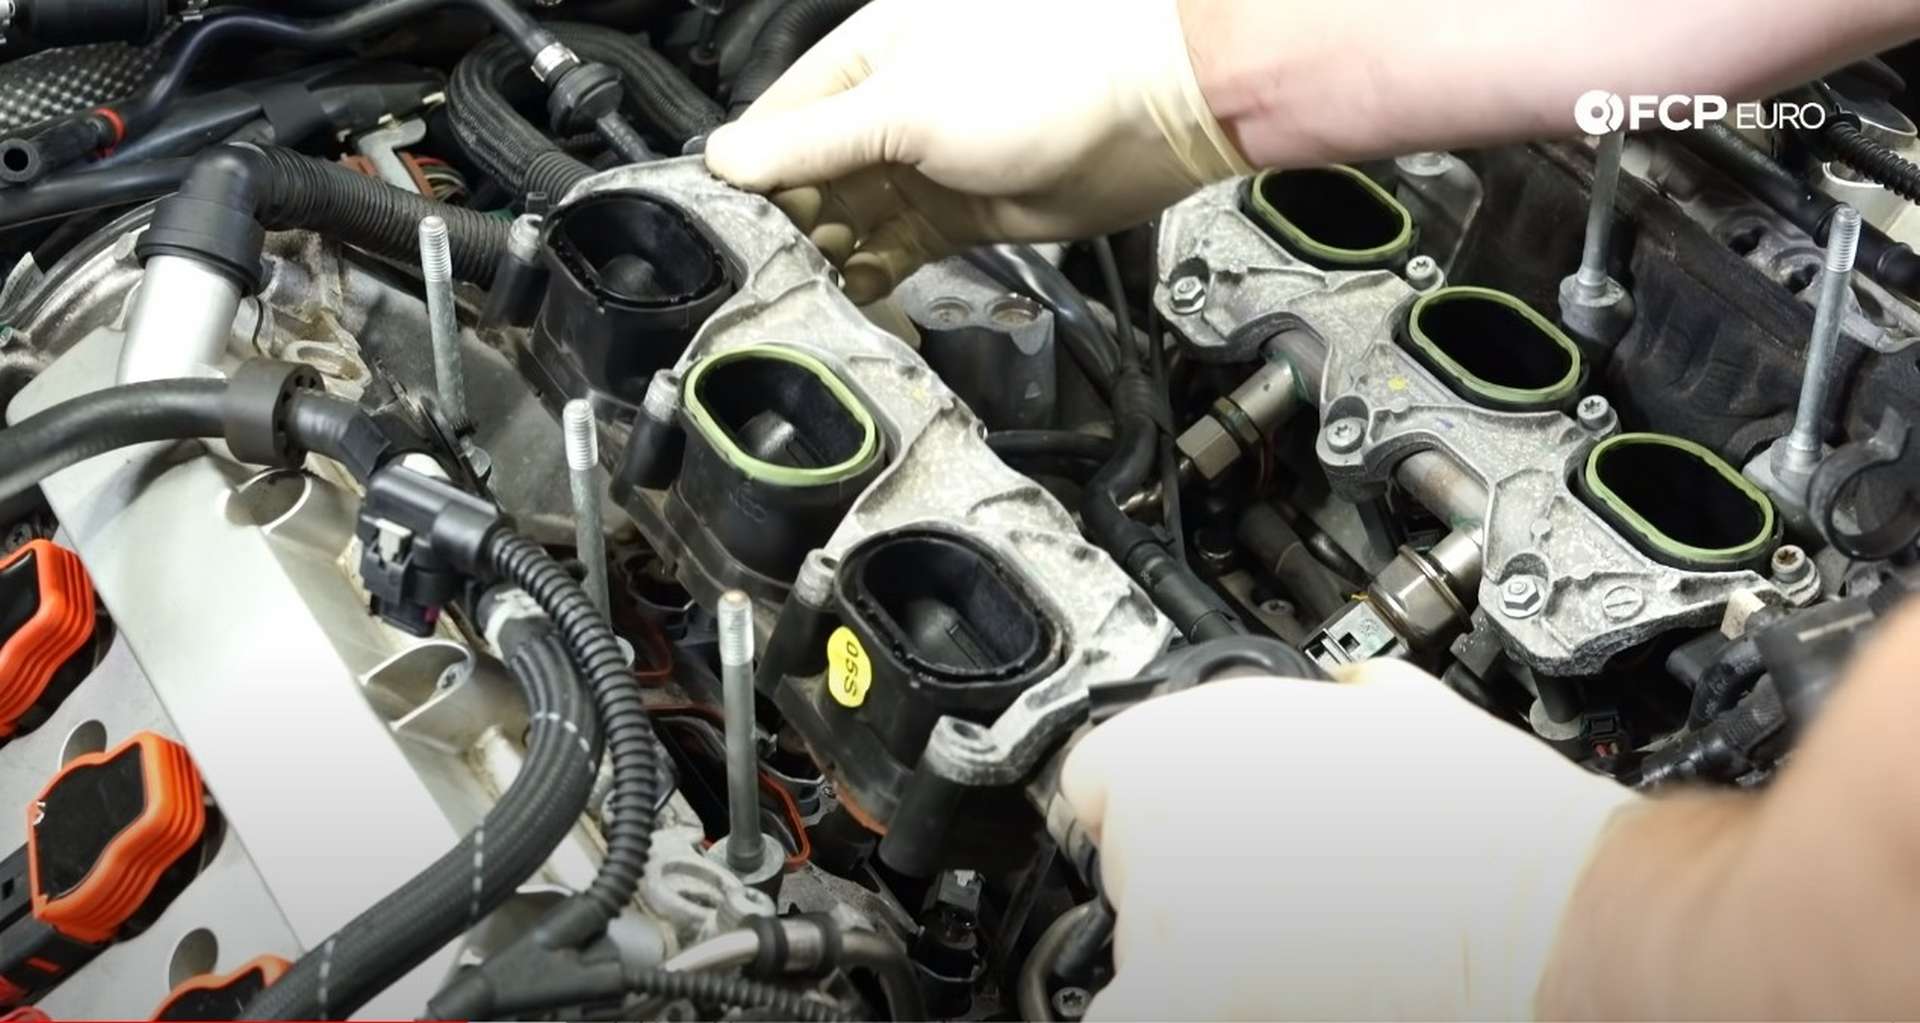
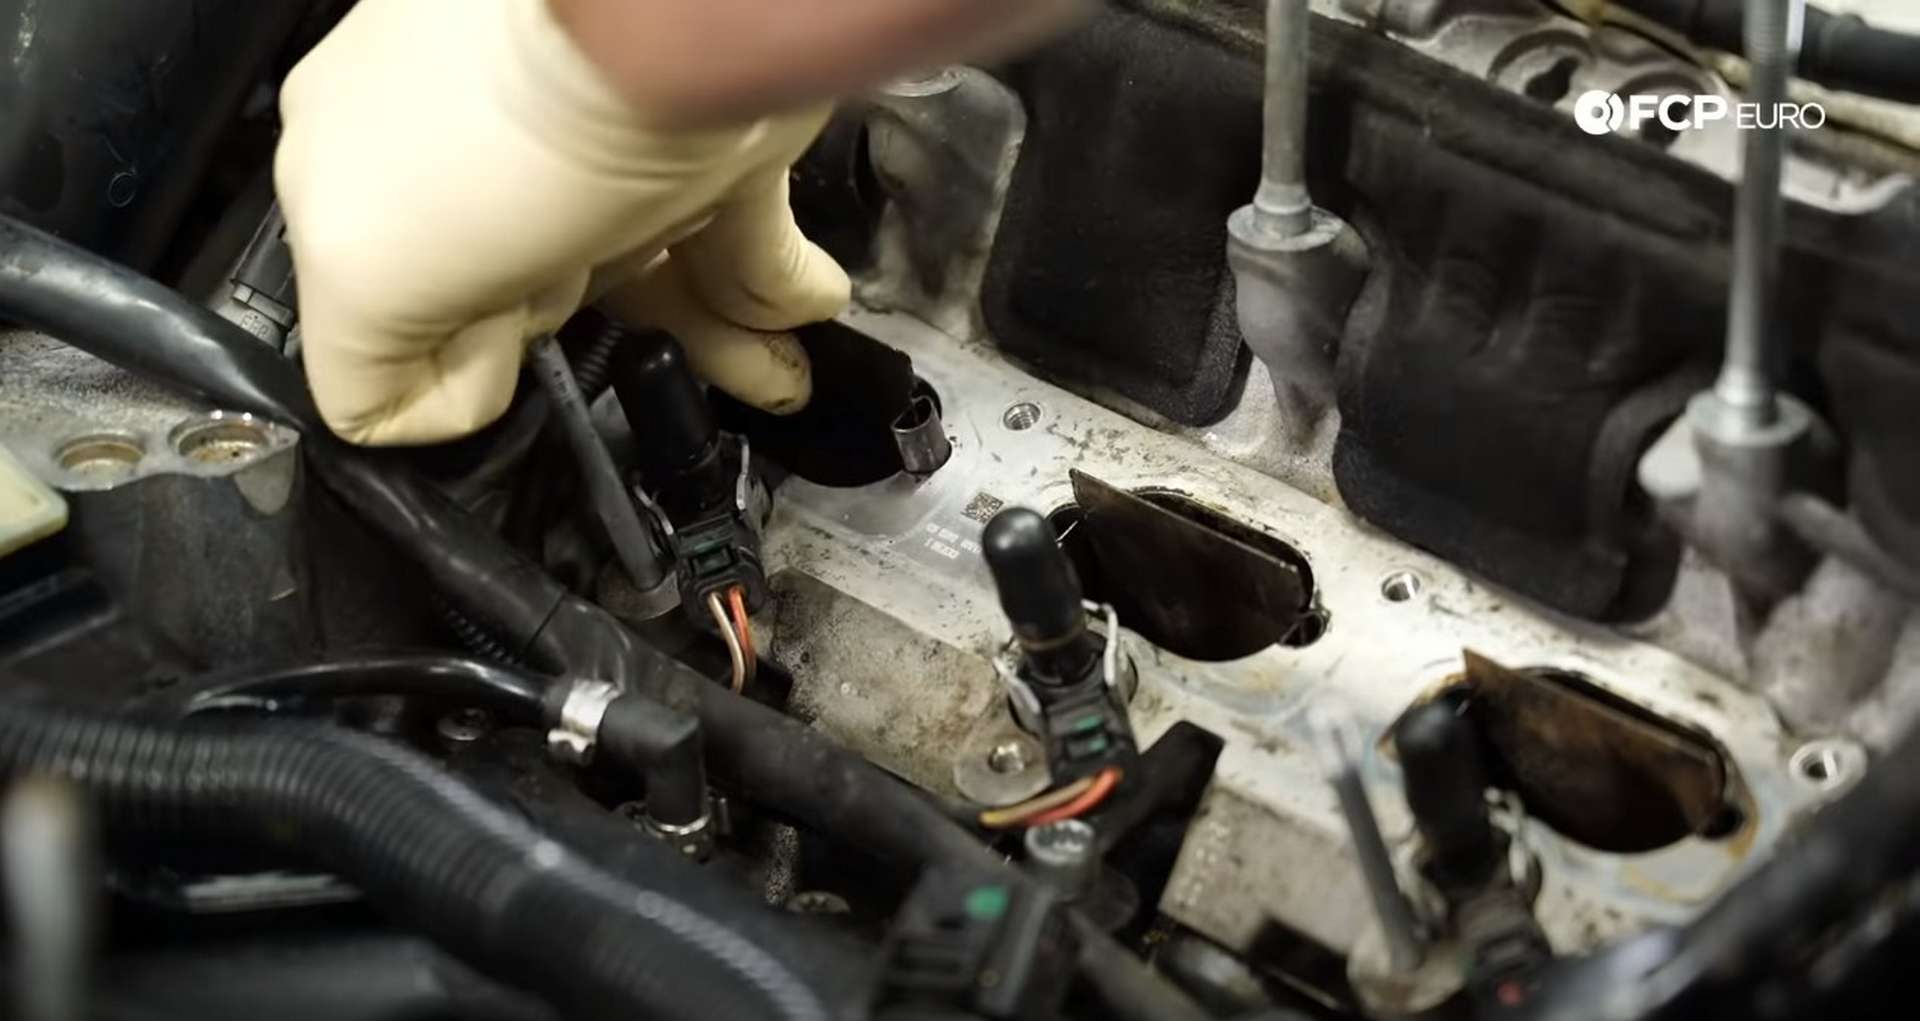
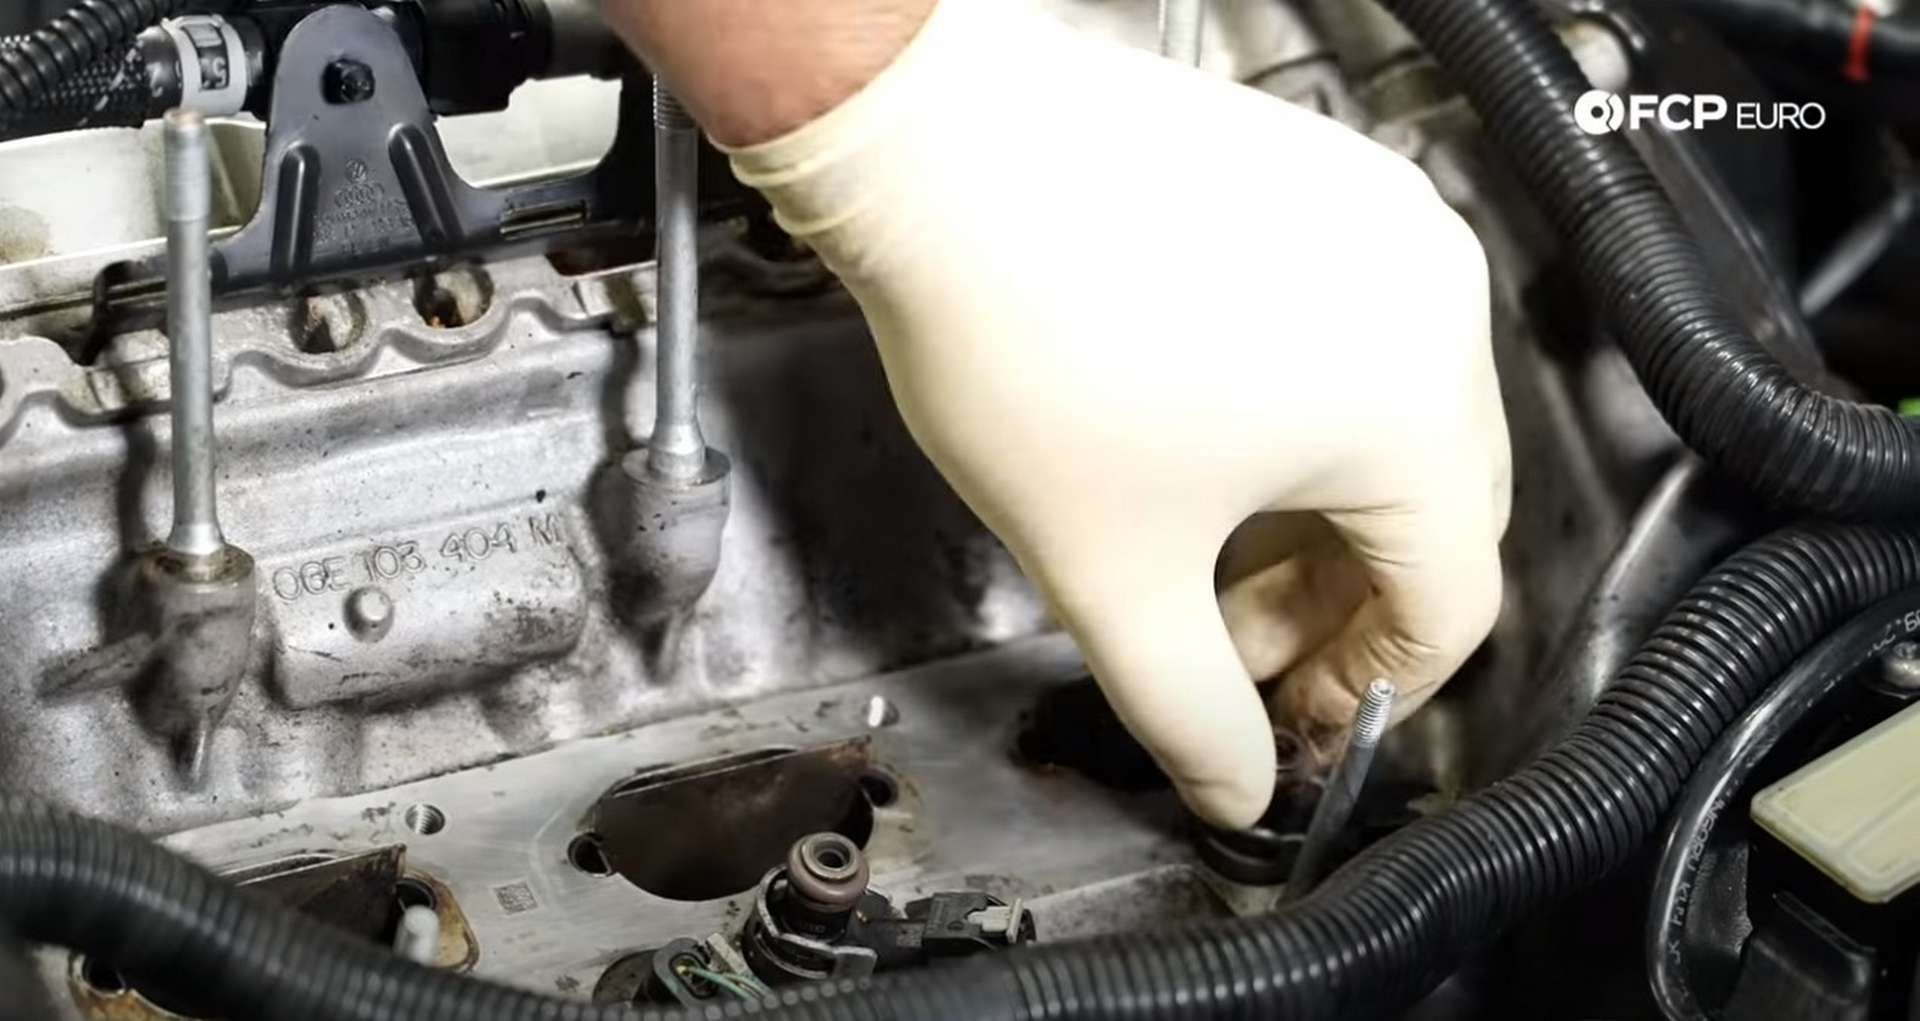
Then, use a pair of pliers to pull the dividers out of the intake ports. At this point, the intake ports are ready, and you should tape over the ports that aren't being walnut blasted. Use vacuum caps or anything you can find to cover the tops of the fuel injectors to keep them clean.


Step 4: Closing the intake valves
Jack the car up to give yourself access to the front of the engine from under the car. Then take the CTA1412 socket and place it onto the center crankshaft bolt.
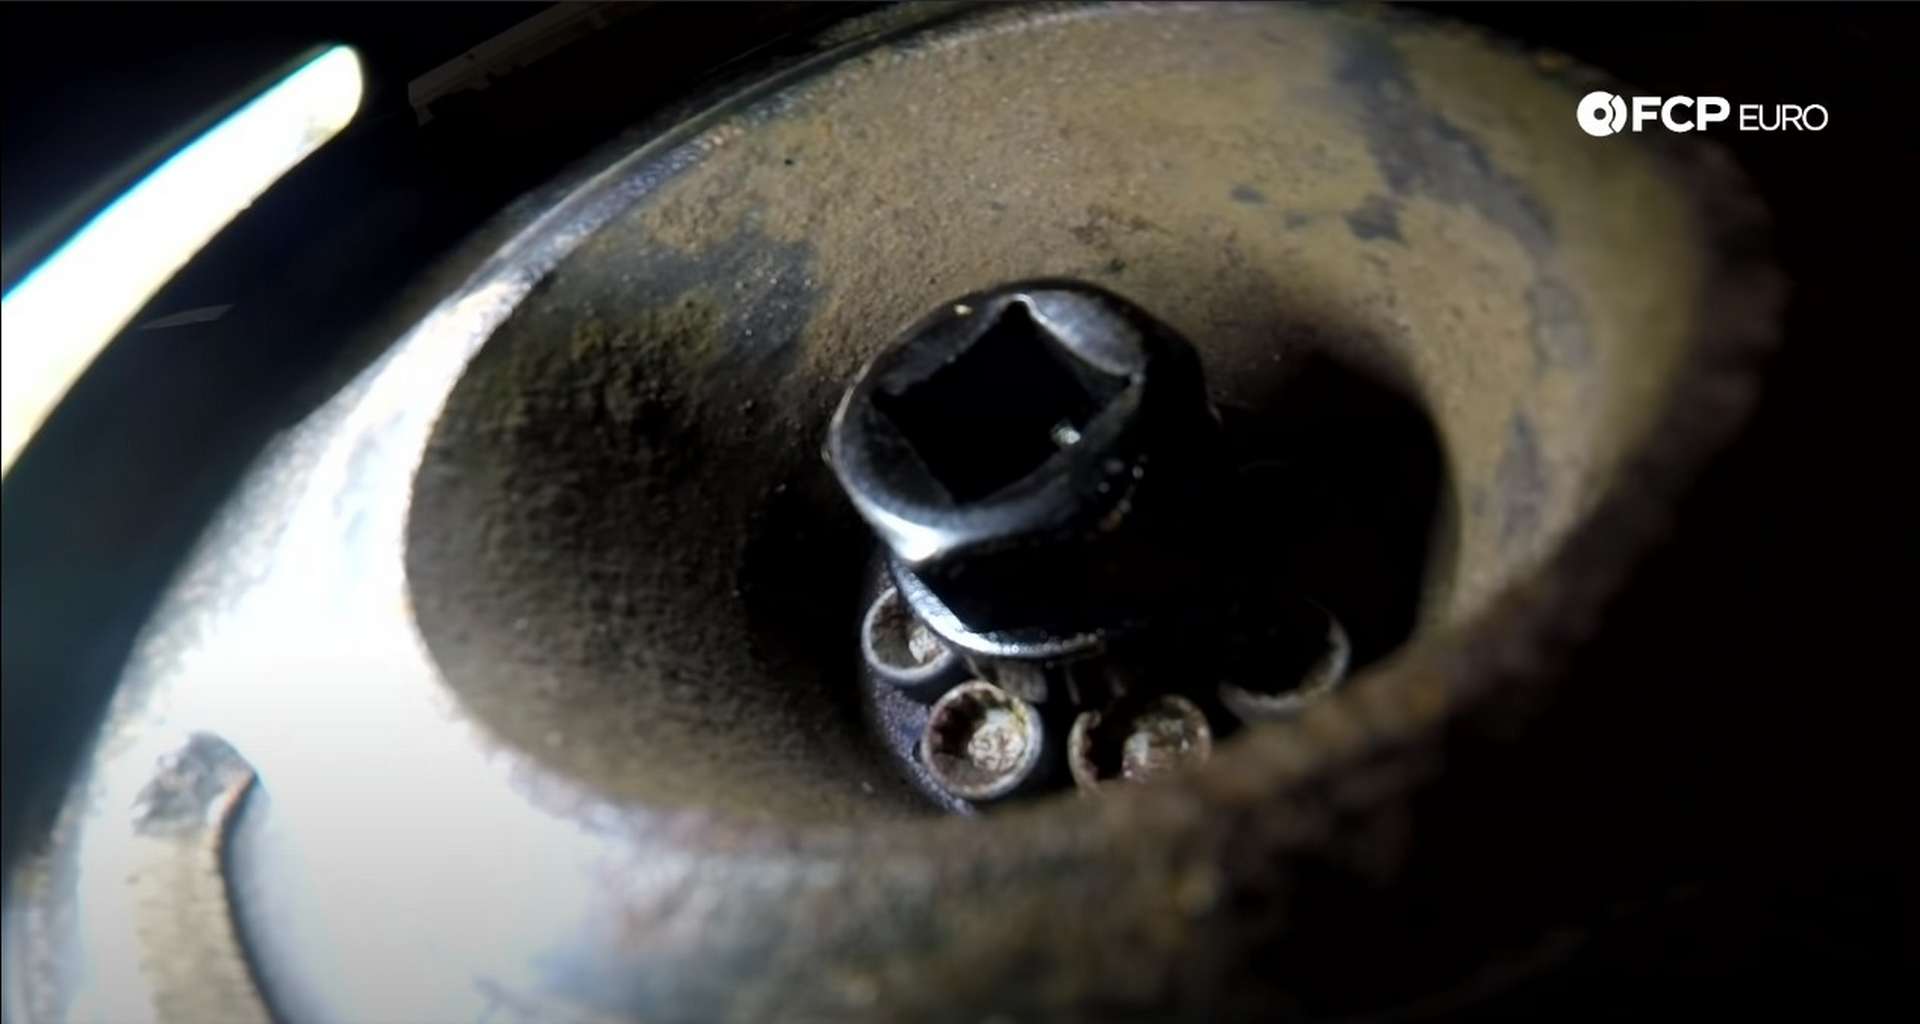
Next, connect a breaker bar or torque wrench to the CTA socket and place the borescope's camera end into the first intake runner. Turn the engine over, clockwise, until you can see that both of the intake valves are completely closed on the borescope.

Once you shut the valves, remove the borescope. Then, use a pick to break up the larger carbon deposits on the valve stems and the intake runners.
Step 5: Clean the intake ports
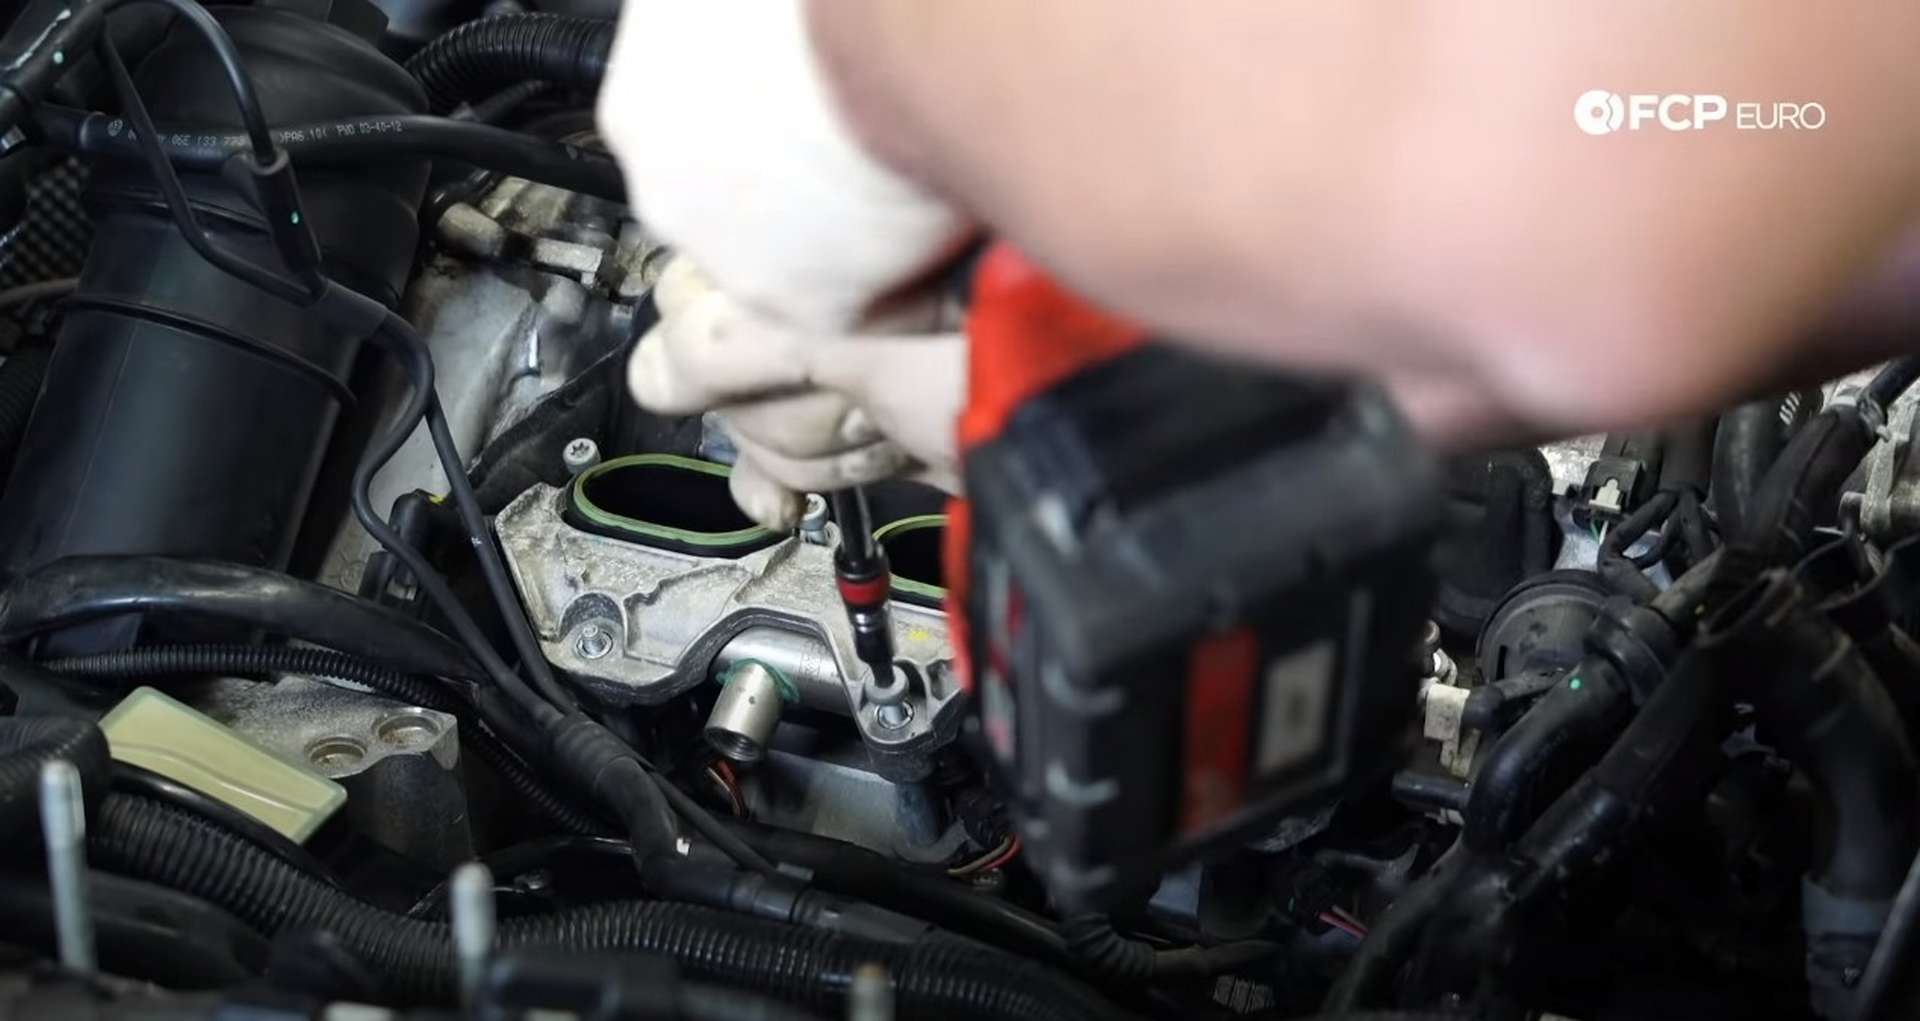
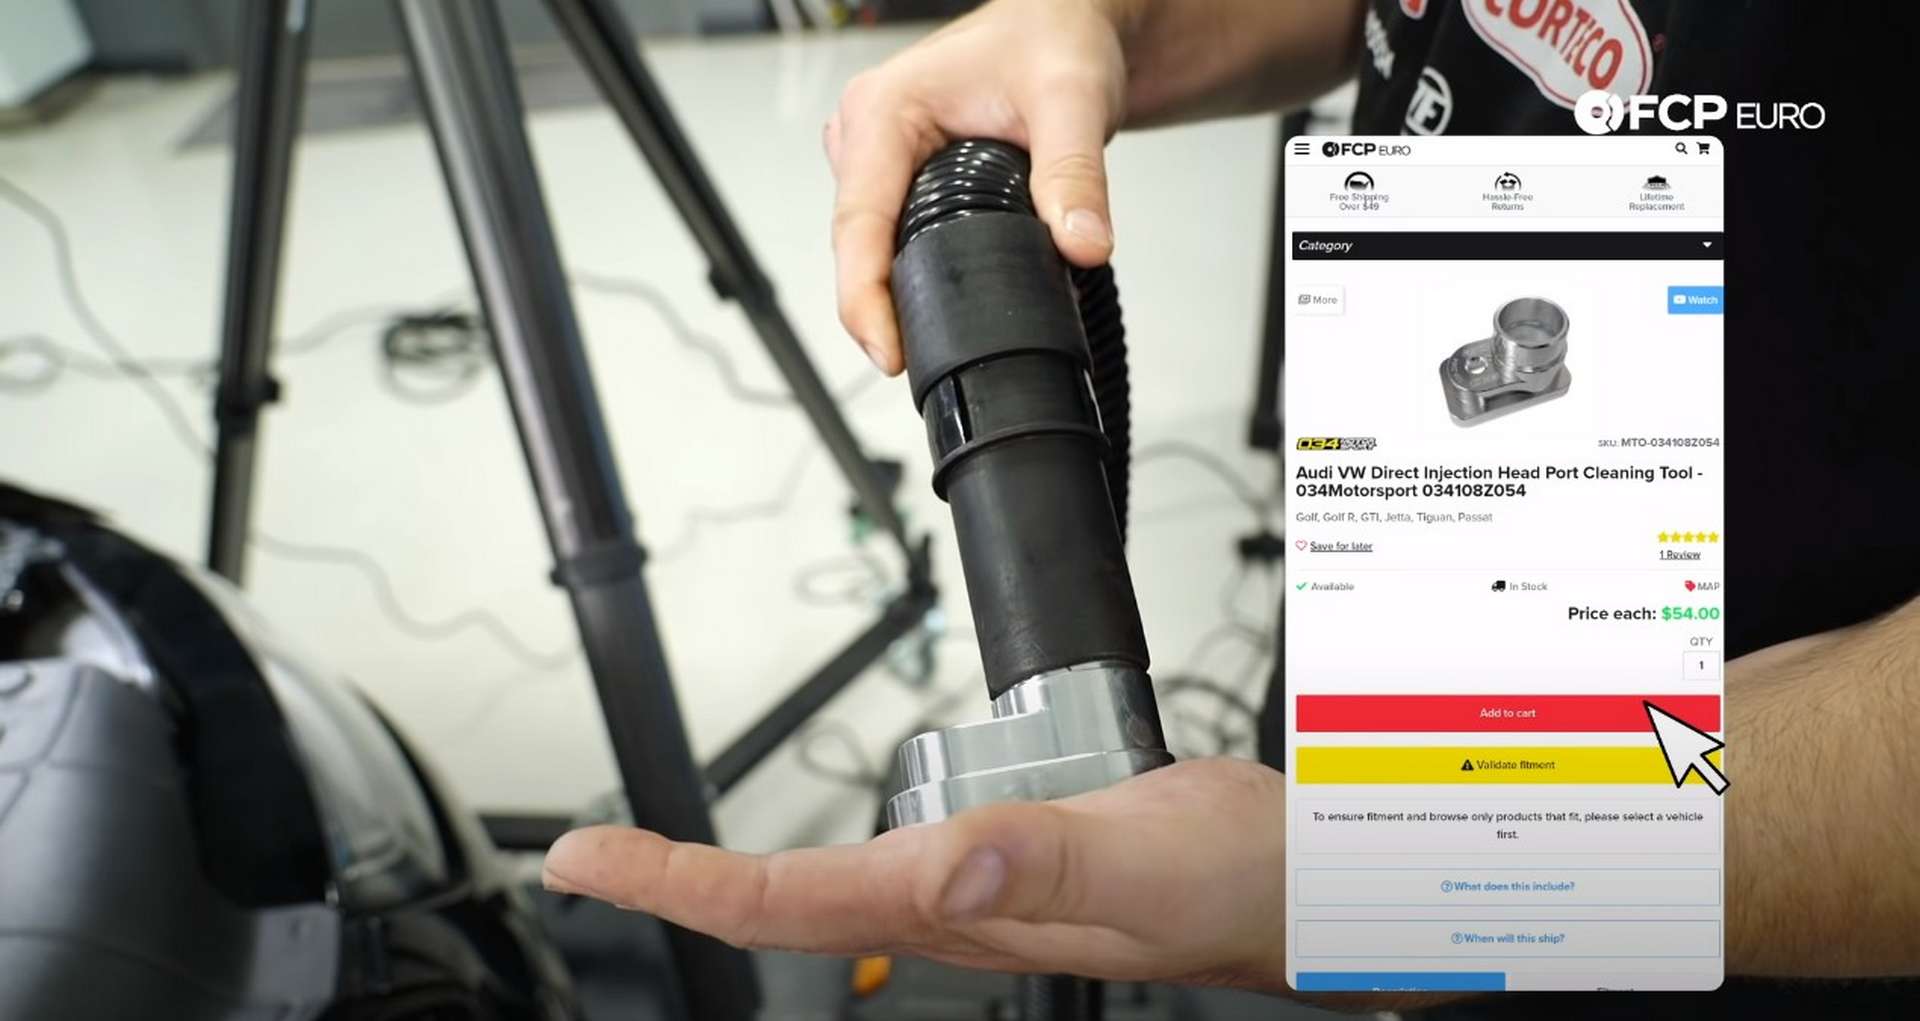
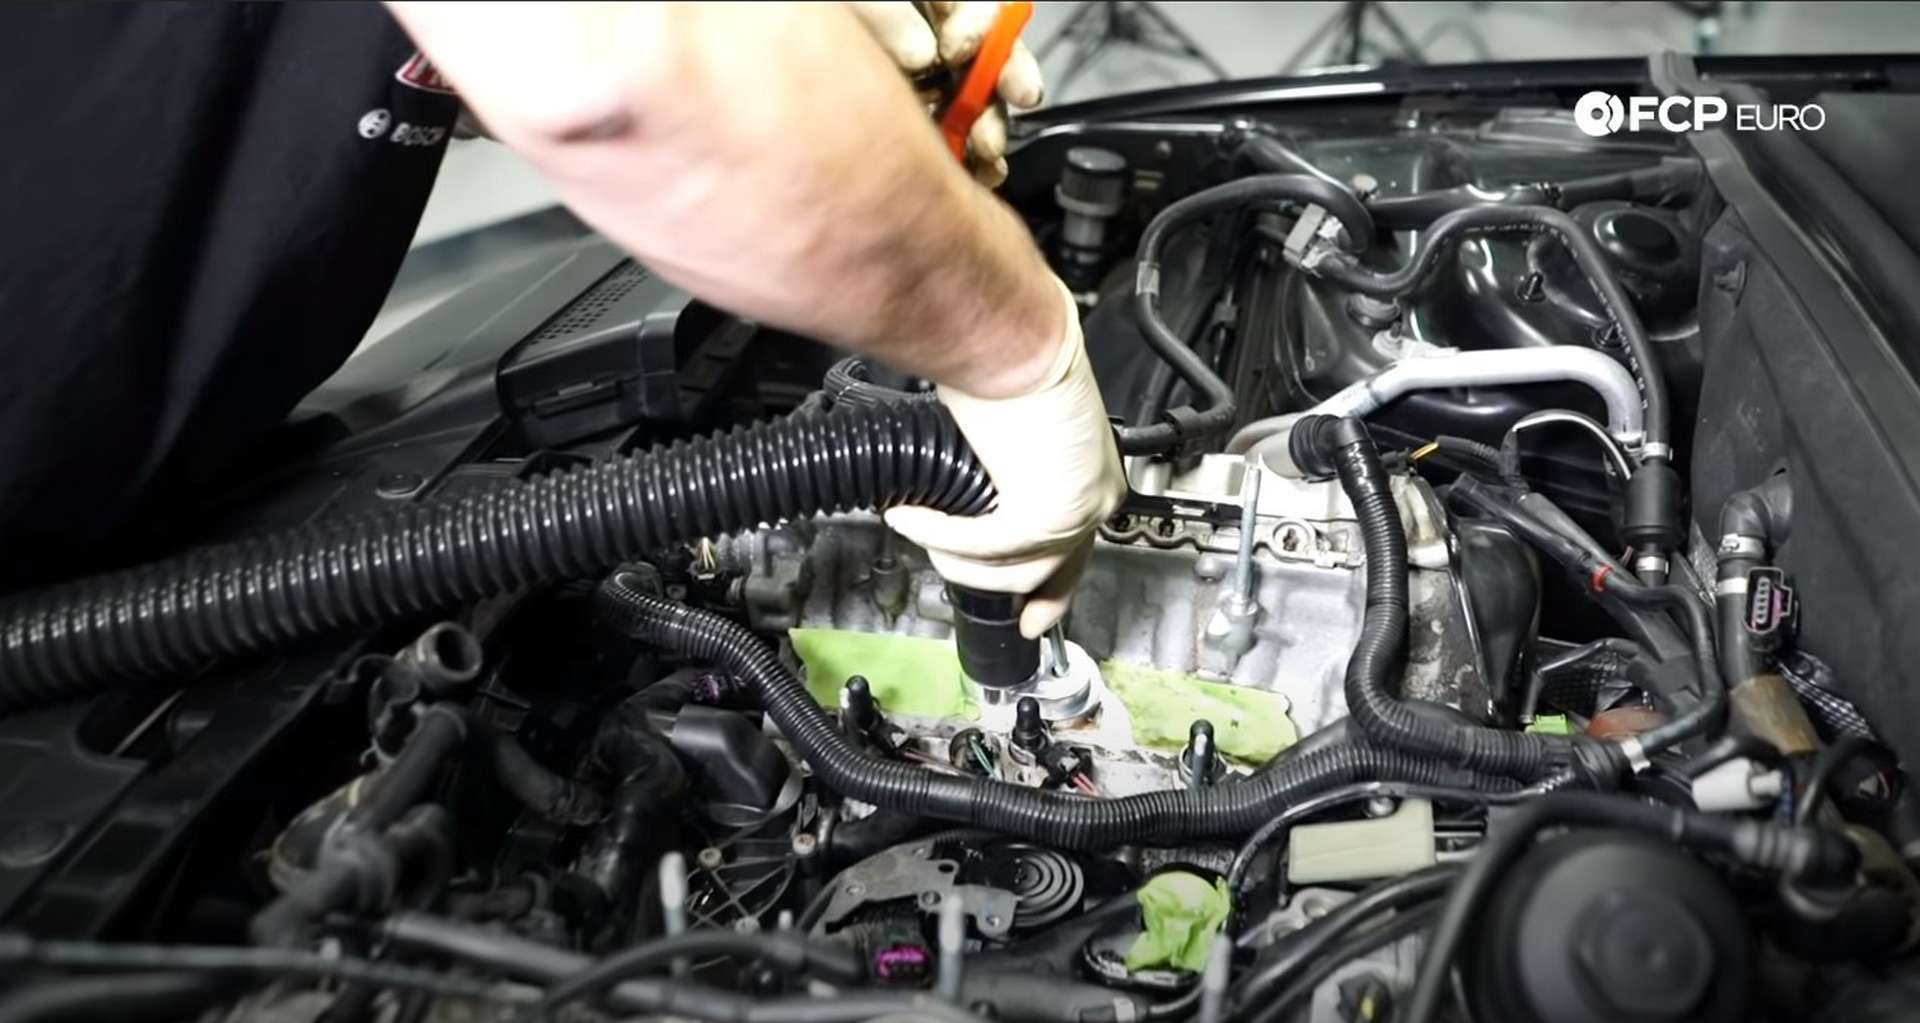
Take the 034 Motorsports tool and insert it into the hose of your vacuum. Then place the vacuum and tool onto the intake port that you are cleaning.
While holding the vacuum and tool on the intake port, place the walnut blaster's nozzle through the small hole in the adapter and start blasting. Use the vacuum to suck out all of the walnut shell pieces.
The shells will get the ports and valves relatively clean, but there are more things you can do to clean them further. Using a product like Liqui Moli's Valve Cleaner and letting it soak in the carbon-covered port before or after the walnut blasting will help free some of the tough carbon build-up. Suck the valve cleaning fluid out of the intake port for disposal. Don't let it drain into the combustion chamber or have it present while you use the walnut blaster.
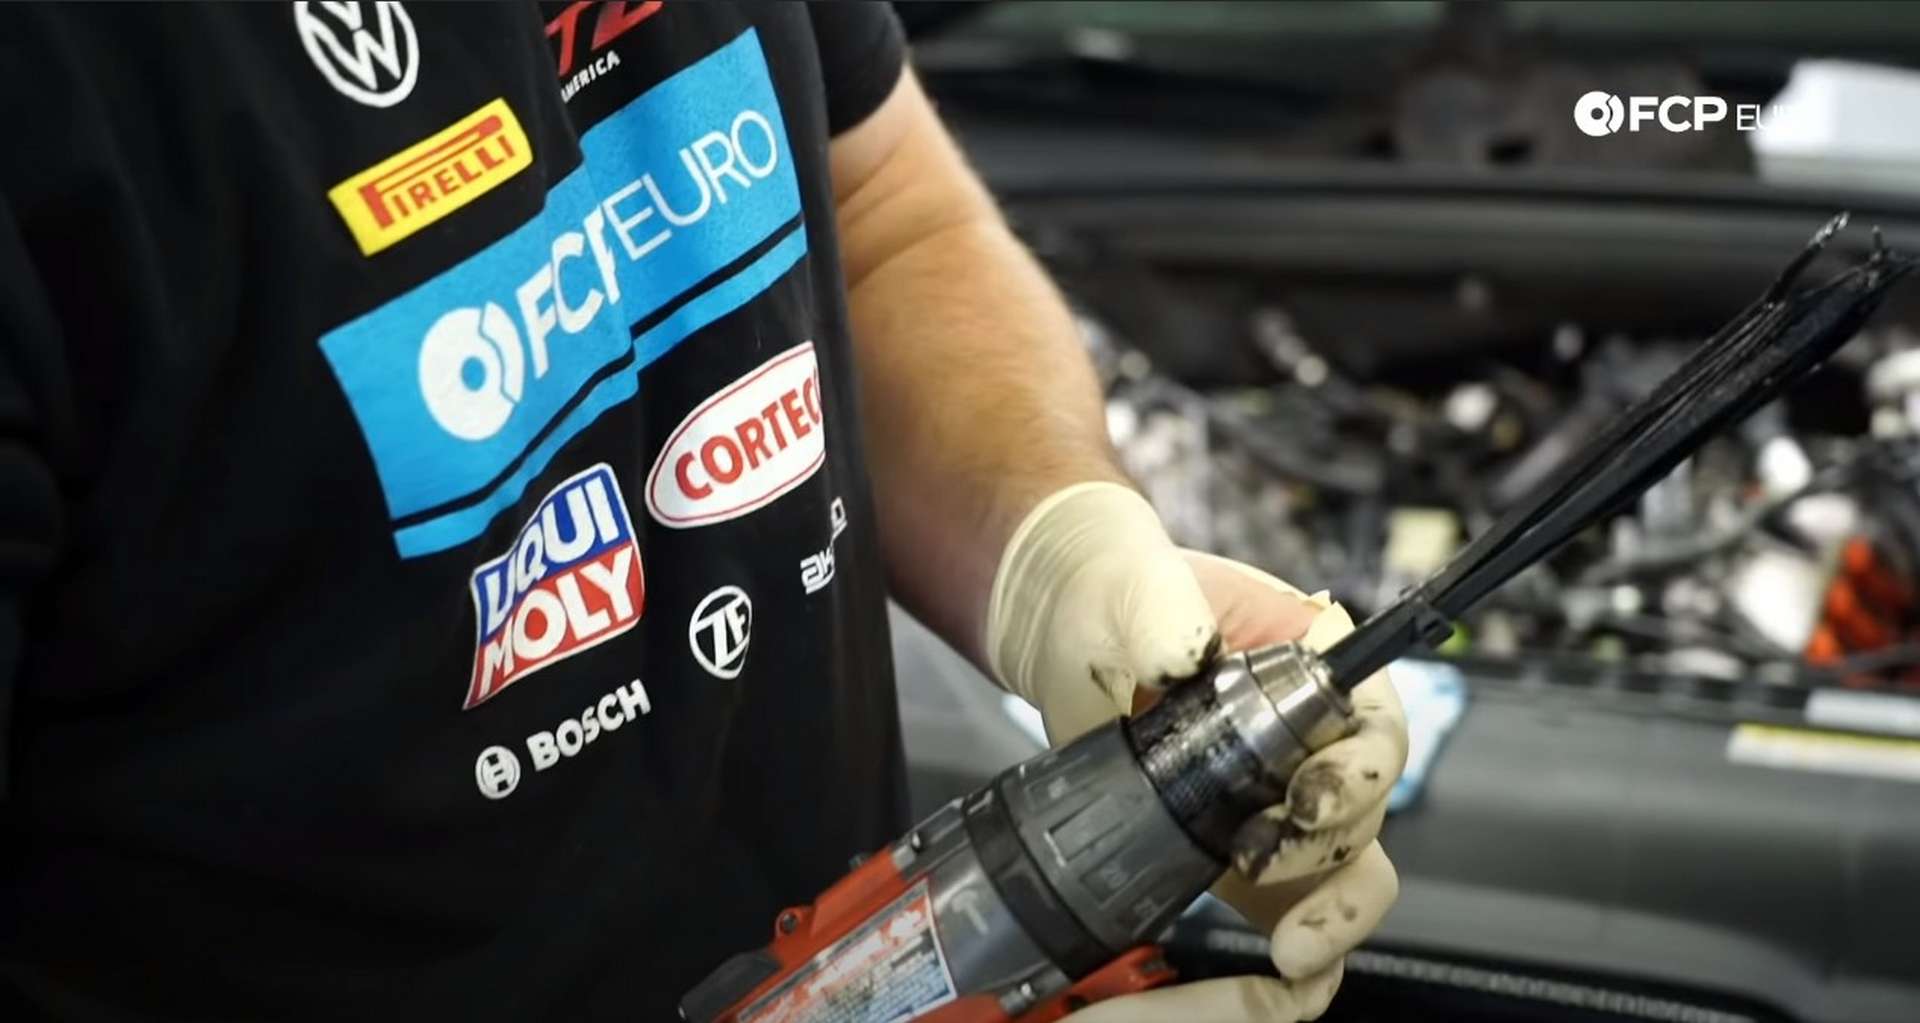
Finally, you can cut the heads off of a bunch of zip ties and put them in a drill. Taken from an Audi technical service bulletin, the zip ties will create a useful tool against the carbon without damaging any of the valvetrain.
Ensure the intake ports are free of as much debris as possible before rotating the engine to close the valves in another port. Additionally, don't forget to close the valves in the port you are cleaning before doing anything else.
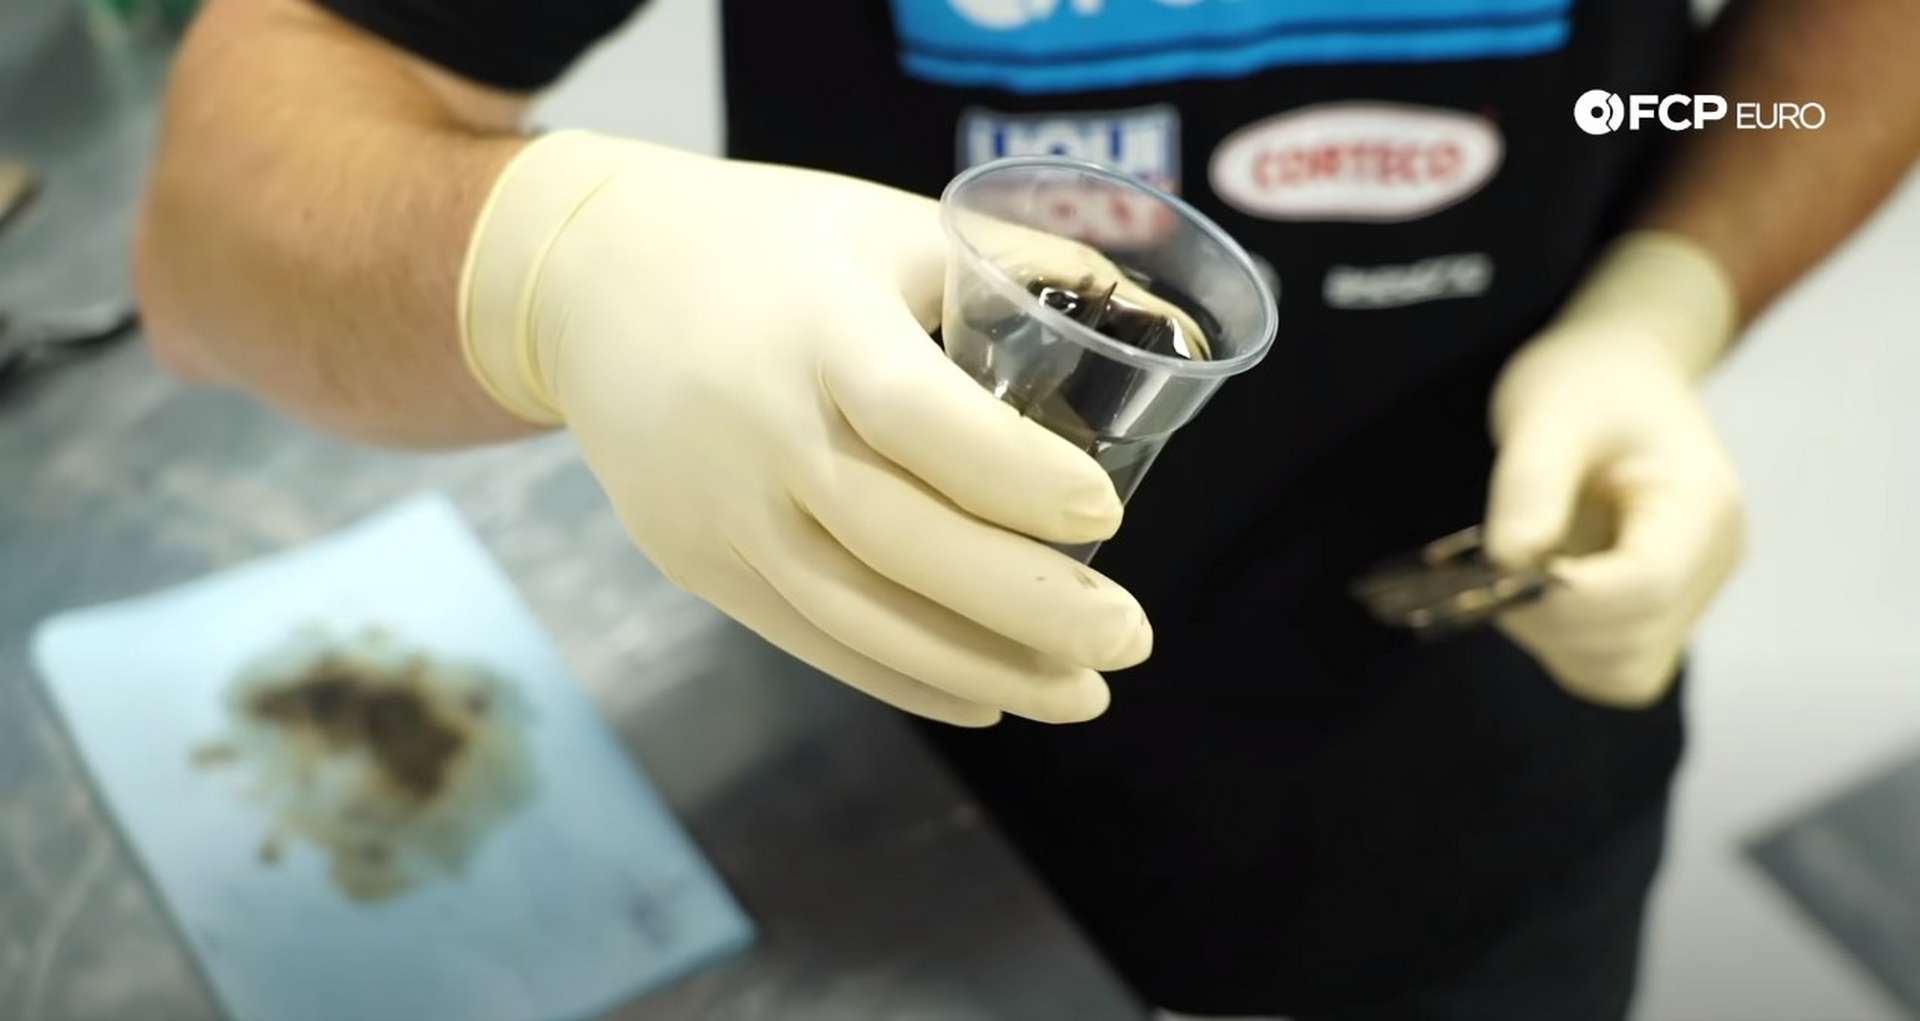
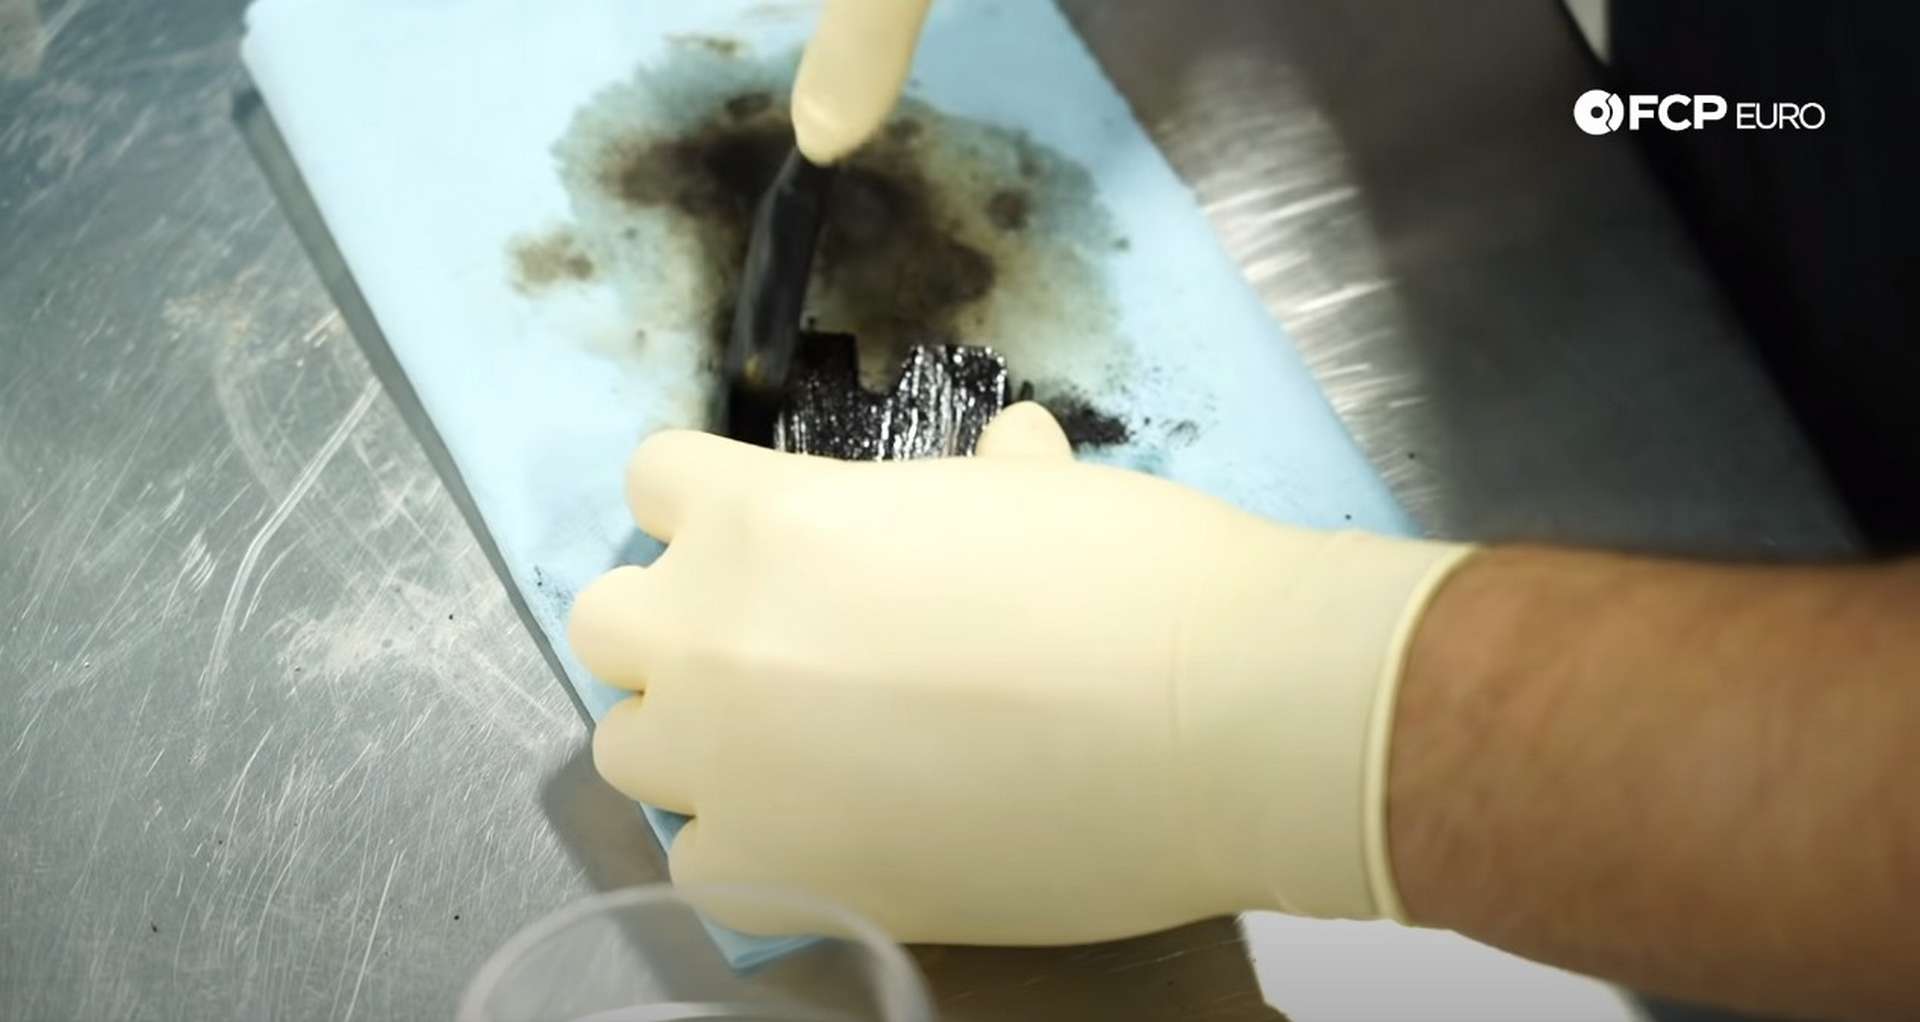
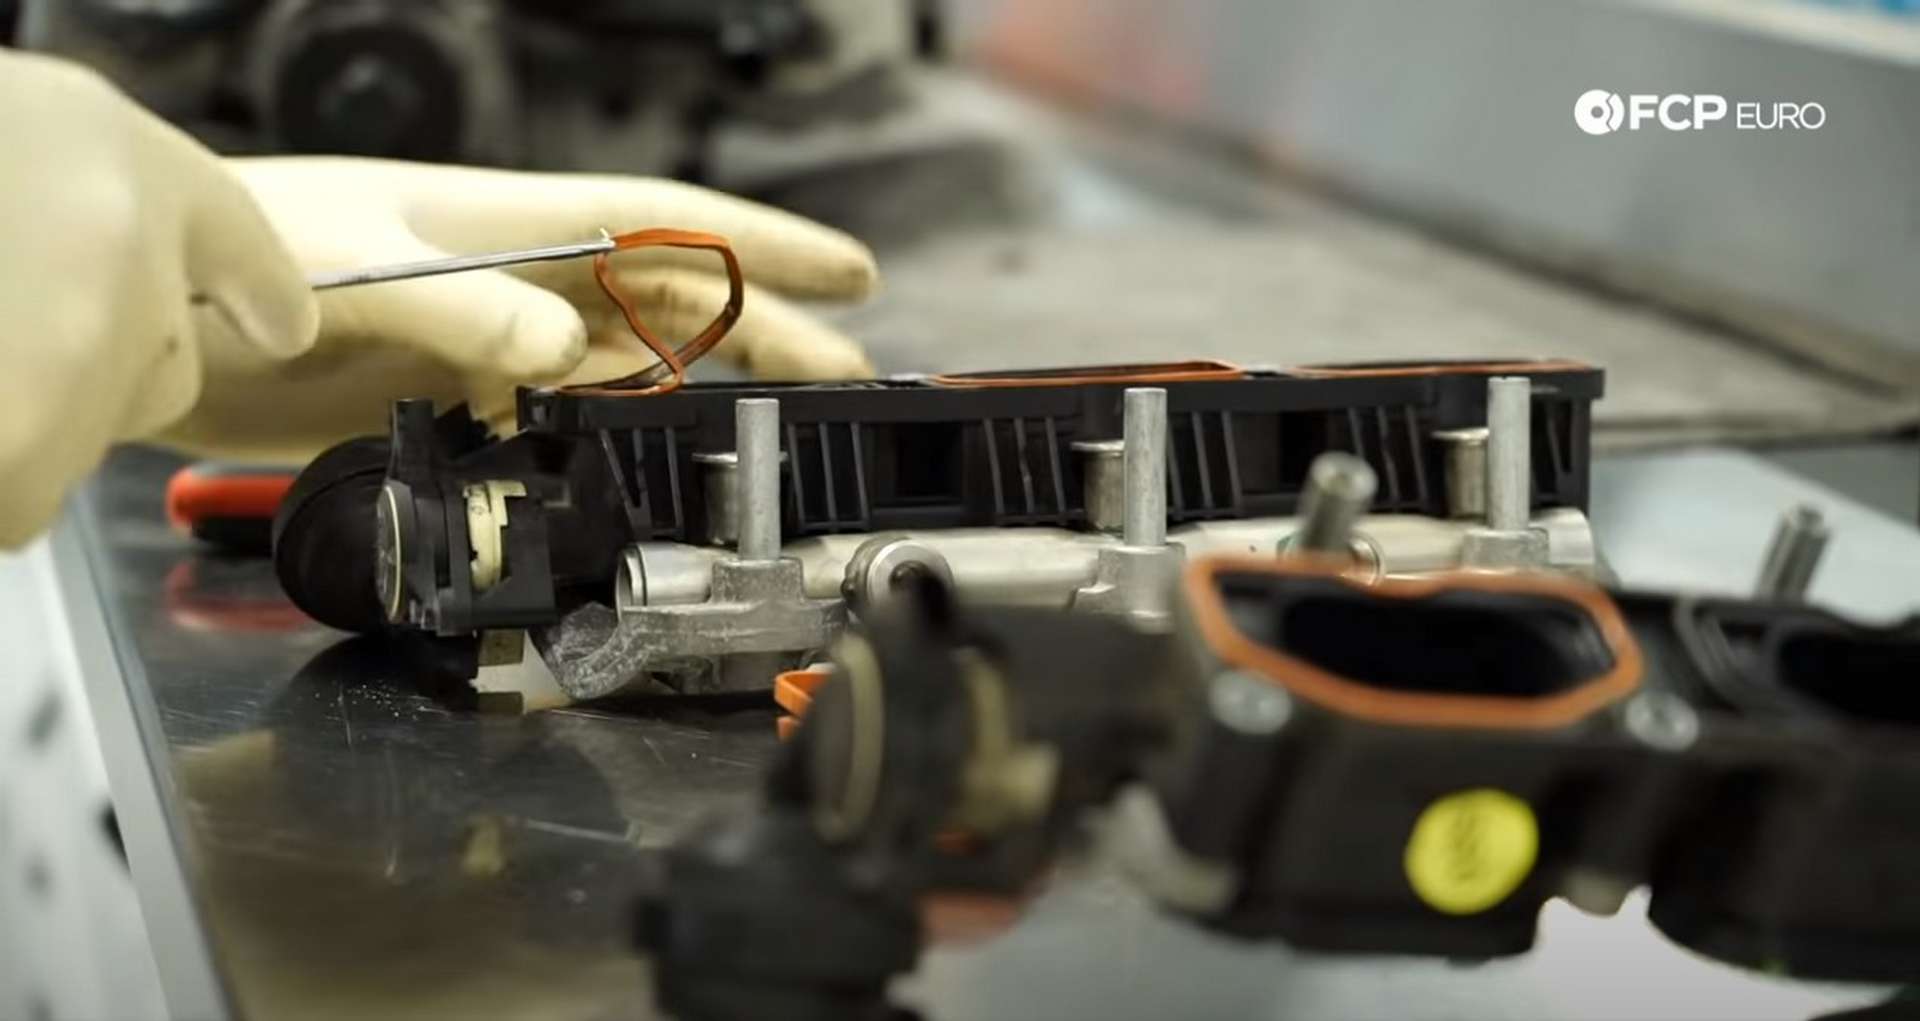
As you clean the valves, have the intake port dividers soaking in the valve cleaner. Pull them out every thirty minutes to agitate the carbon with a stiff-bristled brush. Return the dividers into the cleaner until they are free of carbon.
Once the ports and the dividers are clean, reinstall the dividers.
Step 6: Reinstalling the manifolds
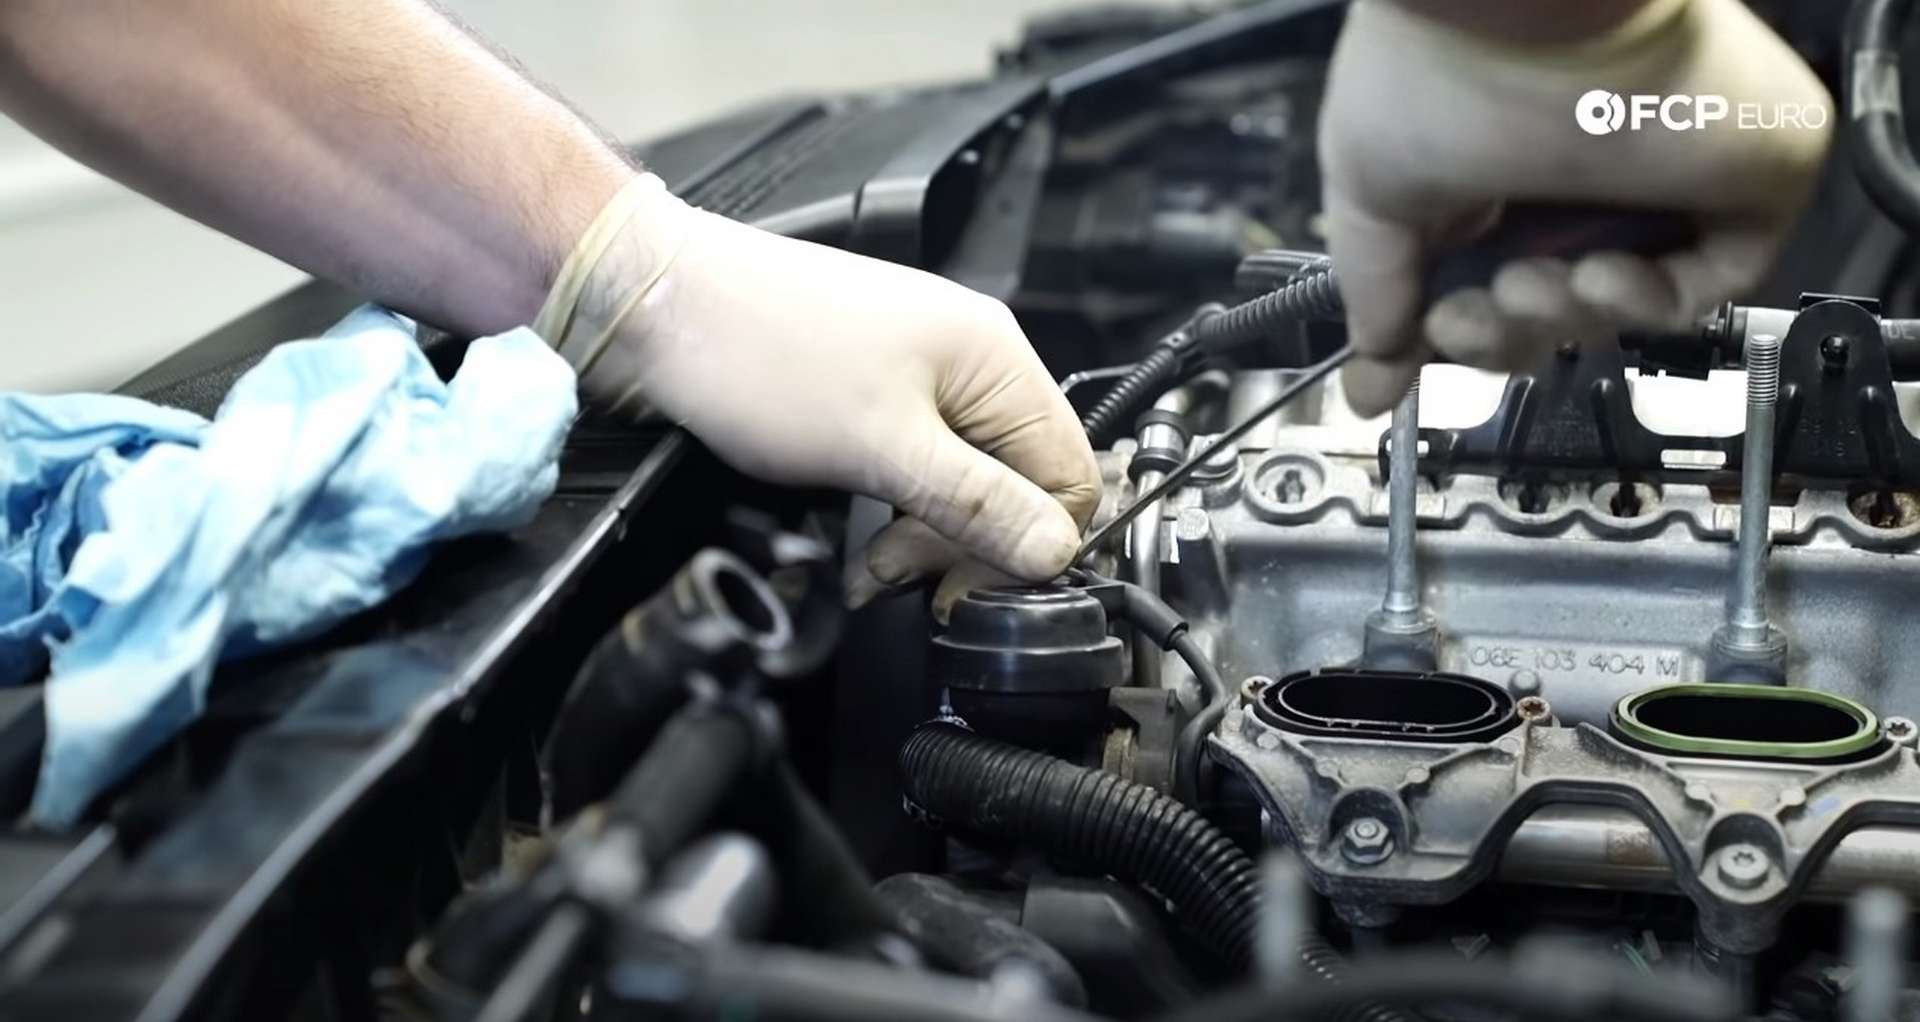
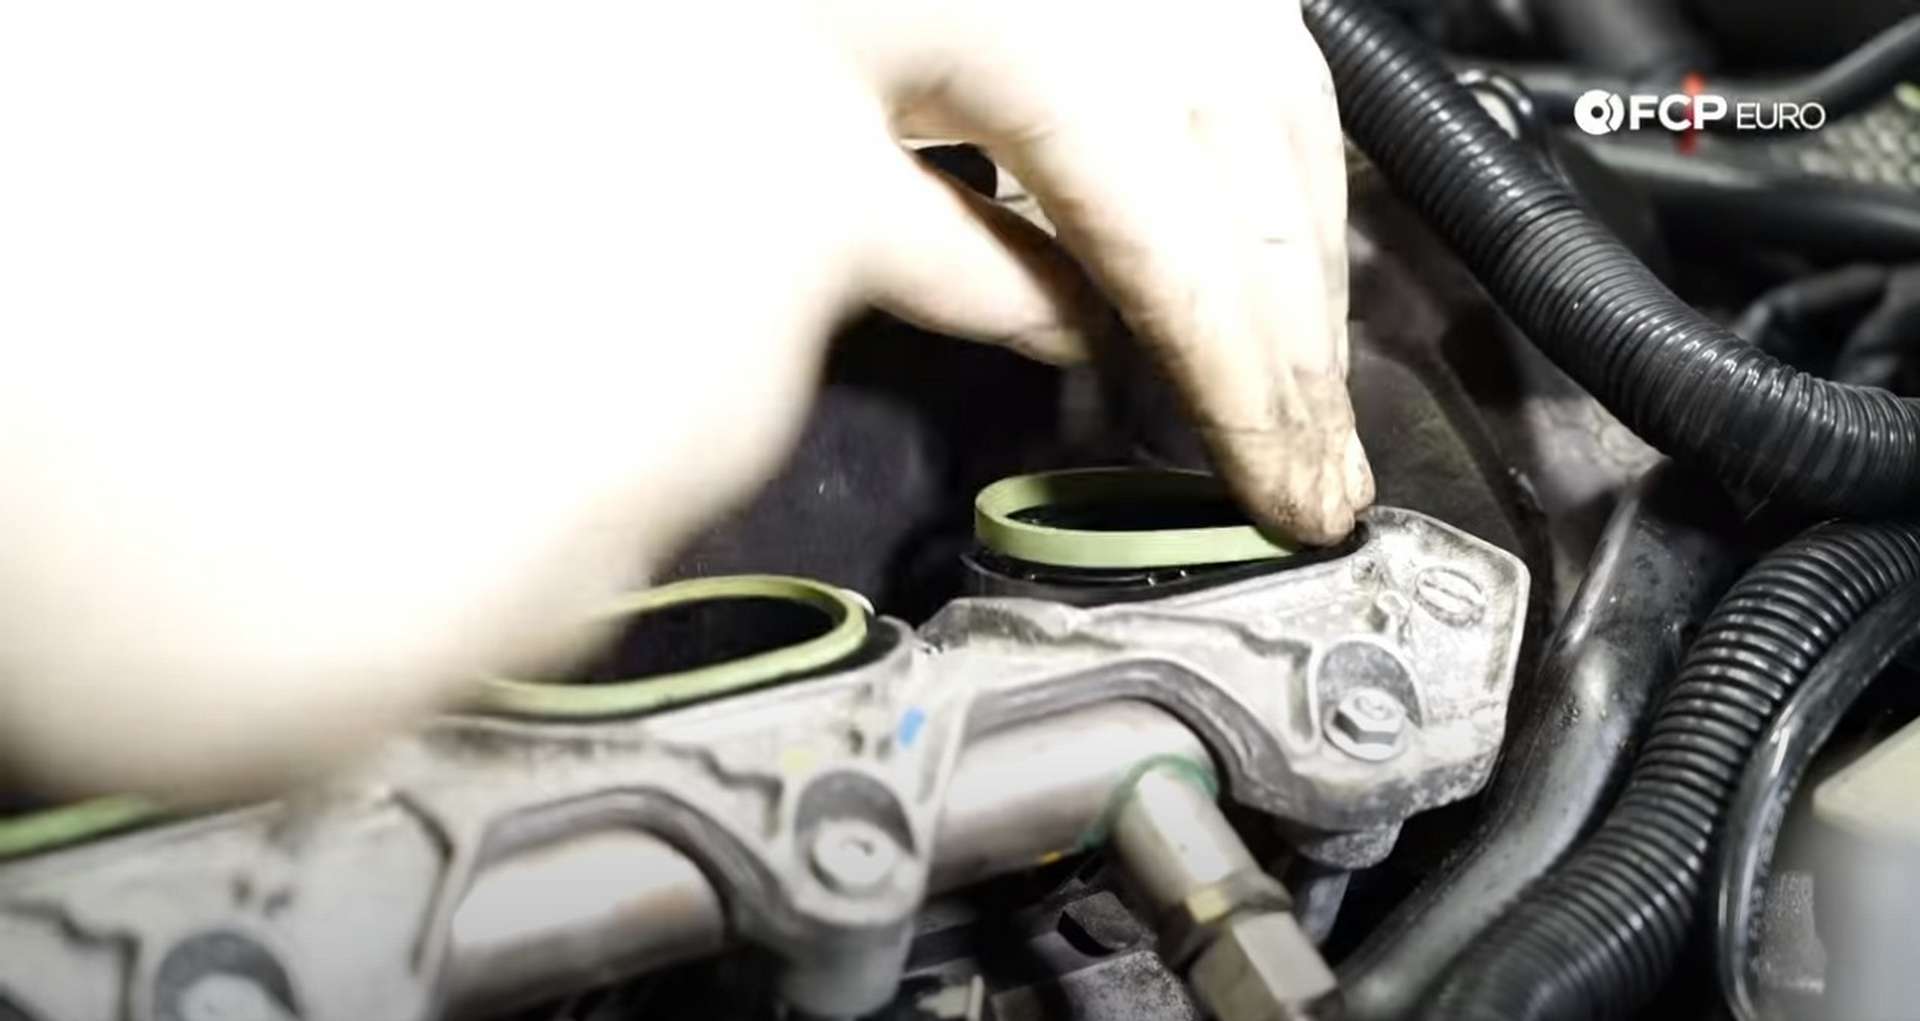
Use a pick to remove the old fuel injector o-rings from the manifold. Then, place the new o-rings onto the tops of the injectors.

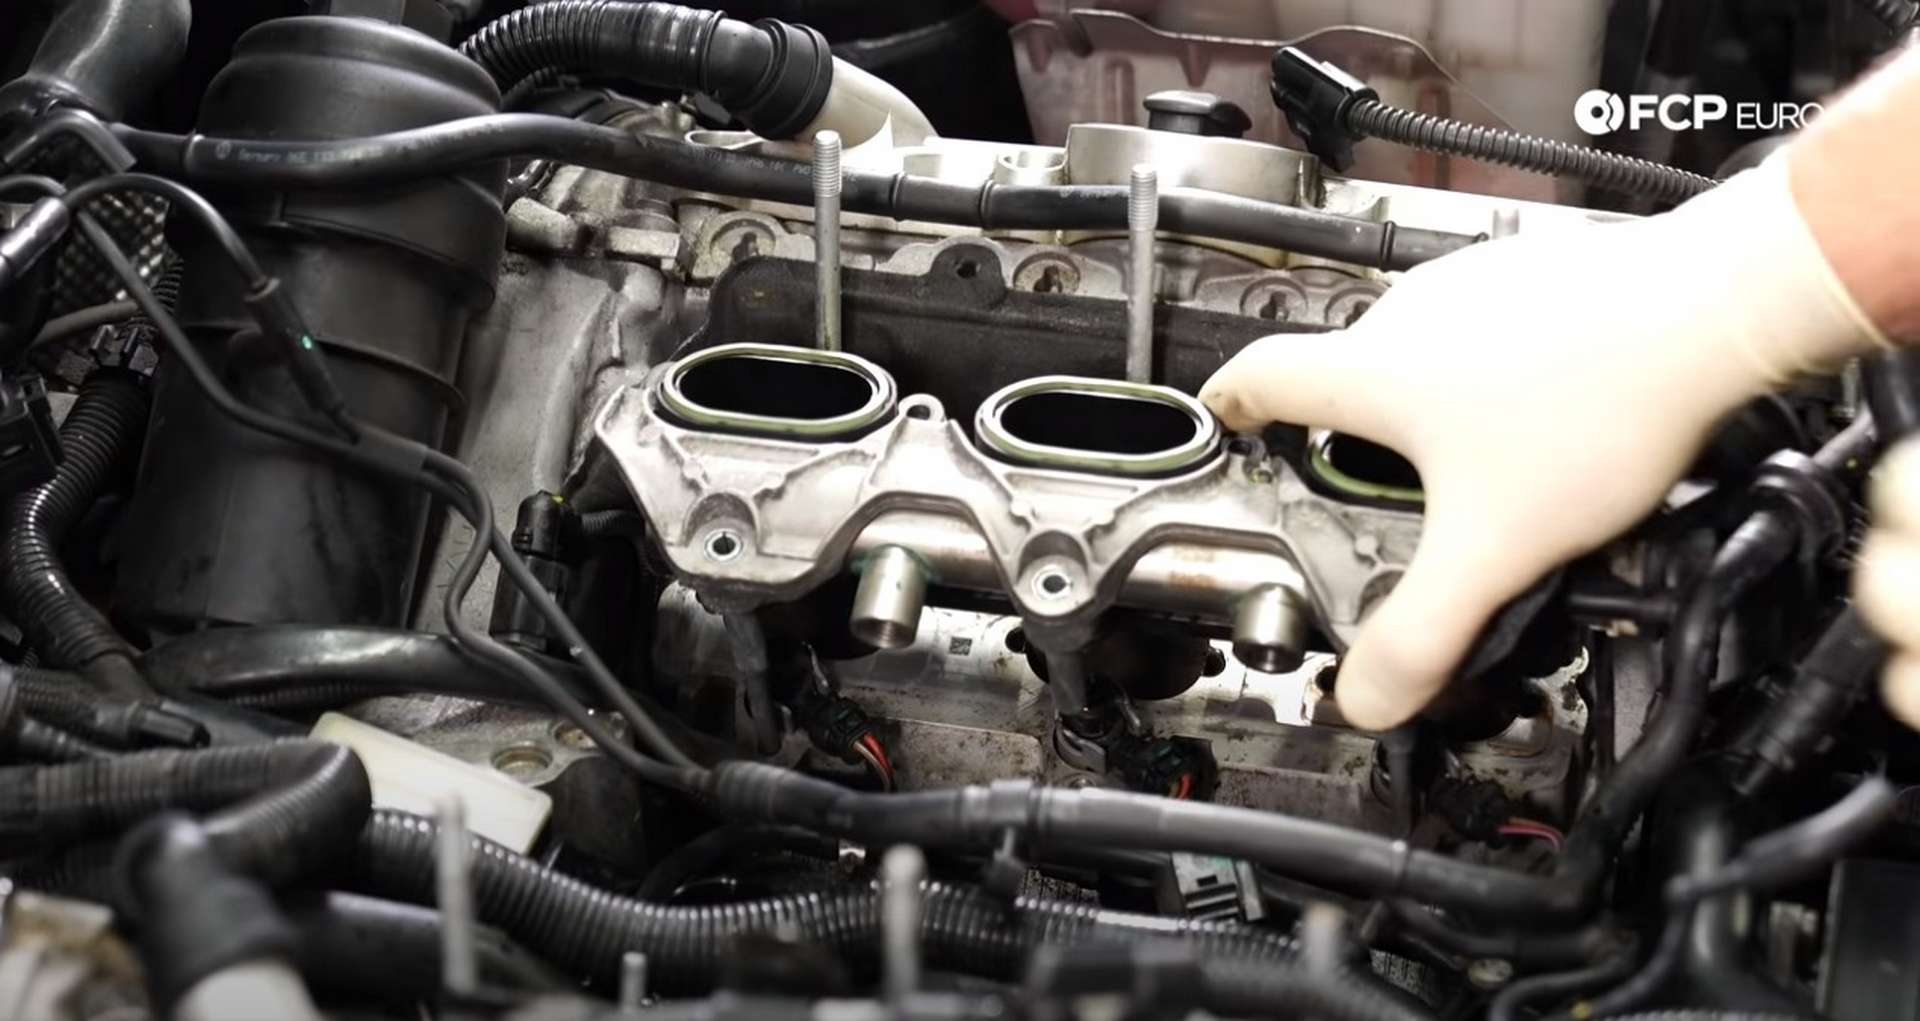
Next, remove and replace the old gaskets on the intake manifolds.
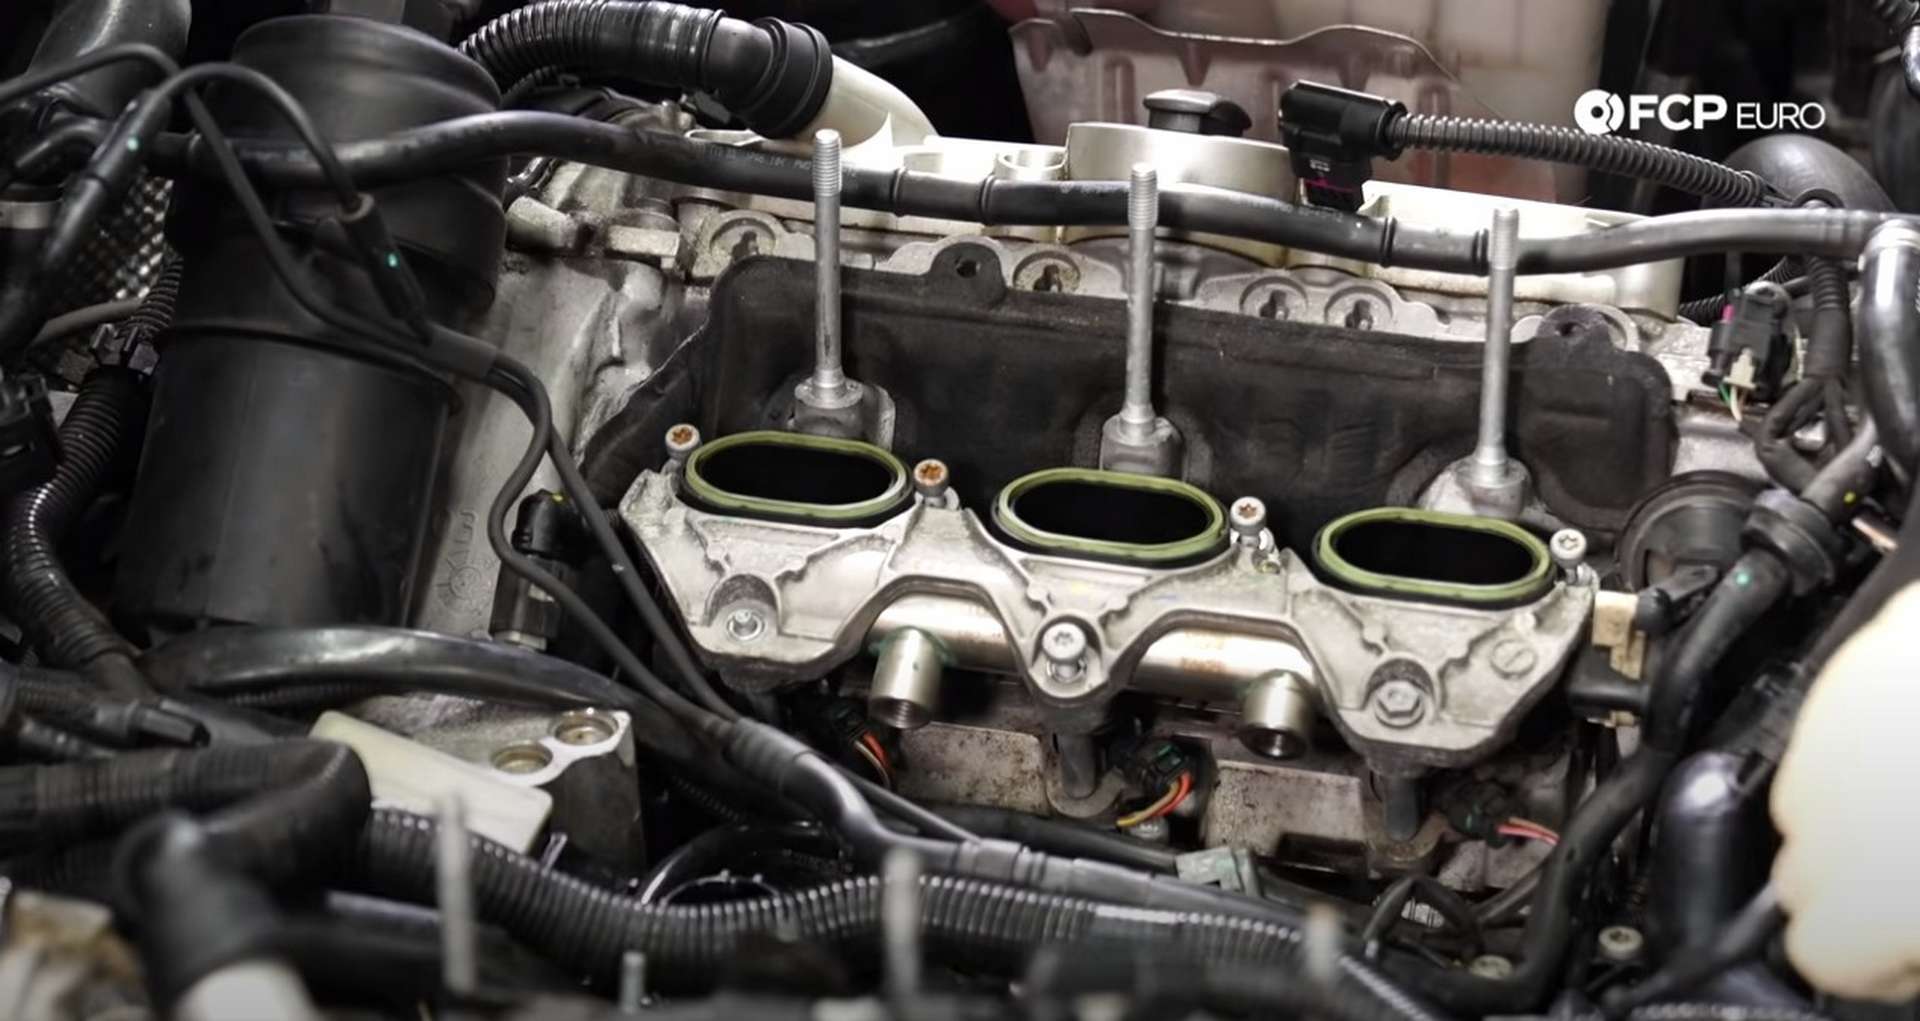
Take the driver's side manifold and install it onto the engine. First, plug in the vacuum line and position sensor connector. Then seat the manifold onto the fuel injectors and mounting studs.
As you push the manifold onto the cylinder head, manually move the linkage for the runners' flaps to prevent the flaps from getting jammed on the intake port dividers. Then, fasten the manifold to the head. Install the larger T30 bolt in the hole between the studs and install the smaller T30 bolts in the four spots above the ports. Use the two 10mm nuts on the studs.
Torque all of the mounting hardware to 9Nm. Then, reinstall the fuel hardlines for the manifolds. Place the hardlines into position and connect the line-to-pump fitting first. Then, reconnect the line to the manifold. Leave both connections loose to allow for some wiggle room when installing the other manifold. If you remove the threaded fuel line fitting on the manifold, thread it in by hand before torquing it to 40Nm with a 19mm wrench or socket.
Next, reinstall the passenger's side intake manifold. Use the same process required for installing the other manifold. Fasten down the second manifold, then move to secure the fuel line. Tighten all of the fuel hardline connections with a 17mm wrench and torque them to 27Nm. Then secure the line to the engine.
Tighten the four hardline mounting bolts with a T30 Torx socket or screwdriver.
Thread in the fuel pressure sensor and torque it to 27Nm with a 22mm wrench. Pug in the sensor and open the door to the car. Opening the door will prime the fuel system, sending fuel through the lines you just tightened. The fuel priming the system will show any leaks that are present.
Lastly, reinstall the protective plate that covers the high-pressure fuel pump. Use a 10mm socket to tighten the two nuts that secure the plate to the engine.
Step 7: Reinstall the supercharger
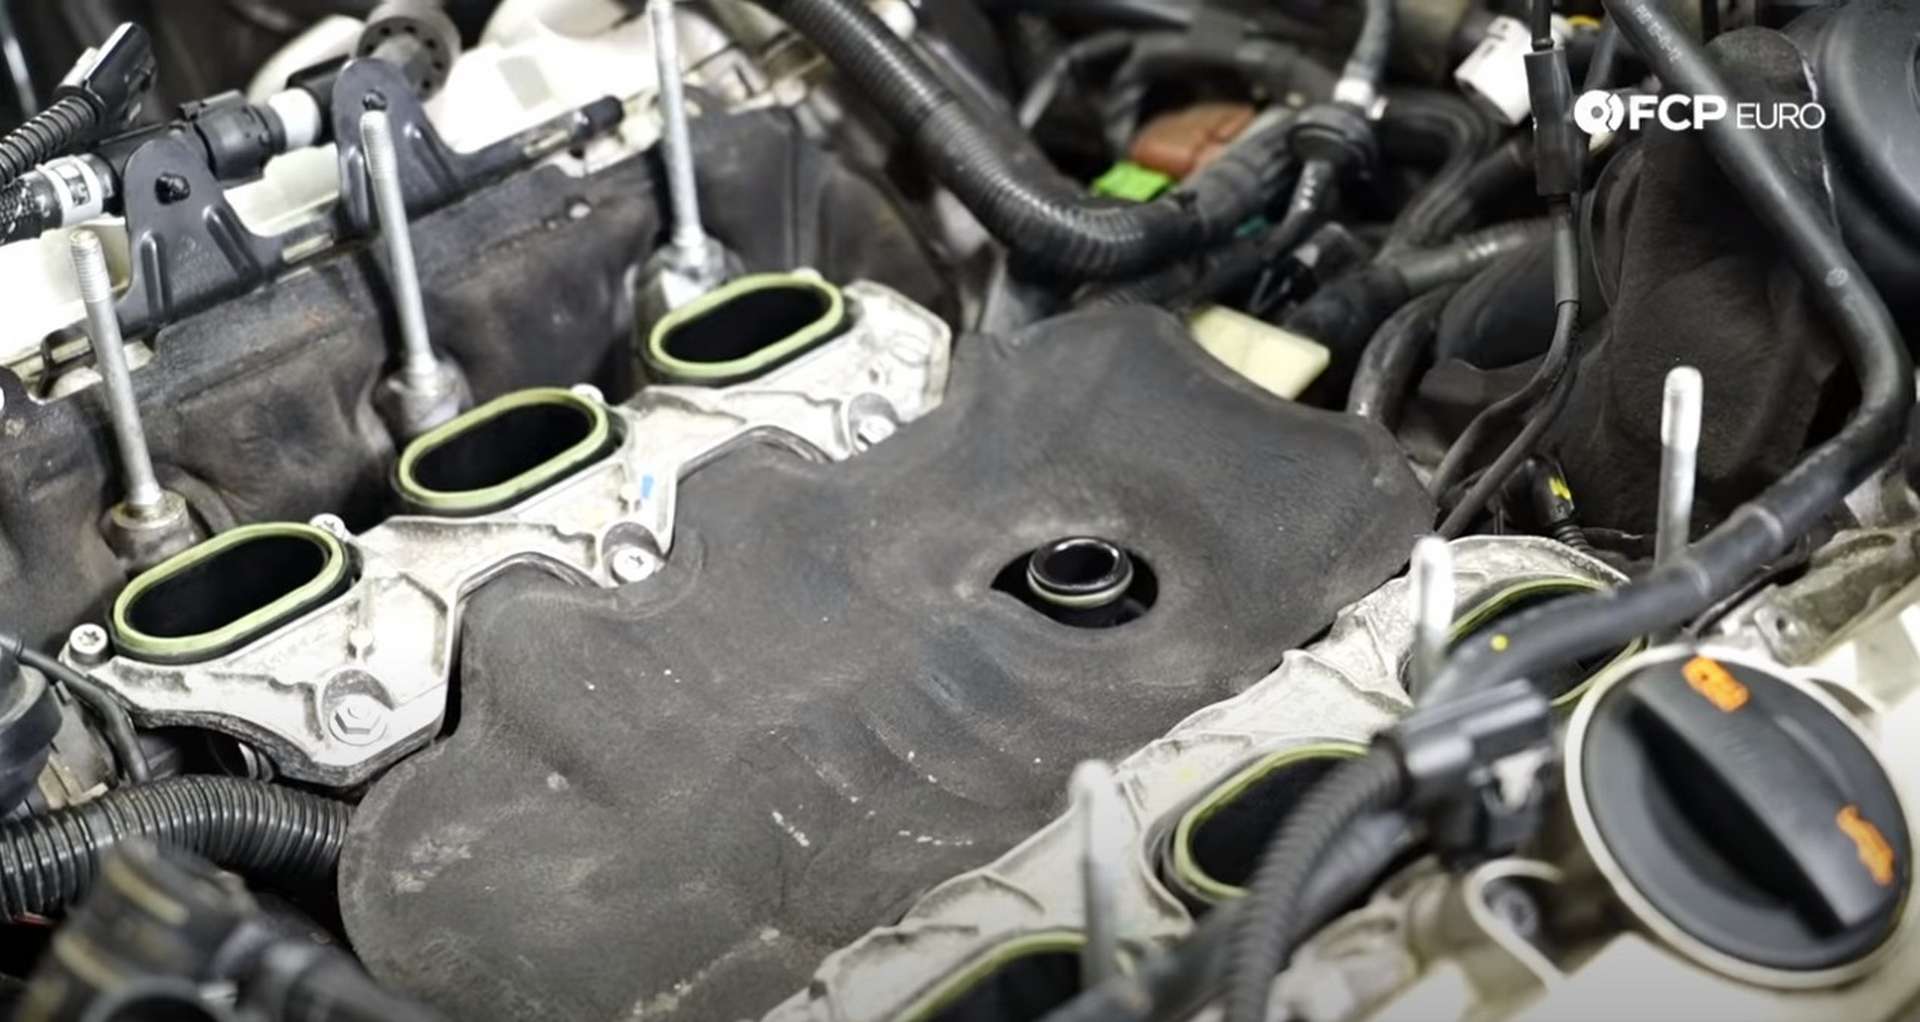
First, refit any pieces of insulation that you may have removed during the job. Then, remove the old, green supercharger gaskets and replace them with new ones.
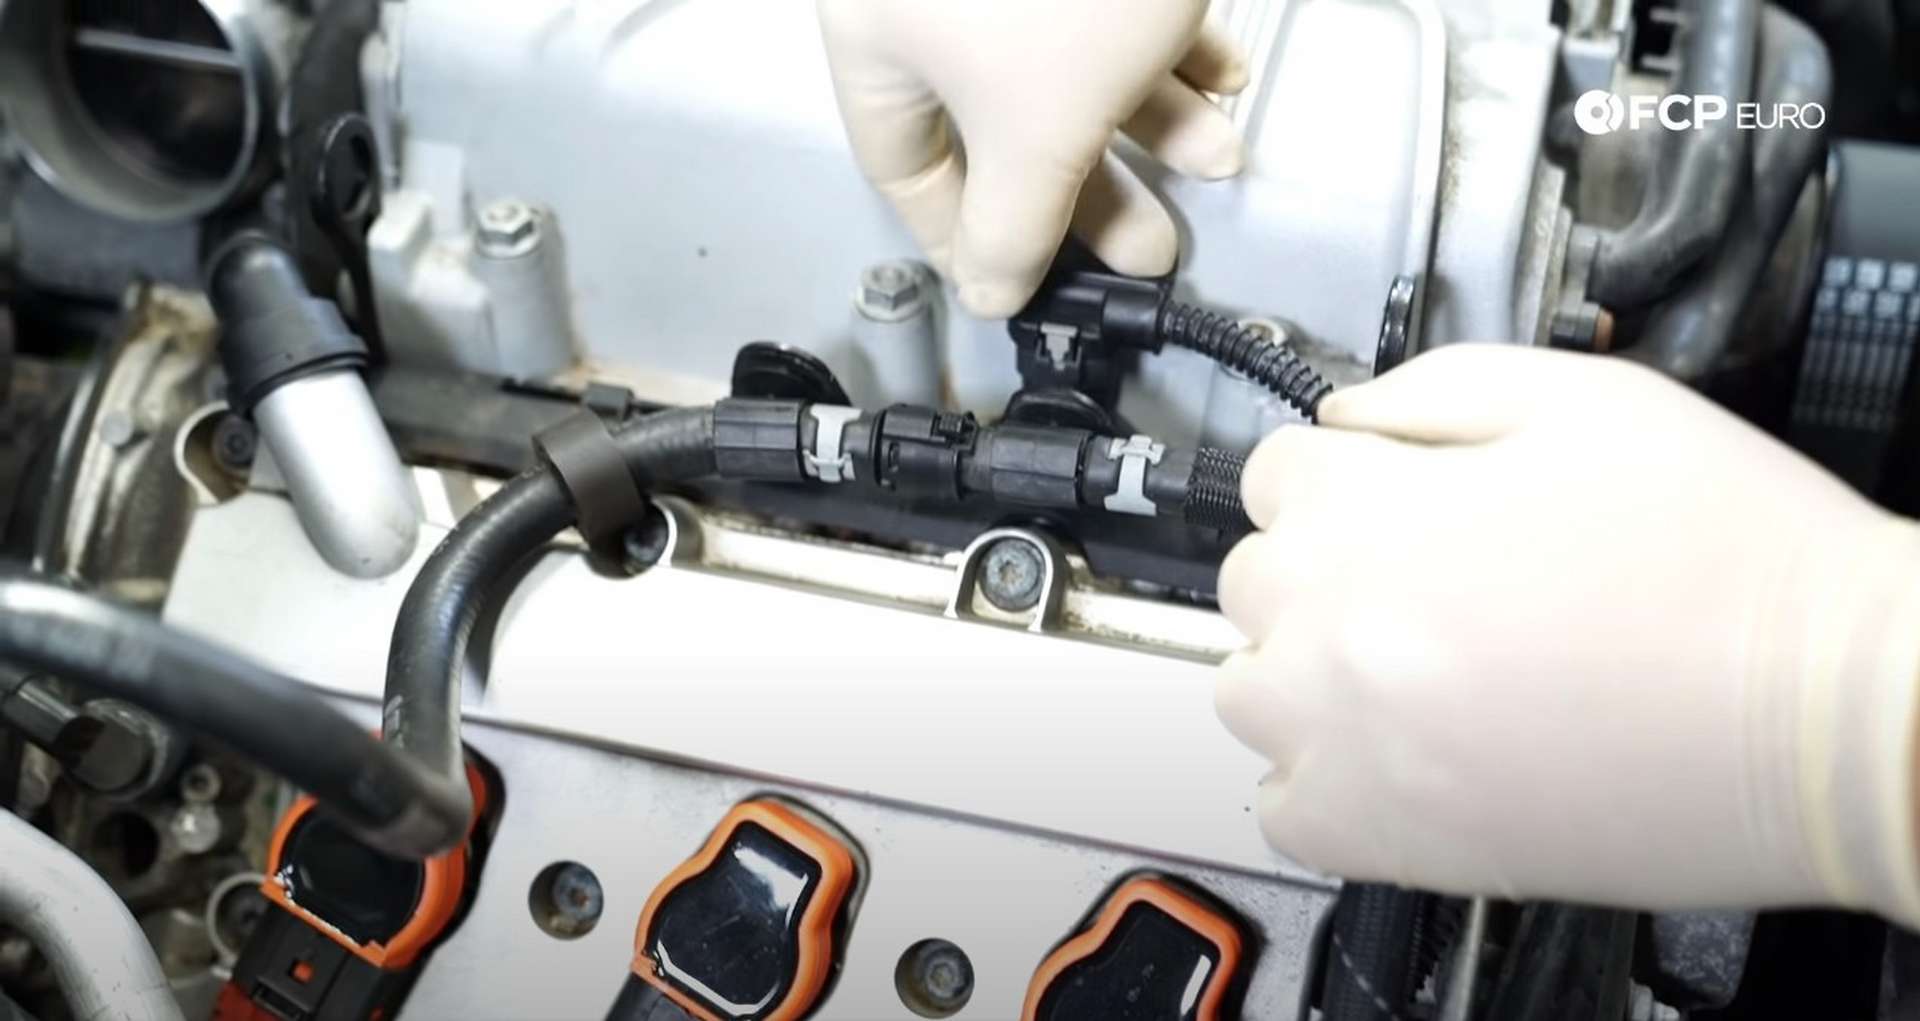
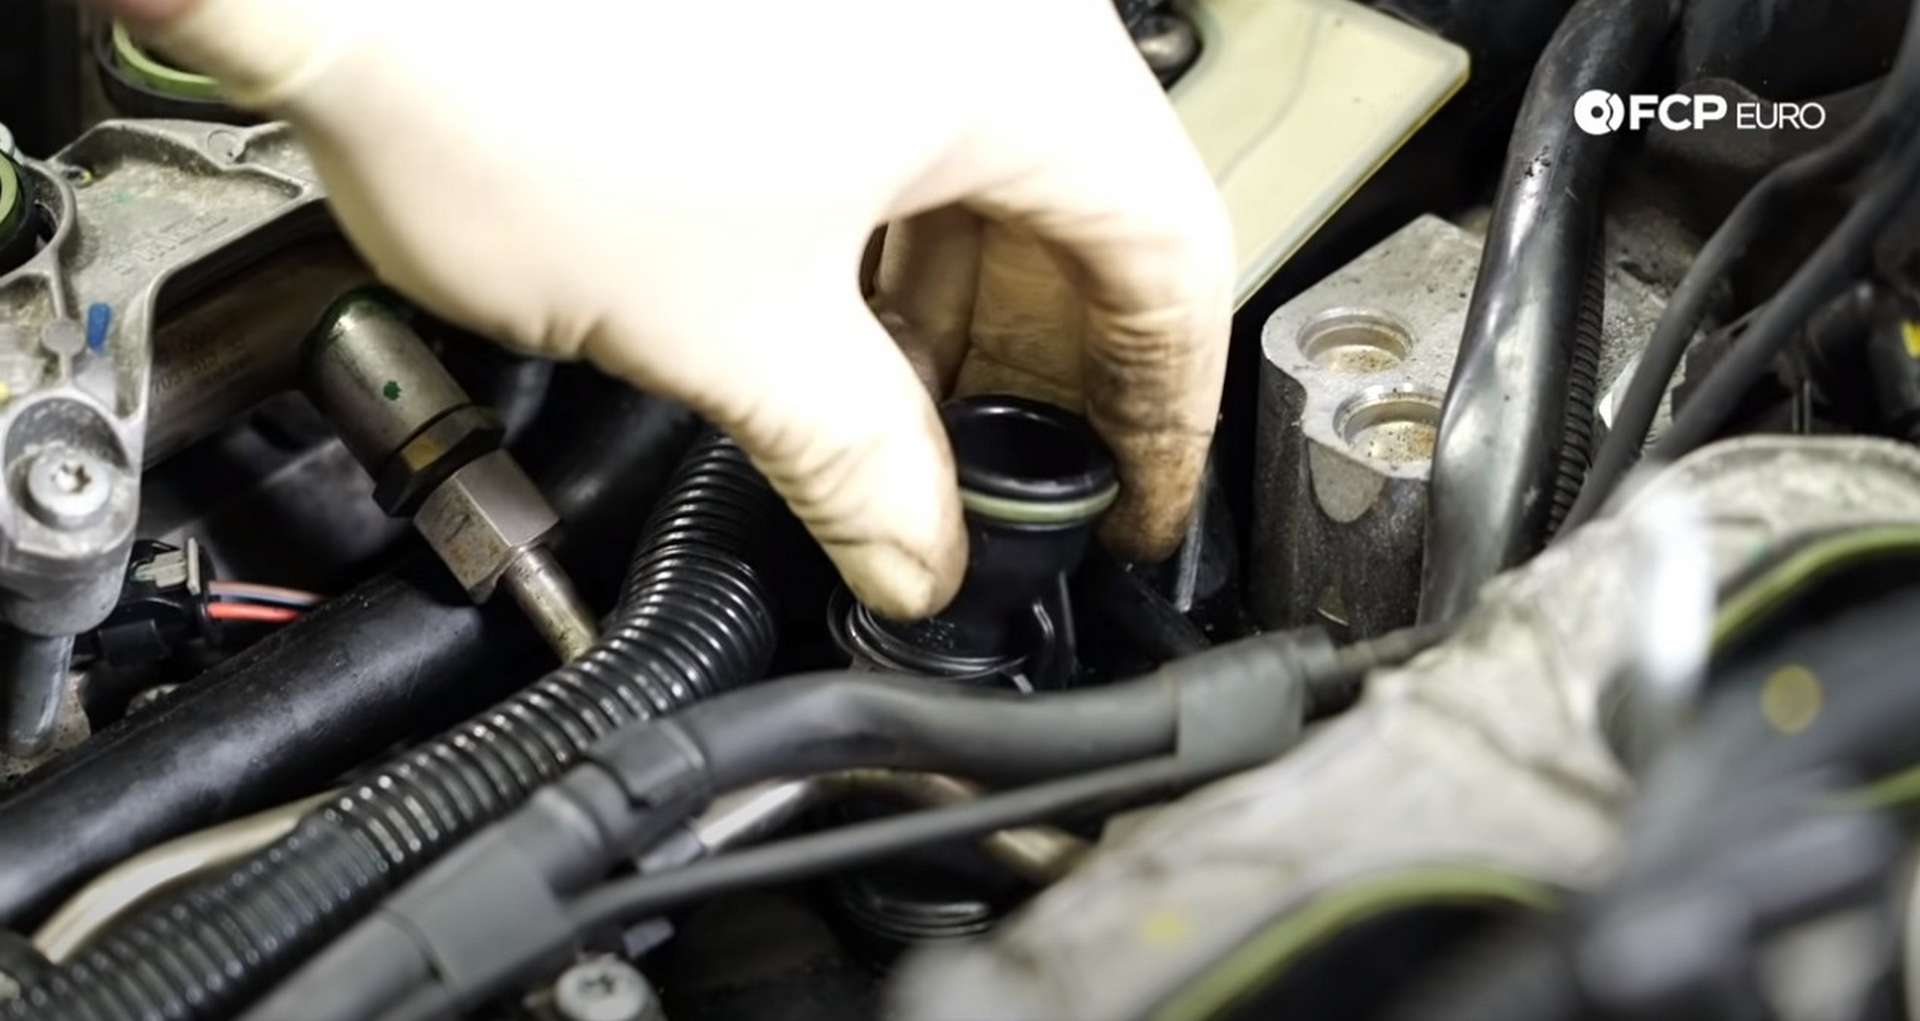
Next, lightly lubricate the o-rings of the new supercharger breather pipe and press it into the engine. Then lay the insulating engine valley cover over it.
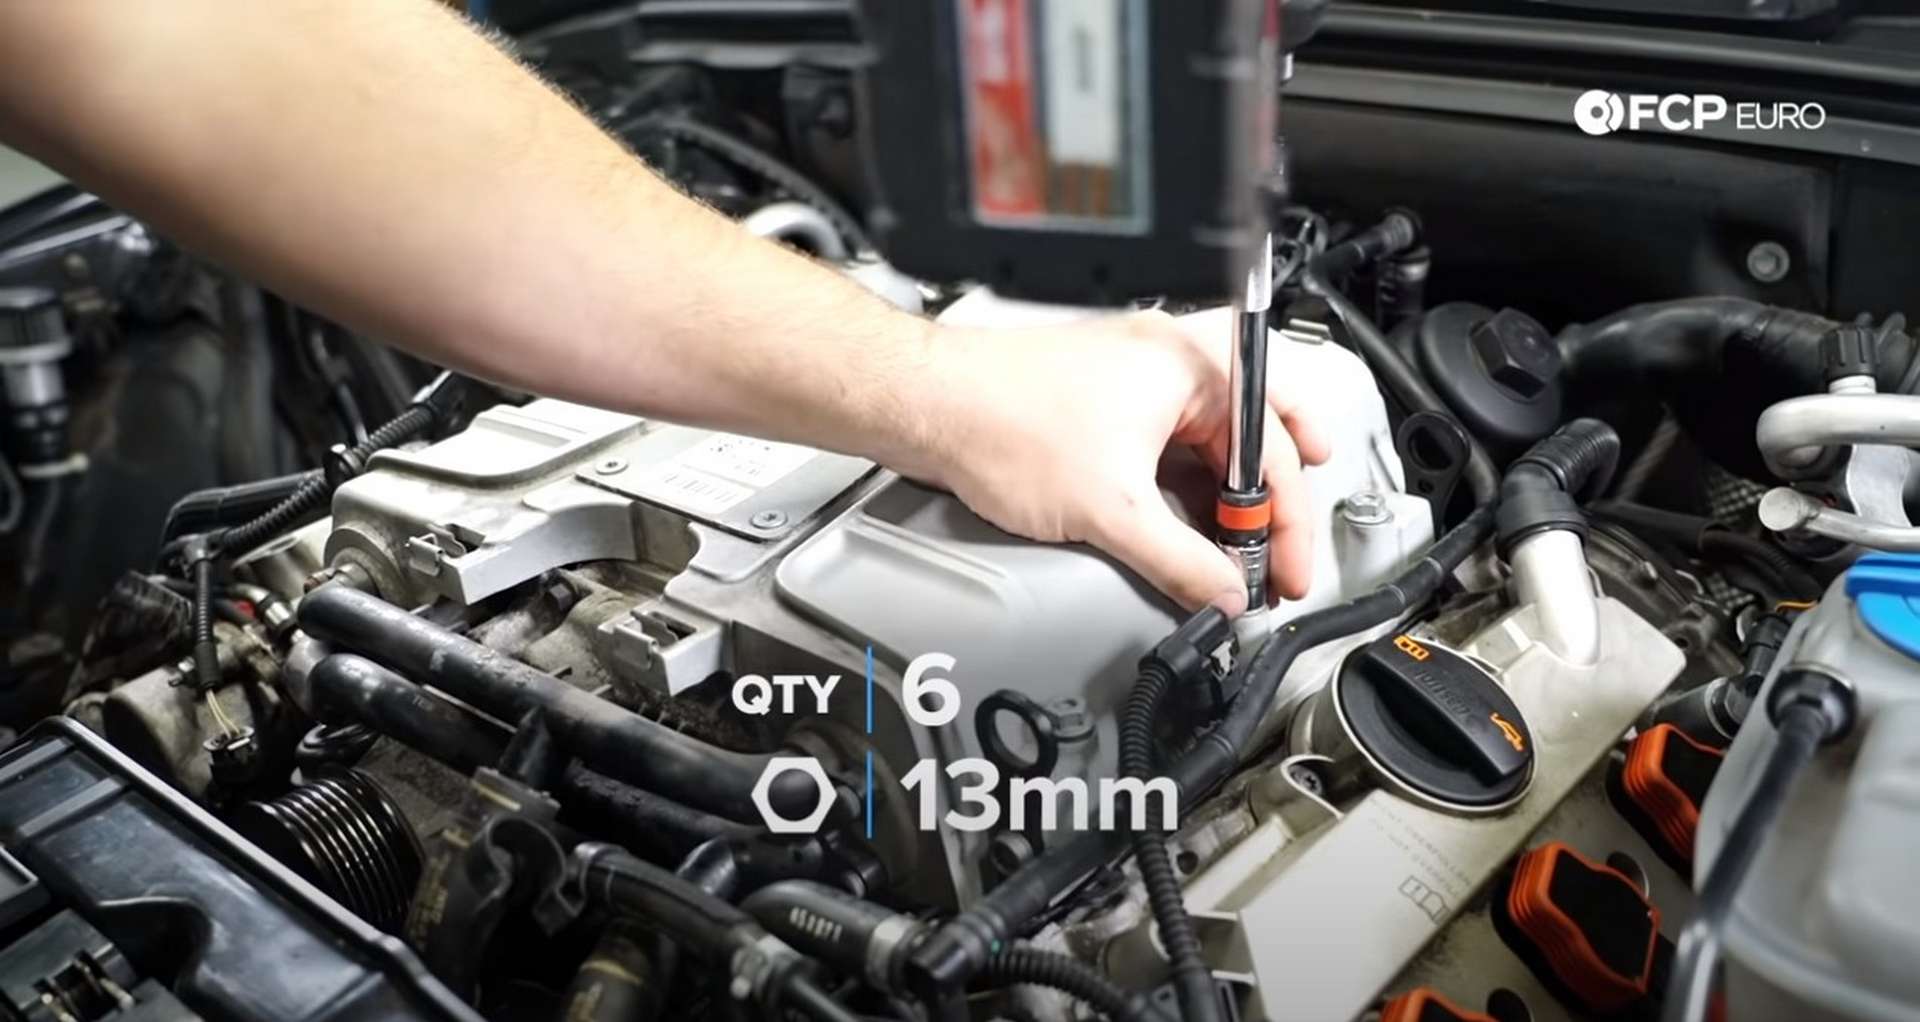
Now, grab the supercharger and seat it onto the engine. Ensure that all of your vacuum lines and sensor wires for the back of the supercharger are not getting pinched or trapped under it as you press it onto the engine. Then, thread on the six 13mm nuts onto the supercharger mounting studs.
Torque the supercharger nuts to 20Nm. Next, attach the coolant hoses to the front of the supercharger and clamp them down. Then, use a T30 Torx socket to install the bolt that secures the coolant lines to the engine.
Next, reconnect the vacuum lines and three electrical connections on the back of the supercharger. Then, move to the other side of the engine and reattach the electrical connections by the throttle body.

After that, install the covers that sit under the MAP sensors on either side of the supercharger. Use a T25 Torx socket to tighten the bolts. Then, reconnect the MAP sensors on either side of the supercharger.
Next, reach down in front of the engine and pull up the supercharger belt. First, ensure that the belt is still correctly oriented on the engine's pulleys. Then, use a long 16mm wrench to release the tension from the belt tensioner. While holding the tensioner, use your other hand to reinstall the belt onto the supercharger.
Step 8: Refit the intake
Take the intake assembly and fit it into the engine bay. Attach the intake tube to the throttle body, then seat the airbox into place. Clamp down the airbox and use an 8mm socket to tighten the intake hose clamps.
Lastly, attach the vacuum line to the intake.
Step 9: Fill the coolant and test the engine
Open the expansion tank and fill it with coolant. Then, open up the bleeder screws on the supercharger. Start the car and run it, allowing the air to bleed from the cooling system. Keep an eye on the coolant level and add it as you see fit.
As the engine runs check for any coolant of fuel leaks. If everything checks out, jack up the front of the car and reinstall the undertray. Slide the front of the tray into the bumper and lock the tray into place with a T25 Torx socket or screwdriver.
Audi 3.0t Valve Cleaning Torque Specs:
- Audi Supercharger Nuts = 20Nm or 15 ft-lbs of torque
- Audi Intake Manifold Hardware = 9Nm or 6.6 ft-lbs of torque
- Audi Fuel Line Connections = 27Nm or 20 ft-lbs of torque
- Audi Fuel Pressure Sensor = 27Nm or 20 ft-lbs of torque
- Audi Intake Manifold Threaded Fuel Line Fitting = 40Nm or 29.5 ft-lbs of torque
Just like that, your intake ports and valves are clear and clean. If you're interested in more DIYs for your Audi, you can visit audi.fcpeuro.com or subscribe to our YouTube channel.


