A step-by-step tutorial to bring any automotive headlight back to new condition, no tools required.
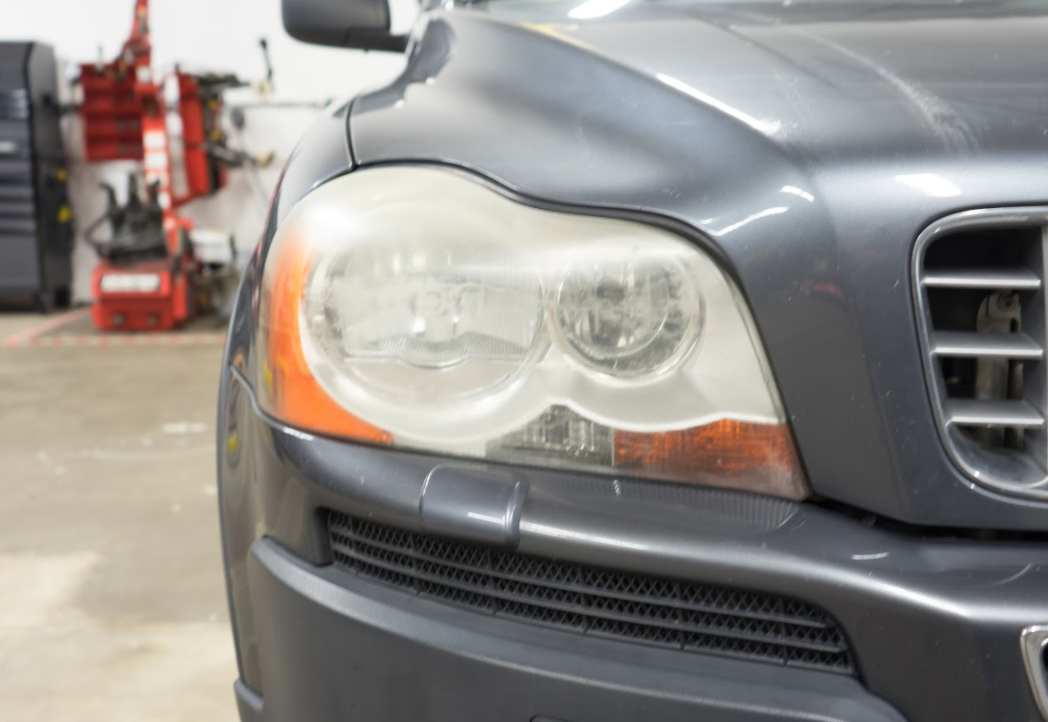
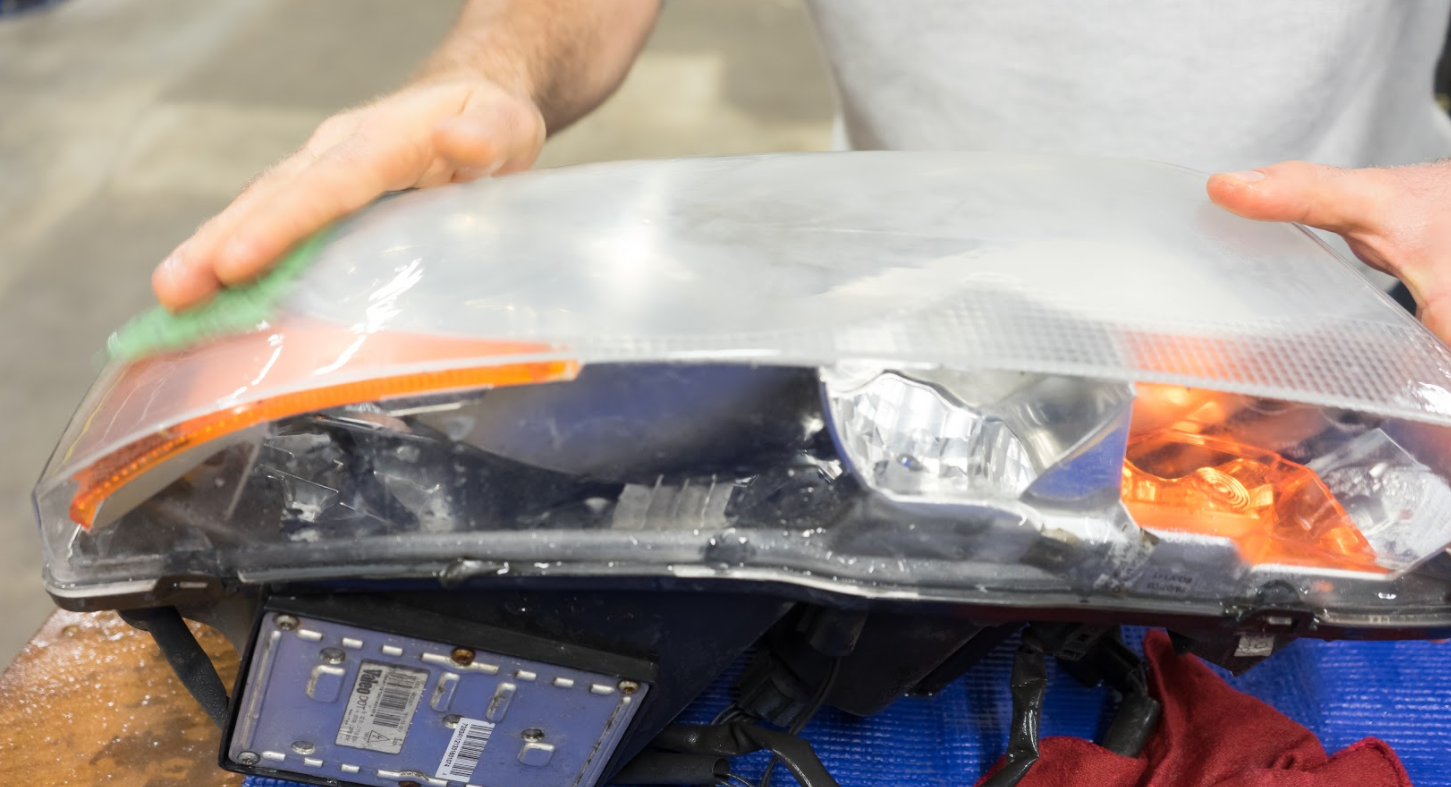
Ever cruise down the road and notice a car with plastic headlamps that are completely hazed up? Even worse, have you owned a vehicle that, over the years, has become less and less luminant at night?
Earlier designed headlights, while made of glass with less of a tendency to fade, have more of a tendency to crack. Modern headlights, however, are all plastic—good for the cracking issue, but bad for fading.
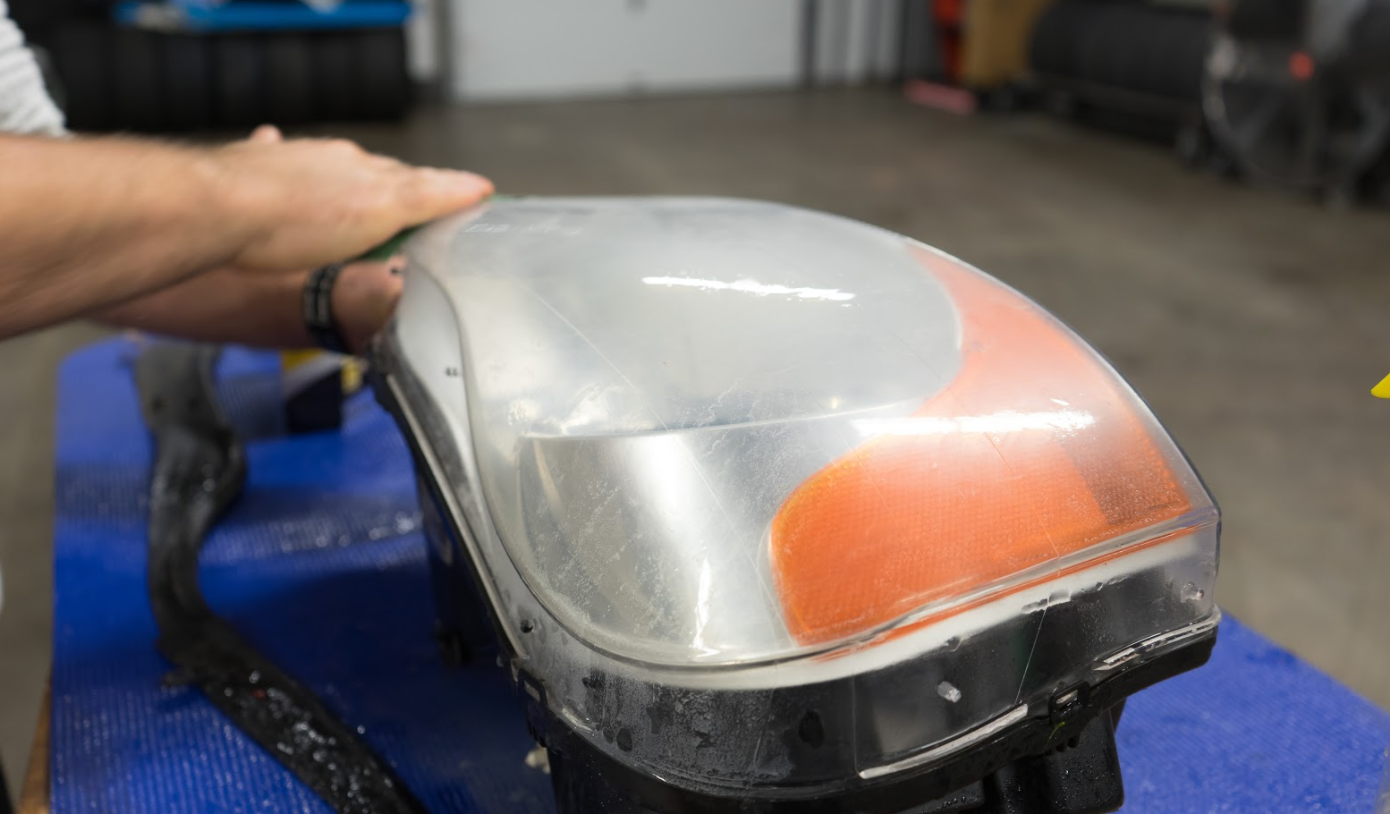
Typically what makes the plastic lenses look faded over time is that they become oxidized and the clear coat UV protection wears off. Additionally, over time, dirt and contaminants can work their way into the plastic producing a brownish tint. The good news is that Sylvania has developed an inexpensive kit to restore your lenses which delivers great results in under 30 minutes.
Before:
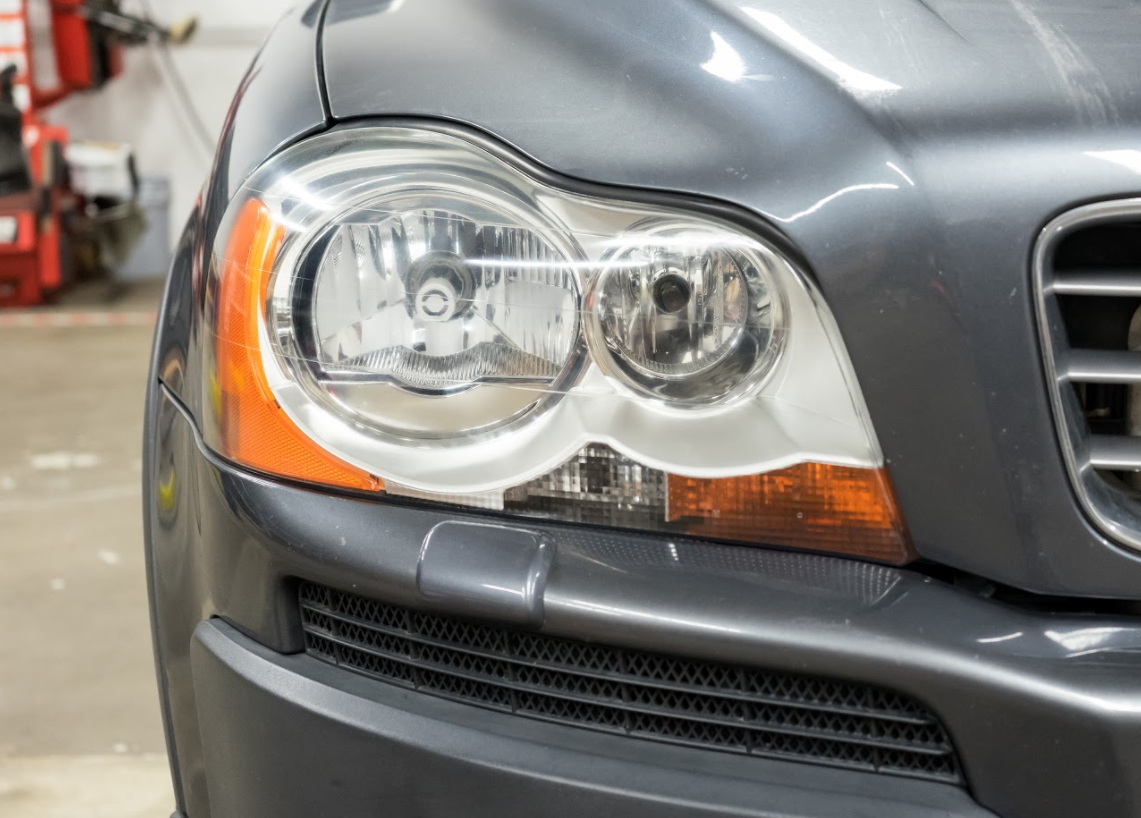
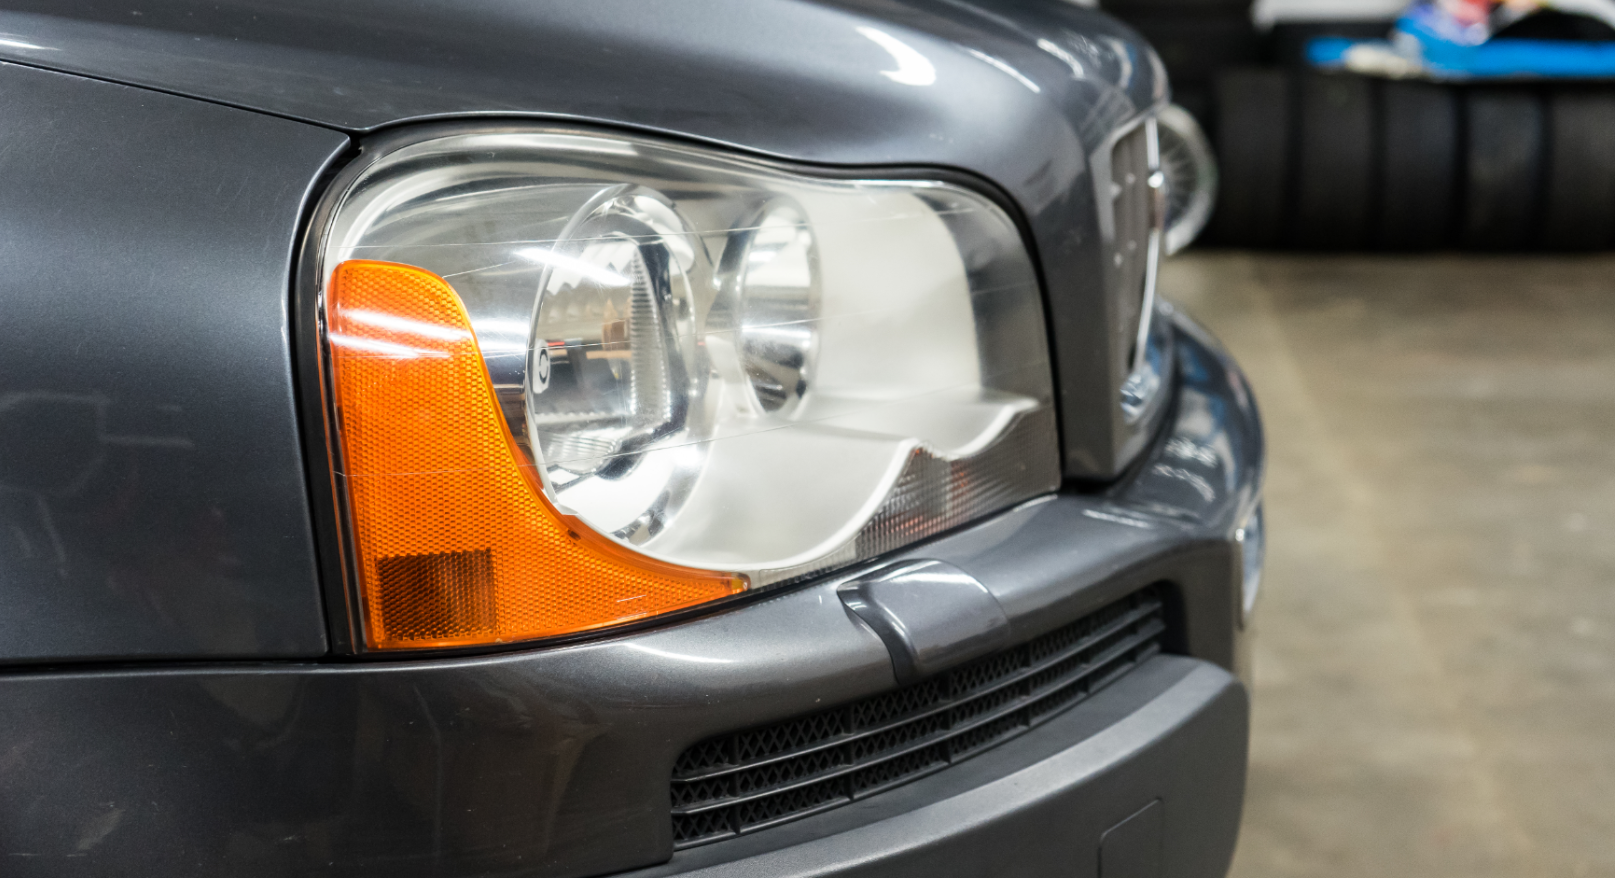
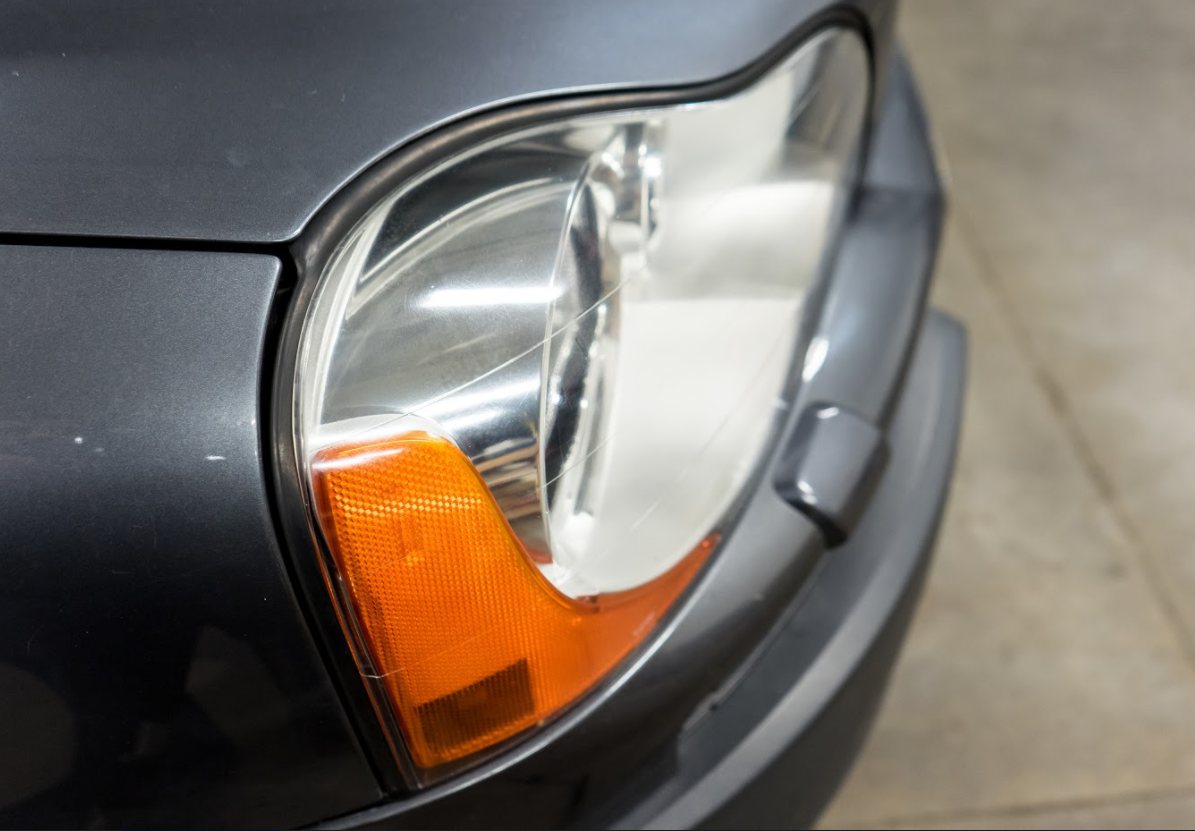
After:
- 1 Oz. Surface Activator
- 1 Oz. UV Block Clear Coat
- 1/2 Oz. Packet of Compound
- 400 Grit Sandpaper
- 1000 Grit Sandpaper
- 2000 Grit Sandpaper
- 1 Blue Cloth Applicator Towel
- 2 White Polish
cloths - Vinyl Glove
Suggested Additional Supplies:
- Microfiber Cloth
- Spray Bottle filled w/ Water
- Painters Tape (Optional)
The Process:
1.
2. Then, wipe the headlamp completely dry and use the surface activator. Spray it on the surface of the headlamps and let this sit for 30 seconds, then wash with water and wipe it off.
3. Now, wet the headlamp with water and use the 400 grit sandpaper to remove any haze, oxidation, and remaining clear coat. Use circular motions, medium pressure, and keep the service wet with water. Do this until the entire lens has a uniform light haziness and is smooth to the touch.
4. Using 1000 grit sandpaper, wet the headlamp with water and sand for approximately 5 mins re-wetting as necessary. Use medium pressure.
5. Repeat using the 2000 grit sandpaper, but use more pressure.
6. Next, use a
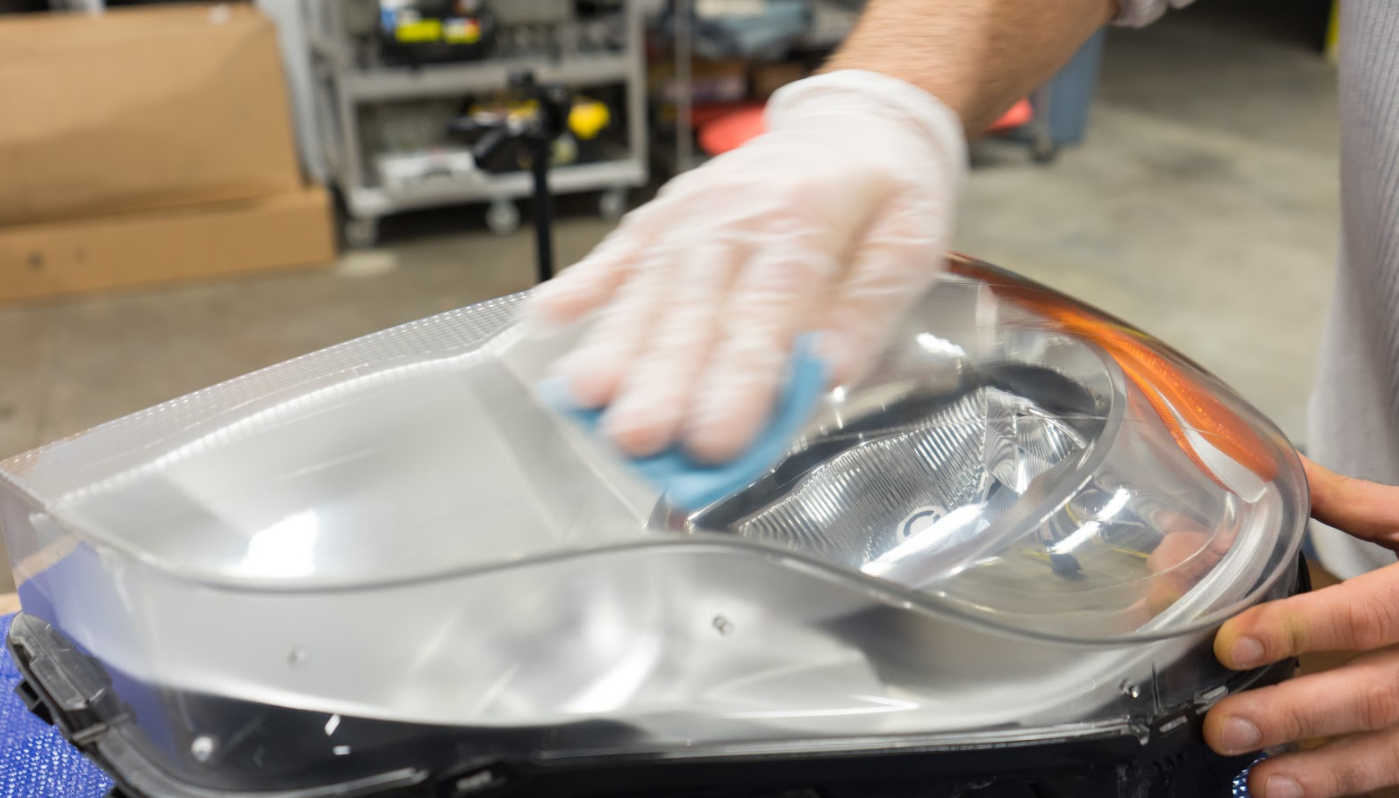
7. Now reapply the surface activator for 30 seconds, rinse off and completely dry. This will fully clean the lens in preparation for the last step.
8. Lastly, make the sure the headlight is completely dry, then put on the supplied glove, and soak the folded edge of the blue towel with the UV block clear coat. Wipe the lens in
9. Allow 1 hour to dry before touching and 4-6 hours before driving.
![IMG_8988[1].png](https://images.contentstack.io/v3/assets/blta5fd5c563cb3dbc3/bltc62ca0915cba2775/6604bd526fa1d8bc9e82a2f9/IMG_8988[1].png)