- 06/17/2021
- 6 Min Read
- By: Christian Schaefer
How To Replace Mercedes-Benz W203 Rear Brake Pads & Rotors (C230, C320, CLK430, E300)

The condition of your brakes is critical. Without them, you're a liability to yourself and everyone around you. Mercedes-Benz's W203 chassis is now several years old and has become a great used car for new drivers or those looking for a cheap luxury vehicle. Whether you've just acquired it or have had it for years, we recommend seriously checking the condition of the brakes on your Mercedes if you aren't aware of their last replacement.
On all cars, the brakes will be larger at the front to prevent the car's rear from slowing quicker than the front, causing you to lose control. The reduced force applied to them will cause them to last longer than the fronts, but they are just as critical to stopping performance. Changing the brakes on your Mercedes is a DIY job and can be done with simple hand tools by those with little experience. Follow along with this DIY to replace those worn-out brakes!
Mercedes-Benz models and years applicable:
|
|
|
|
|
Symptoms of worn Mercedes W203 rear brake pads and rotors:
- A grinding coming from the front, under braking
- Juddering or a vibration coming from the front, under braking
- Deep grooves on the rotor surface
- Dark-colored deposits on the rotor surface
- The vehicle's steering pulling to one side, under braking
All disc brake systems have a front bias, meaning that the front brakes do most of the braking. Their increased braking responsibility will lead to more frequent replacement intervals when compared to the rears. However, driving with excessively worn rear brakes still creates reduced stopping ability.
Once the brake pad material is completely worn away, the pad's metal backing plates are forced against the rotor, destroying it. You'll hear an intense grinding noise under braking when this happens. Additionally, metal shavings will come off of the rotors and cover your wheels. If these shavings get wet, they'll coat your wheel in rust.
How much will it cost to replace Mercedes W203 rear brake pads & rotors?
To replace the wear items on your rear brakes, you need a set of brake pads and tow brake rotors. The pad set we recommend is from TRW and costs right around $40. The kit comes with new pads, new anti-rattle clips, and a small packet of grease. The brake pad wear sensor from the old pads will be junk, too, so you'll have to spend about $5 on a new one. Additionally, you need new rotors.
We recommend the pieces from Zimmermann. They use a Zinc coating that reduces rust build-up and are significantly cheaper than the OEM pieces while maintaining the same quality. Each rotor runs right around $32, and you need two of them. Altogether, budget around $120 for the bare minimum replacement cost.
How long will it take to replace Mercedes W203 rear brake pads & rotors?
The service length will depend on what you choose to do. Replacing the pads and rotors is a straightforward process that doesn't require removing and reinstalling too many parts. This part of the job should take 30 minutes per corner.
To completely service the brakes, you'll need to flush the brake fluid as well. Having a pressure bleeder simplifies this process and significantly speeds it up. If you don't have a pressure bleeder, you'll need another person to help you out. Either way, bleeding the brakes shouldn't take longer than 20 minutes.
Parts required to replace Mercedes W203 rear brake pads & rotors:
Tools required to replace Mercedes W203 rear brake pads & rotors:
- T30 Torx Bit Socket
- 16mm Socket
- Punch
- Ratchets
- Flathead Screwdriver
- Torque Wrench
- Caliper Carrier Hook
- Hammer
- Wire Brush
- Caliper Compressor
Steps required to replace Mercedes W203 rear brake pads & rotors:
Step 1: Remove the caliper
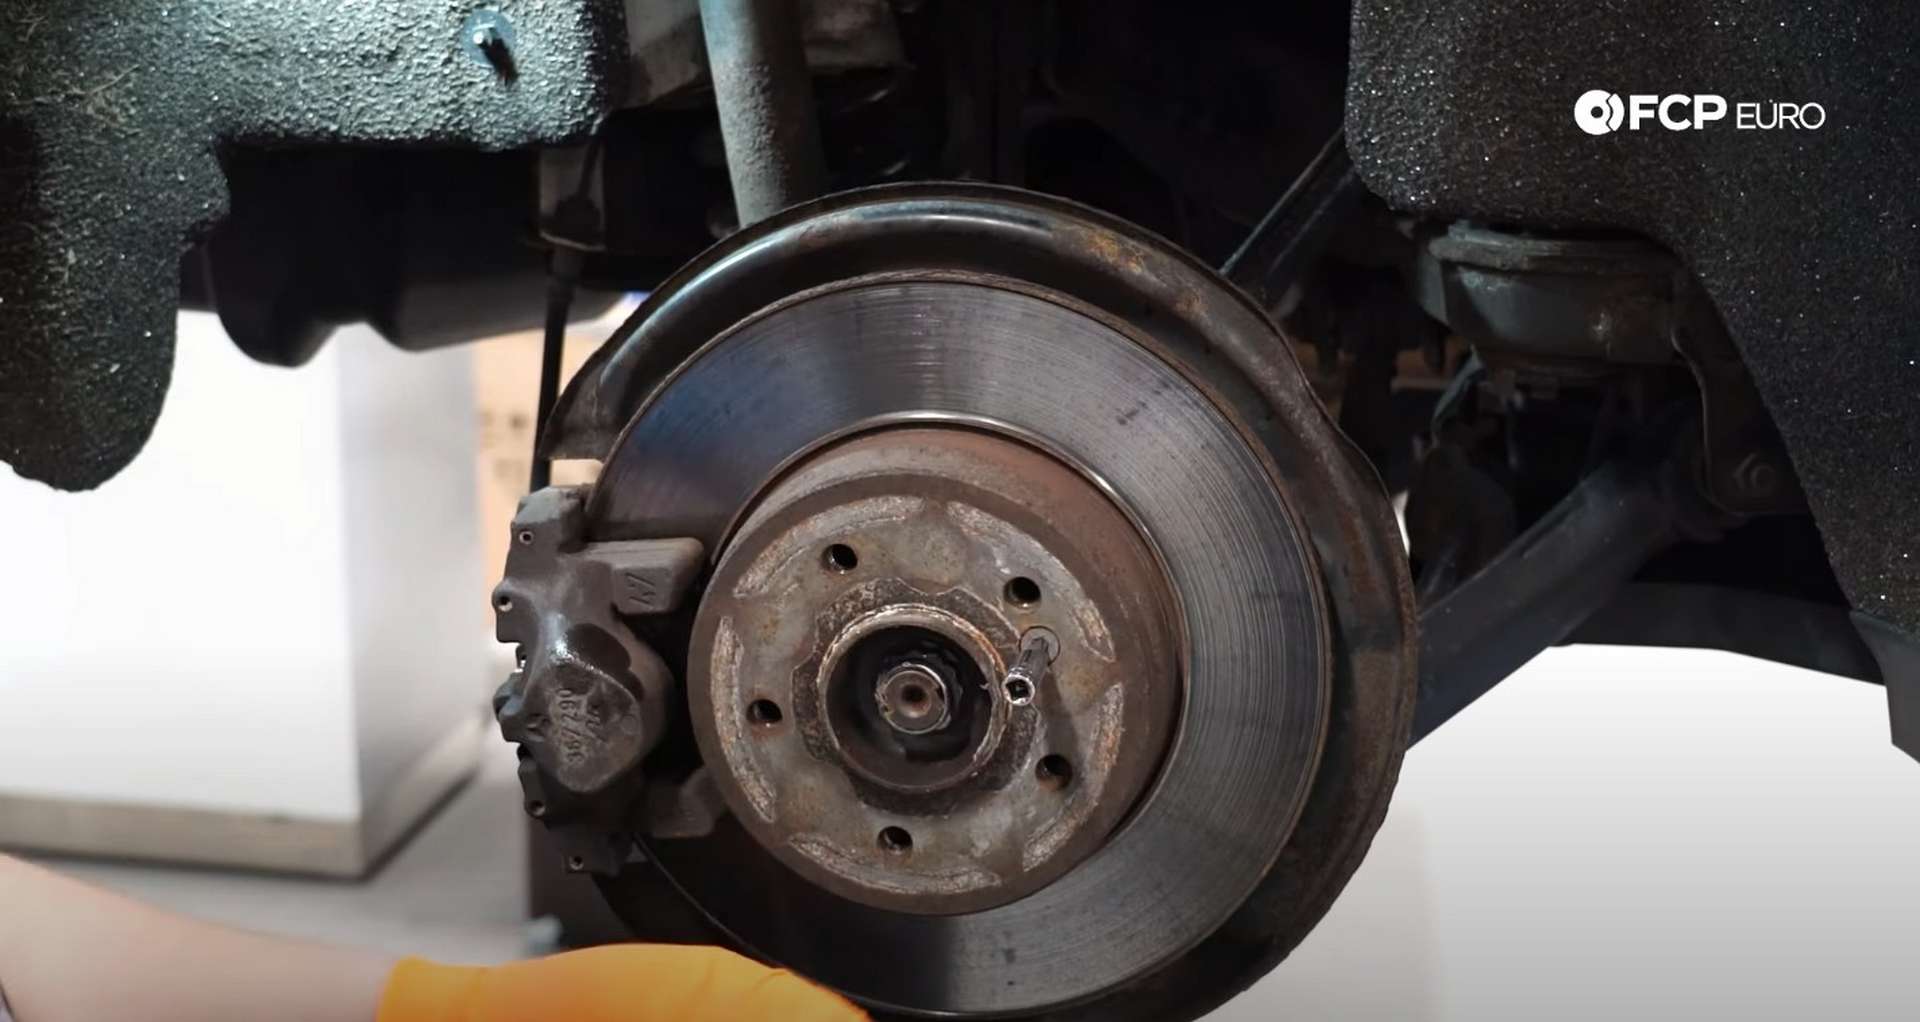
Jack up the rear of the car and place it onto jack stands. Then, use a 17mm socket to remove the lug bolts so you can remove the wheel. The W203 uses a dual-piston caliper at the rear, with the two pistons opposing each other.
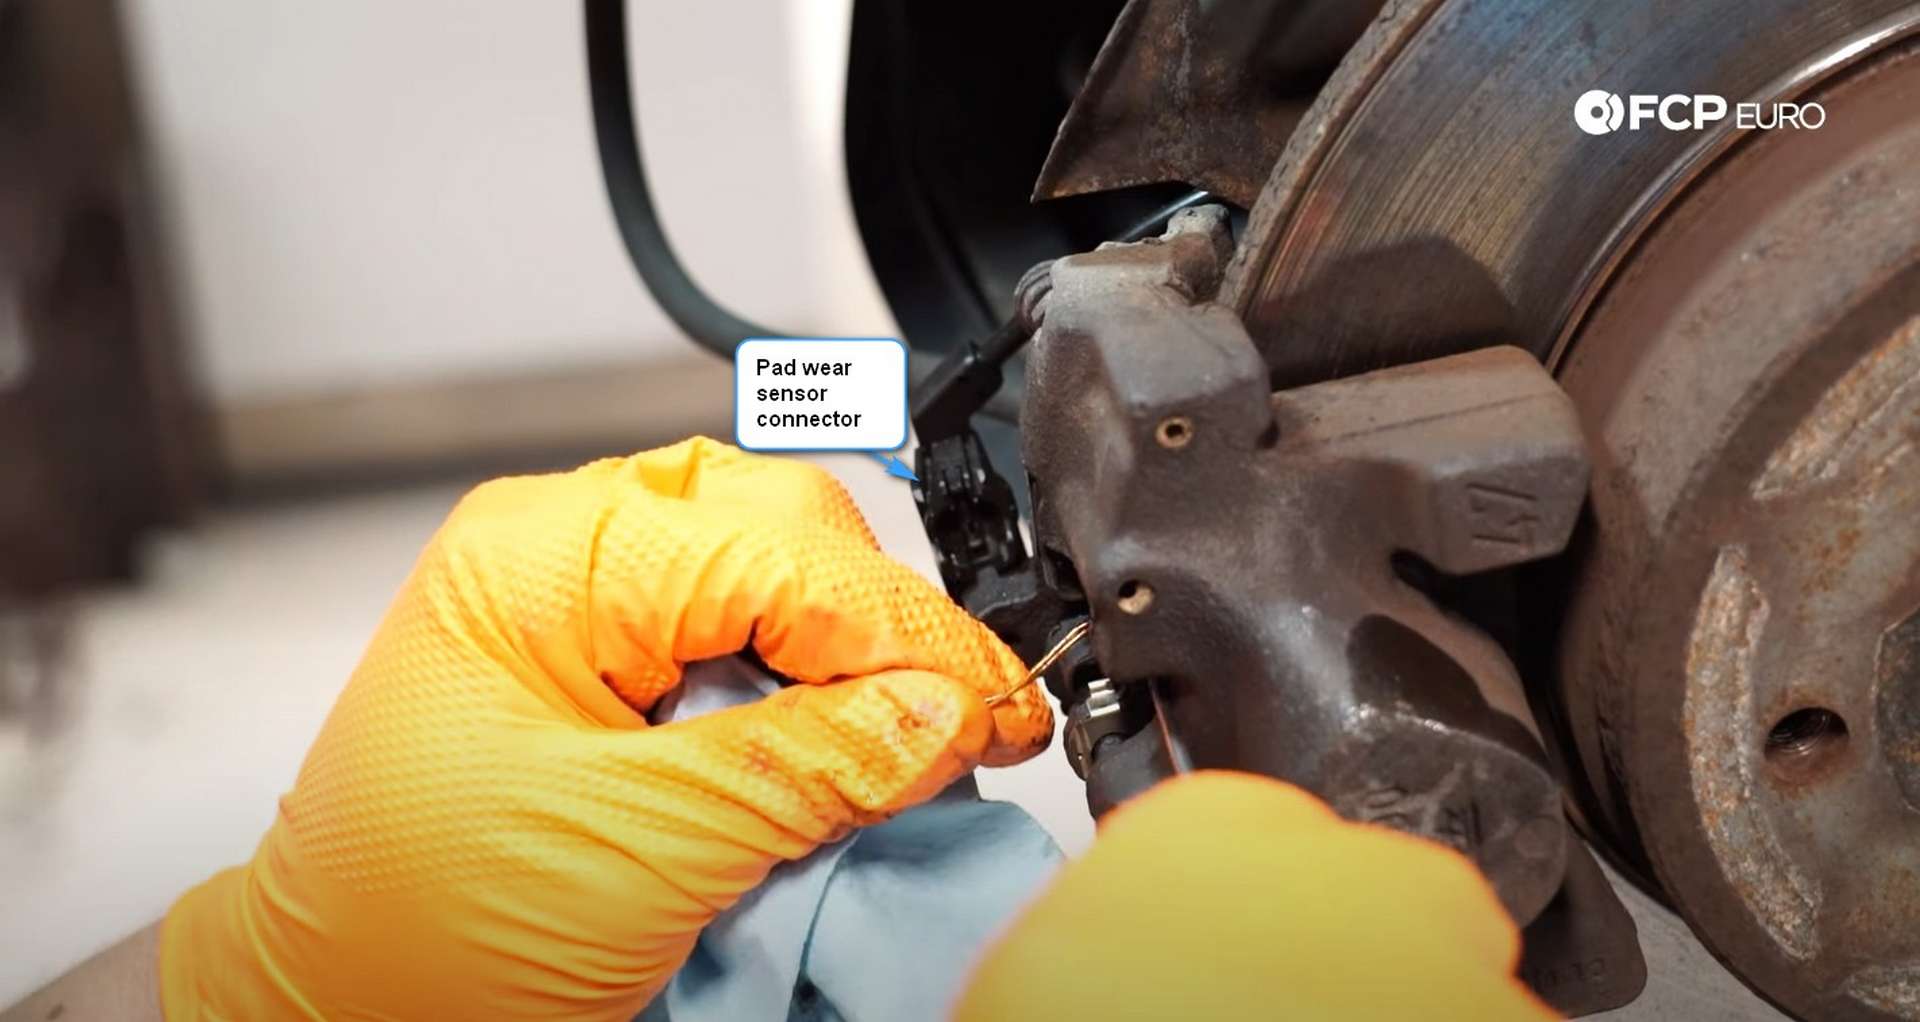
The passenger's side caliper uses the pad wear sensor to alert you when it's time to change the pads. Lift the tab on the connector and pull out the pad wear wires. Then, pull the wear sensor off of the old pad. You can use a pick to help pry the sensor off of the pad. After that, use a T30 Torx bit socket to remove the set screw from the rotor.
There is a reasonably good chance that you will encounter a seized set screw if you're from an area dealing with corrosion. However, the screws are pretty soft, so you shouldn't have any issues drilling it out if you strip the head.
Unlike traditional sliding calipers, the dual-piston on the rear of the W203 uses a single pin to secure and align the pads in the caliper. Use the punch and a hammer to knock out the pin and remove the old brake pads.
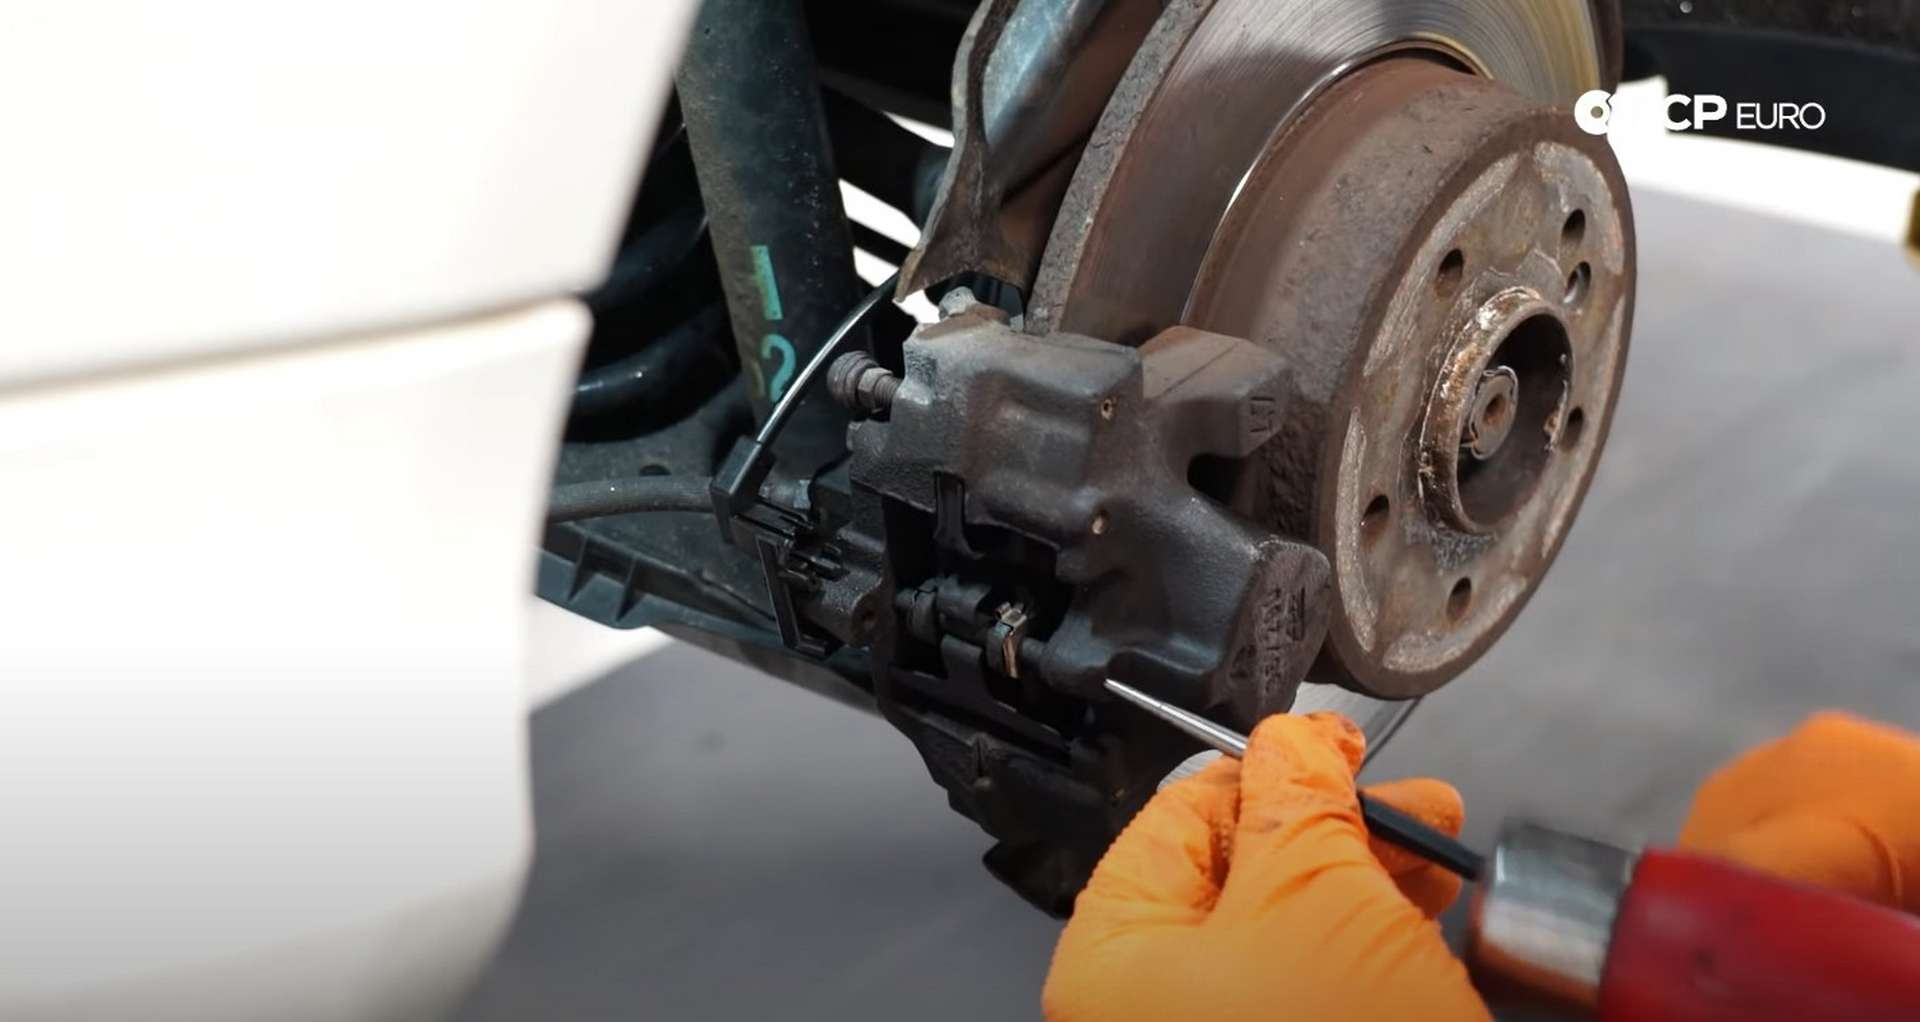
Eventually, the punch will become too thick to fit into the caliper. Use a thin screwdriver or something like that to continue to knock it out. The pin also holds in the anti-rattle clip that sits atop the pads. Be careful as you knock it out; the clip will want to spring out of the caliper.
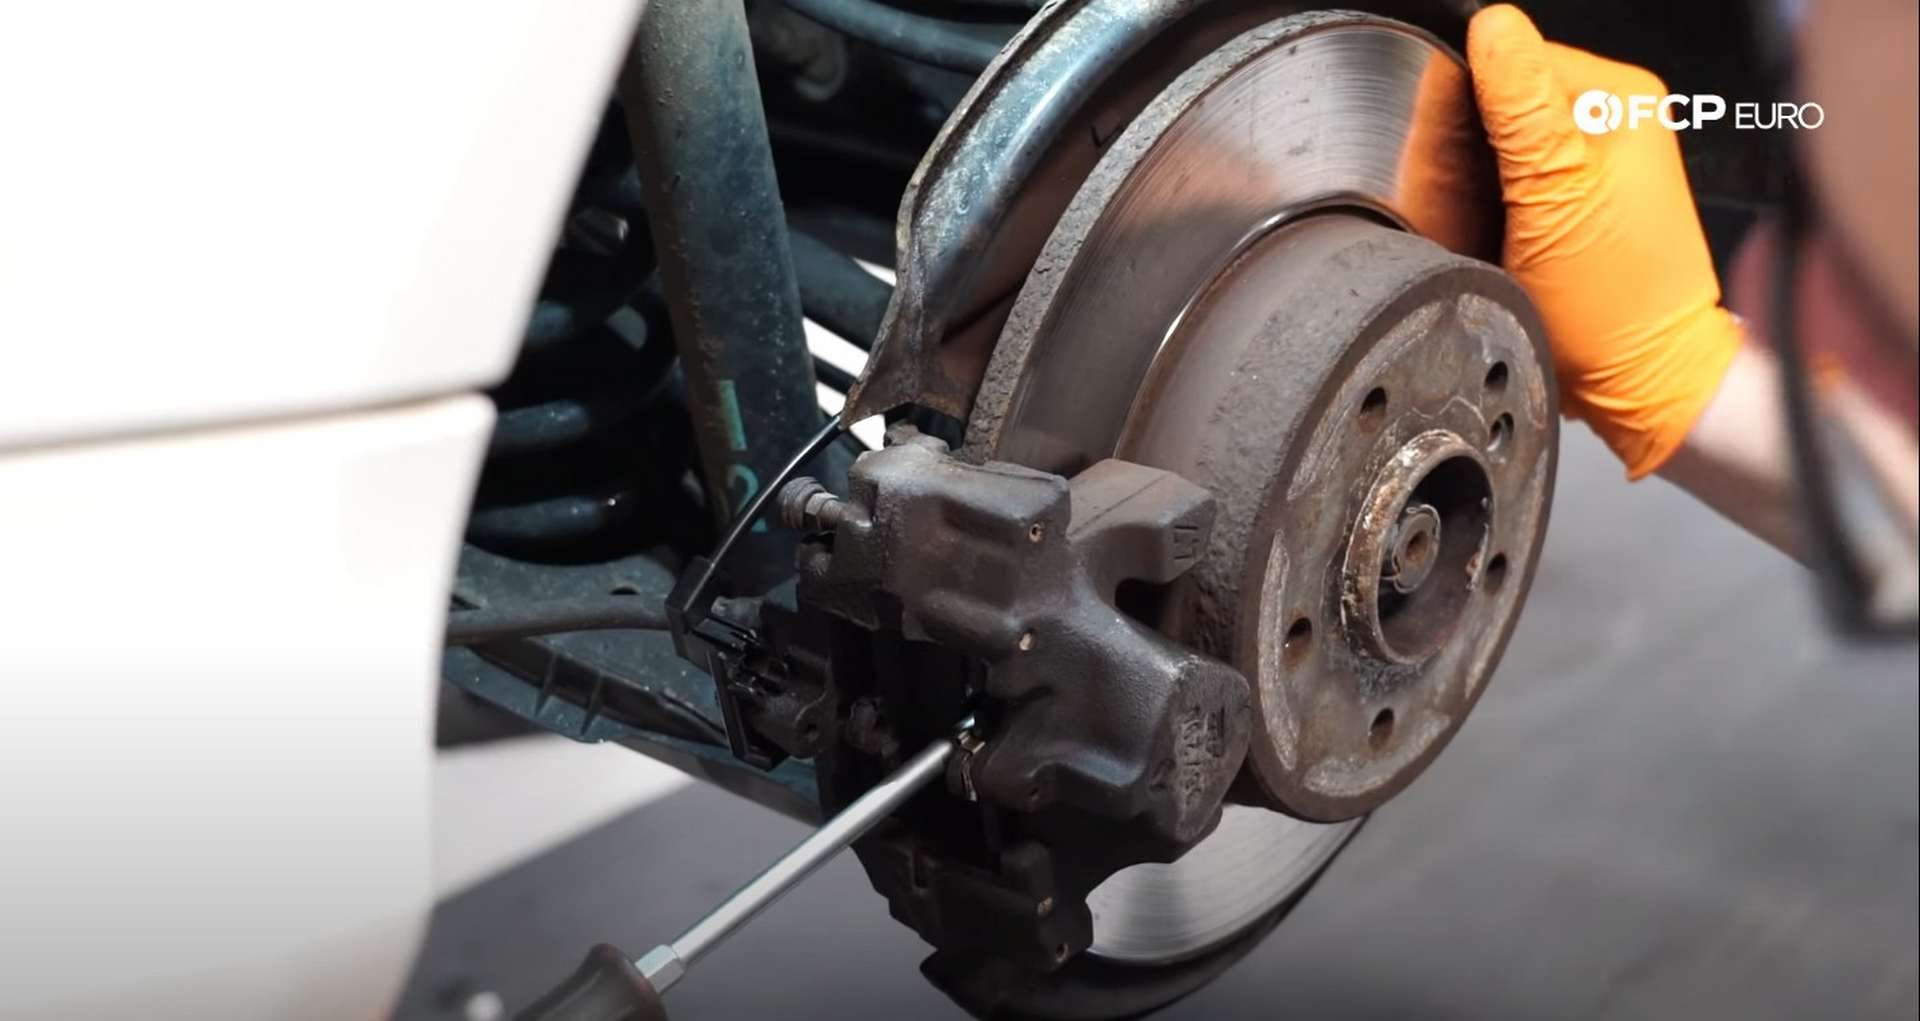
At this point, the pads can almost be removed. However, the caliper's pistons are still putting pressure on the pads, making them a little difficult to remove. So instead, use a flathead screwdriver between the rotor and the pads to press the pads back against the caliper and retract the caliper's pistons, eliminating a good portion of the resistance on the pads.
After that, pull out the old pads. Then lastly, head to the backside of the caliper and use the 16mm socket to remove the caliper mounting bolts.
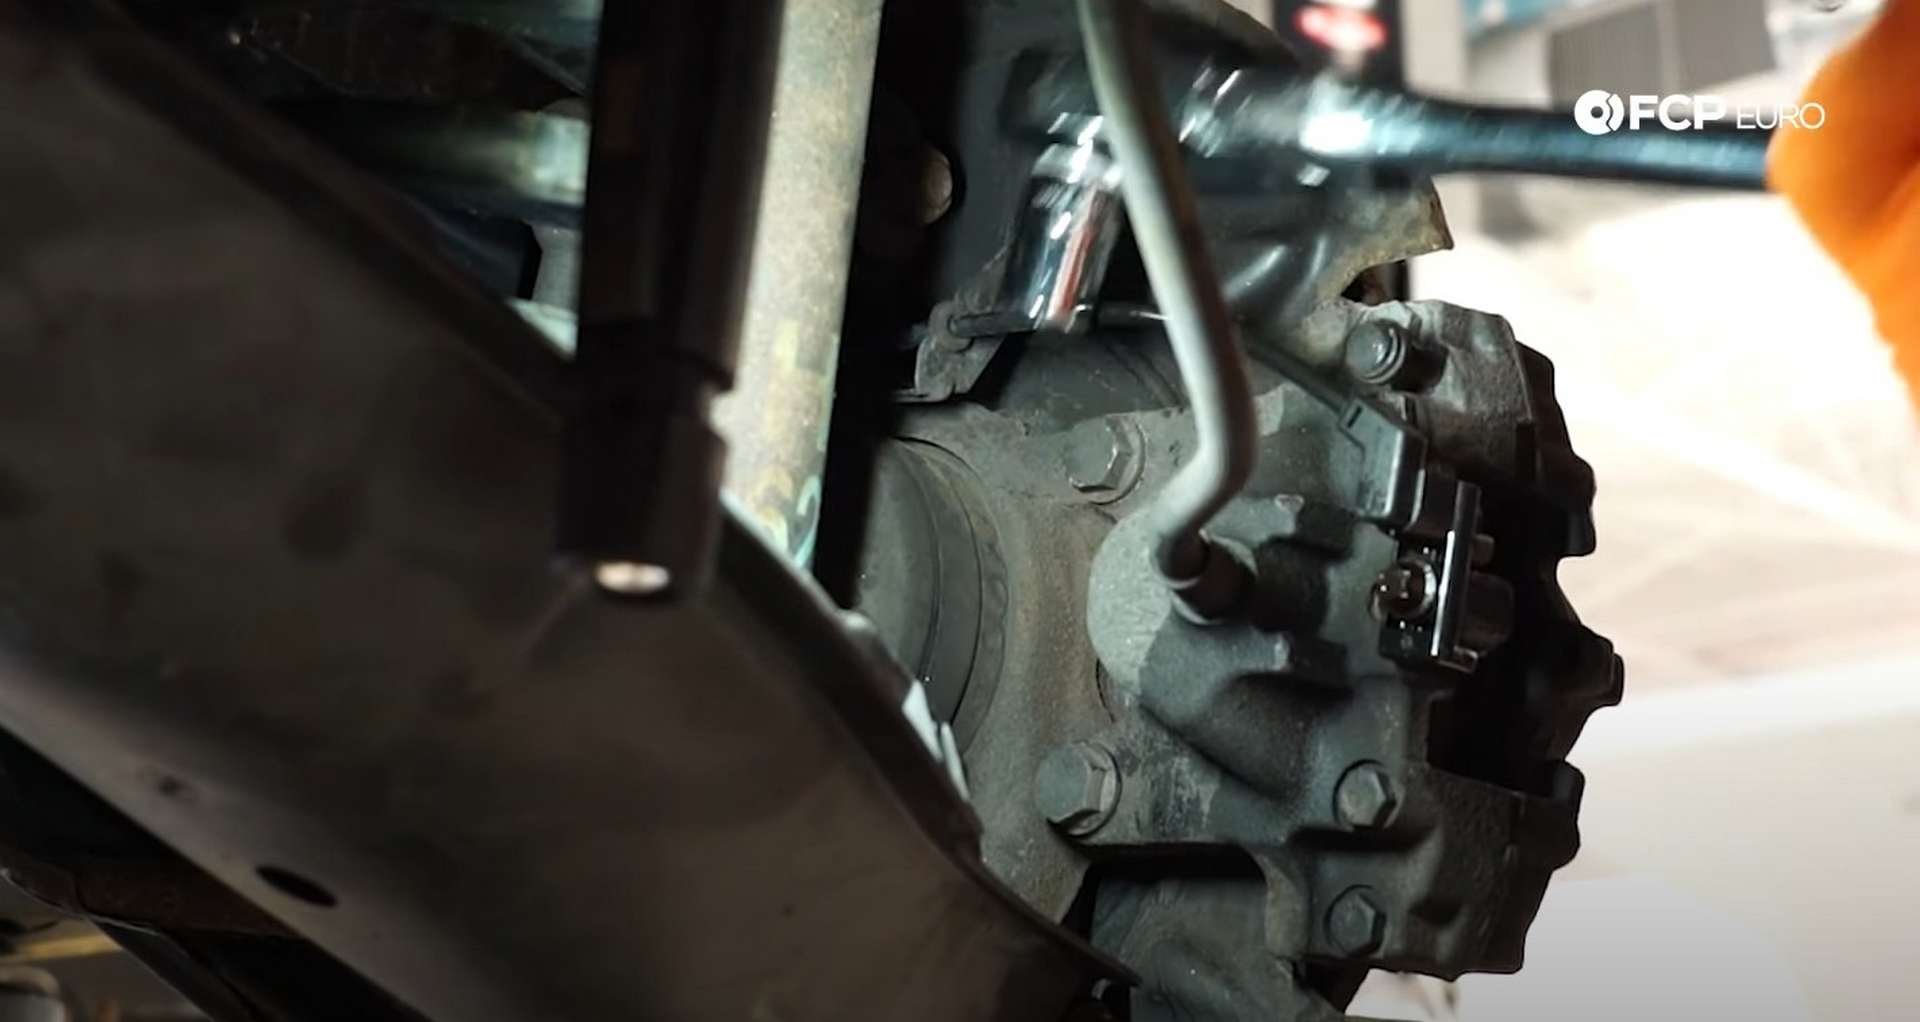
Remove the bolts and then hang the caliper out of the way. When you remove the caliper, don't let it hang by its brake line. The caliper's weight will put a significant strain on the rubber line and can cause it to tear. You can use zip-tires, wire coat hangers, or the caliper hangers linked above, among other things, to hang the caliper out of the way.
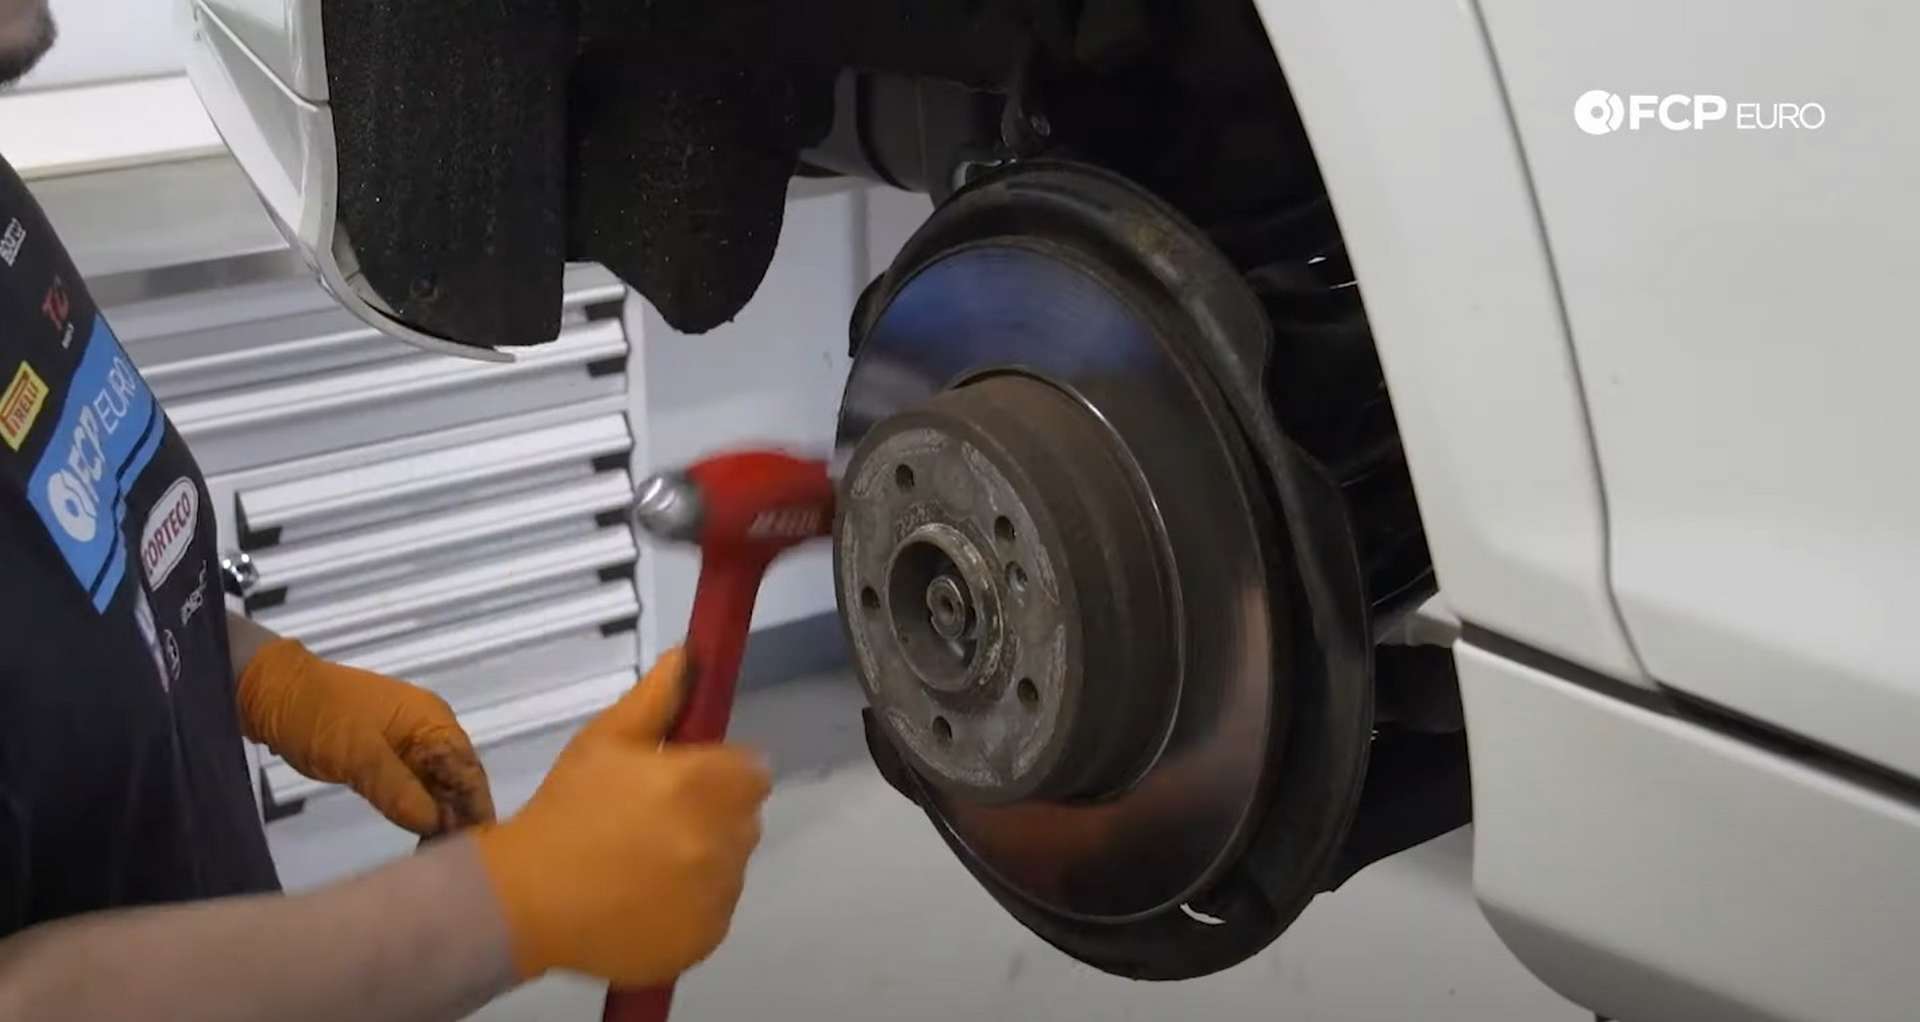
Step 2: Replace the rotor
Pull the old rotor off the hub and throw it away. Tap the rotor's hat with a hammer if it doesn't come free from the hub. Corrosion is holding it on, and the hammer will shock it loose.
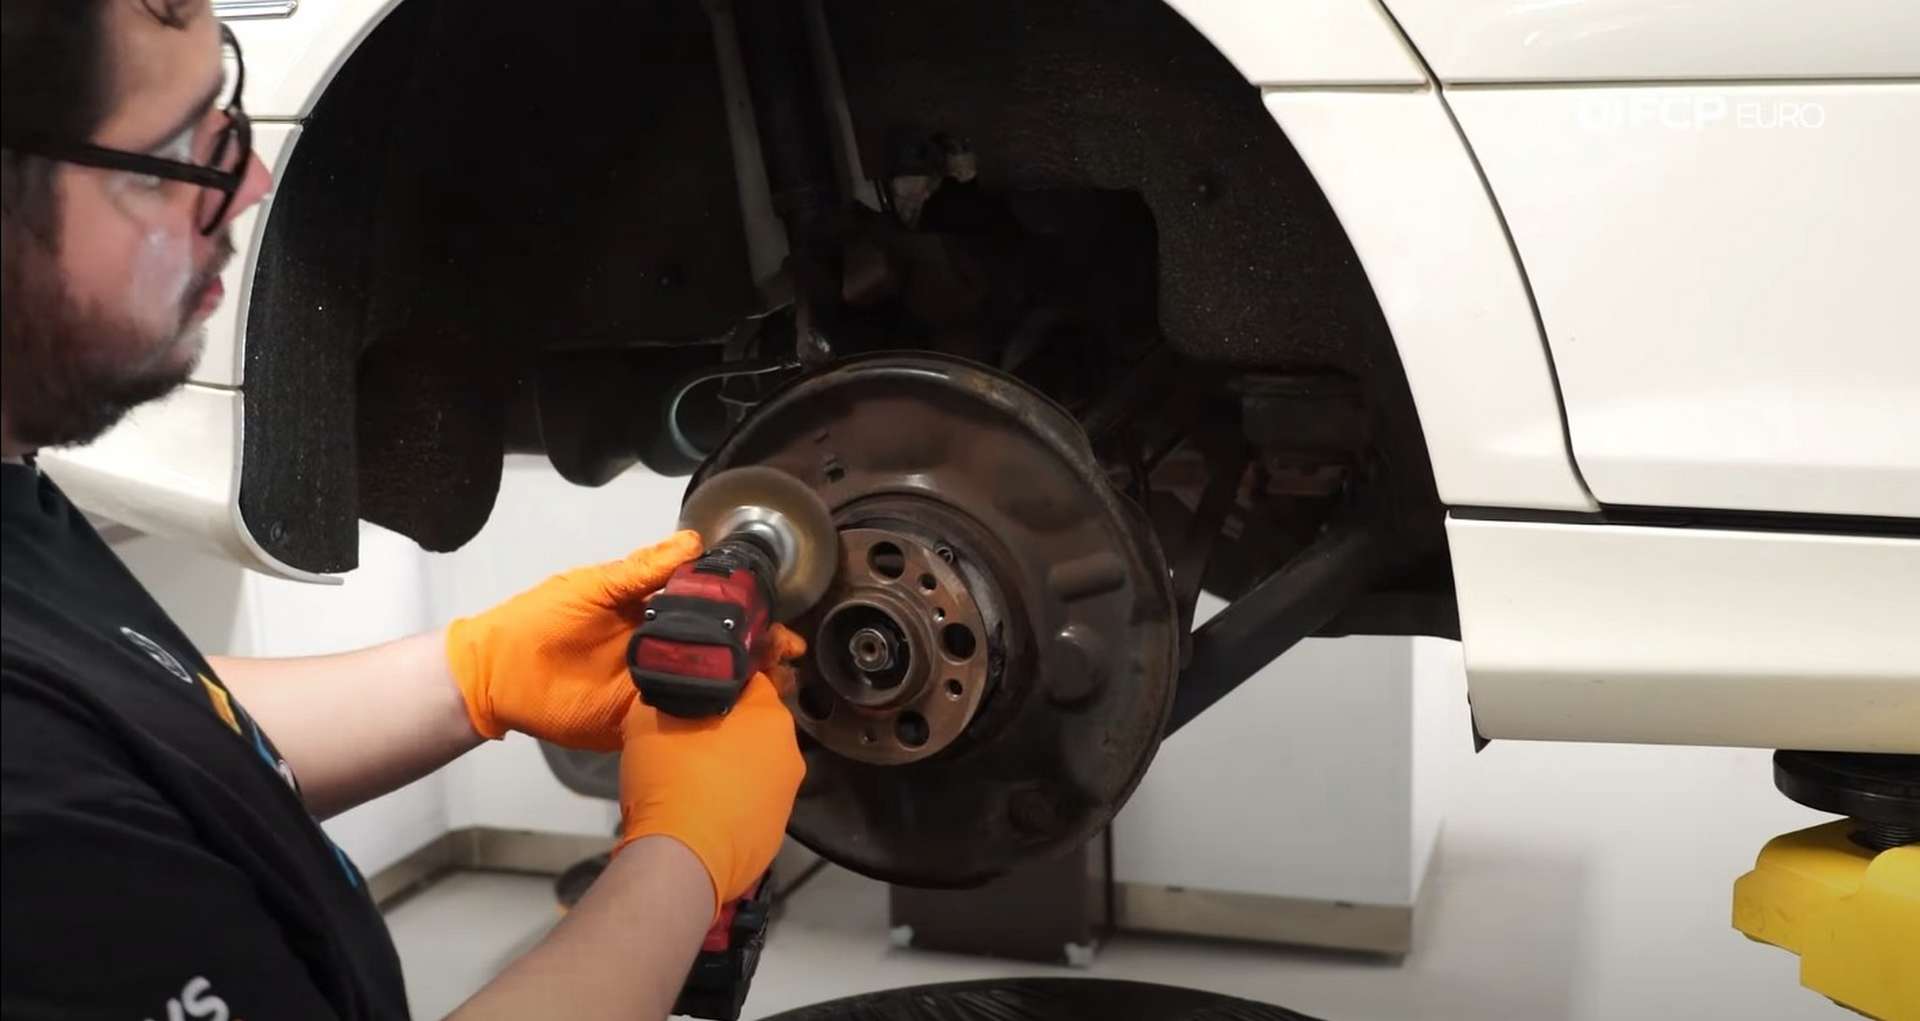
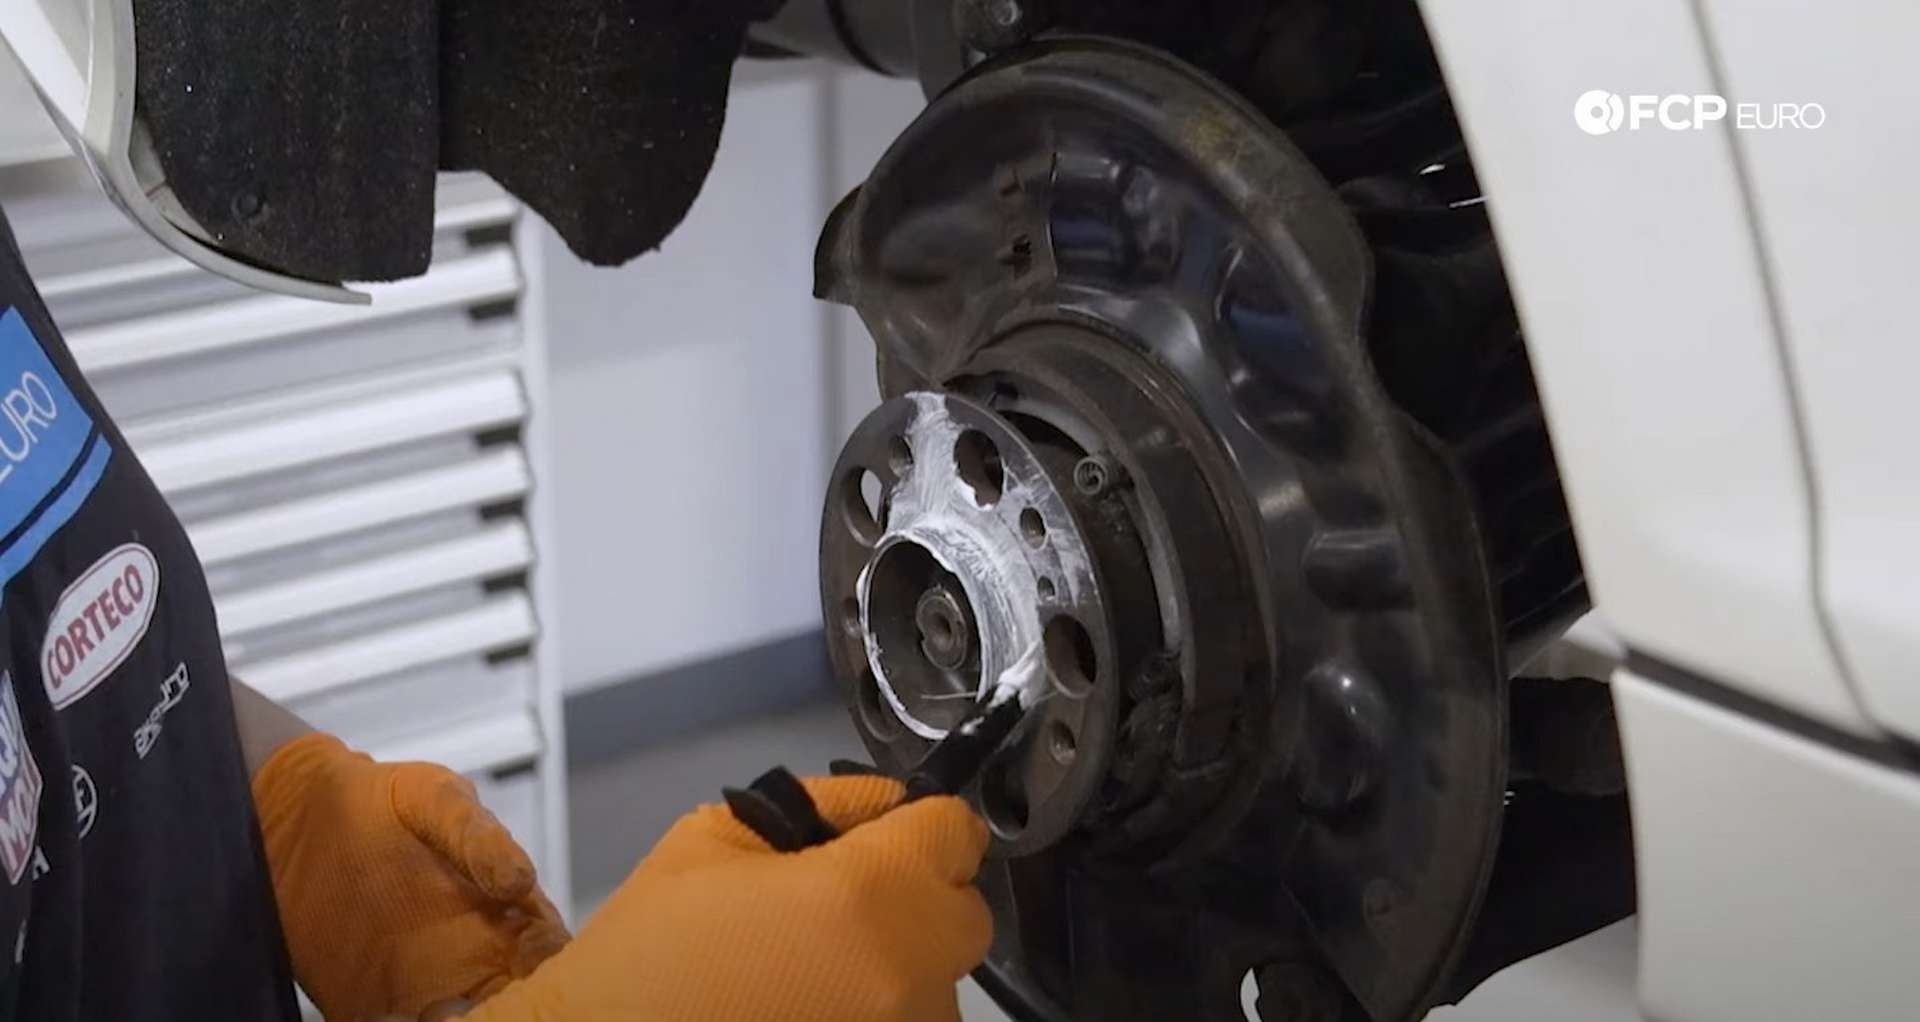
Use a wire brush or wheel to remove the corrosion from the hub's surface if it is present. Doing so will ensure an easy and clean install of the new rotor. Use some ceramic paste to coat the areas that were affected by corrosion if you have it. The paste will act as a barrier to the elements, preventing any corrosion from forming.
Then, fit the new rotor to the hub. Thread in the set screw before using a T30 Torx bit socket to tighten it, securing the rotor to the hub. The set screw's official torque spec is 7Nm, though getting tightening it with the ratchet works just the same.
Step 3: Refit the caliper and install the new pads
Take the caliper off of its hanger and use the caliper compressor tool to press its pistons back in. Then, fit it to the knuckle, over the rotor. Thread in the two mounting bolts by hand before tightening them with a 16mm socket. Torque the bolts to 55Nm.
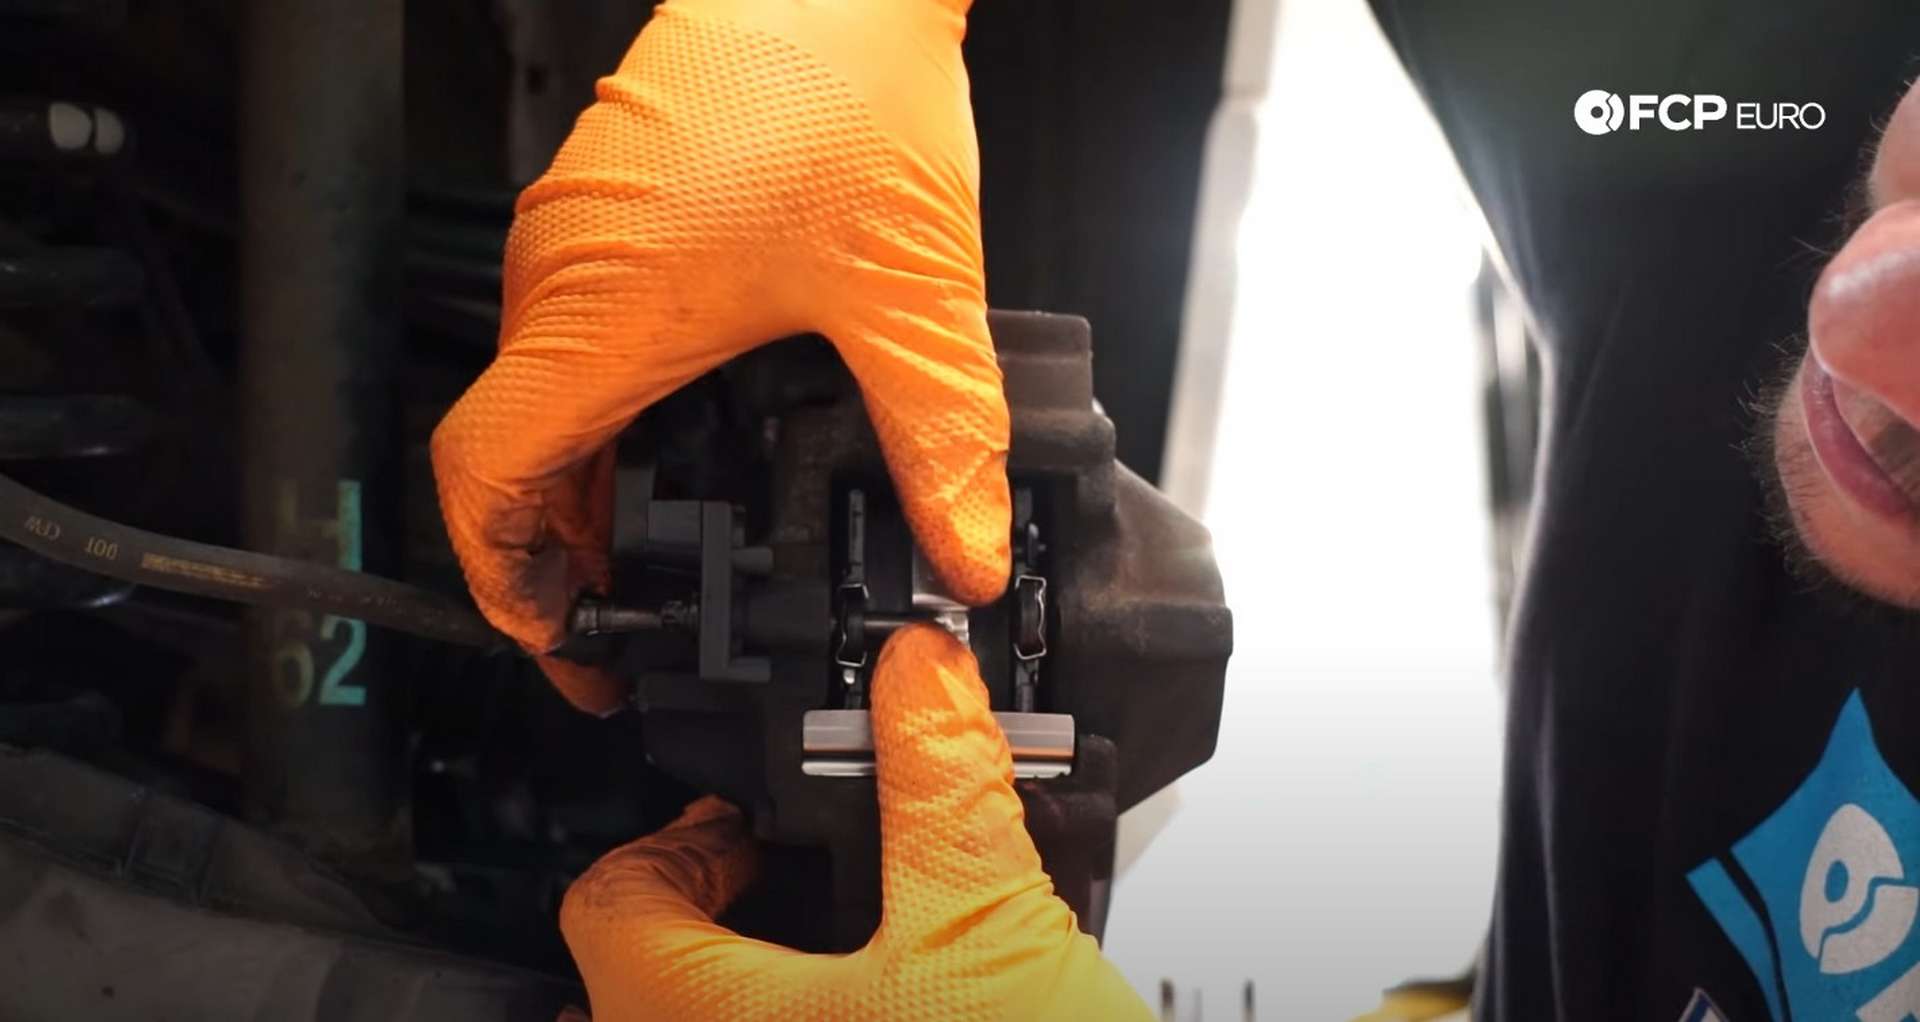
After that, slide in the new pads and place the new anti-rattle clip between them. The alignment pin will secure the clip, so hold it in place as you slide the pin through the caliper and the pads. Scrub the pin with a wire wheel or brush if you have trouble sliding it through the caliper.

Ensure the alignment pin is flush with the back of the caliper when you install it. Then lastly, install the new pad wear sensor. Plug the sensor into its connector before pressing it into the pad.
That's it for the pad and rotor replacement. Refit the wheel to that corner and then proceed with the replacement on the other side.
Mercedes-Benz W203 Rear Brake Torque Specs:
- Mercedes-Benz Brake Rotor Set Screw = 7Nm or 5.2 ft-lbs, of torque
- Mercedes-Benz Caliper Mounting Bolts = 55Nm or 41 ft-lbs, of torque
- Mercedes-Benz Wheel Lug Bolts = 110Nm or 80 ft-lbs, of torque
Now that your rear brake pads and rotors have been replaced, you can get back to safely driving your vehicle on public roads. If you're interested in more DIYs for your Mercedes, you can visit mercedes.fcpeuro.com and subscribe to our YouTube channel.


