How many times have you been behind a Volvo and noticed that its rear muffler was unsupported and bouncing around? Even better, have any of you AWD owners out there ever experienced a condition when driving through water, slush, or snow where you start to hear a high pitched squealing sound coming from underneath your vehicle? What if I told you that there are factory solutions for both?
Driveshaft Squeal:
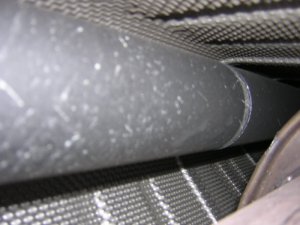
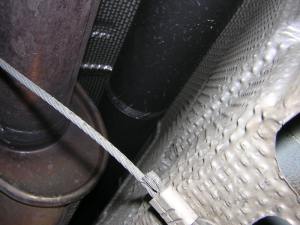
A squeal coming from your driveshaft could be caused by interference between your drive shaft and your exhaust, and is commonly referred to as "Rain Squeal." This is caused by a quick sudden change in temperature cooling the exhaust and changing its form for just a brief amount of time before it heats up again. If you were to look under the vehicle you may even see a witness mark from where the two components are making contact. Yep, you guessed it - the driveshaft and exhaust have met.
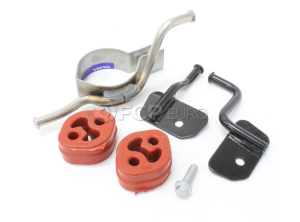
Here's the fix:
- For Non-R models you'll need repair kit p/n 30742265
- For S60R and V70R you'll need repair kit p/n 30793619
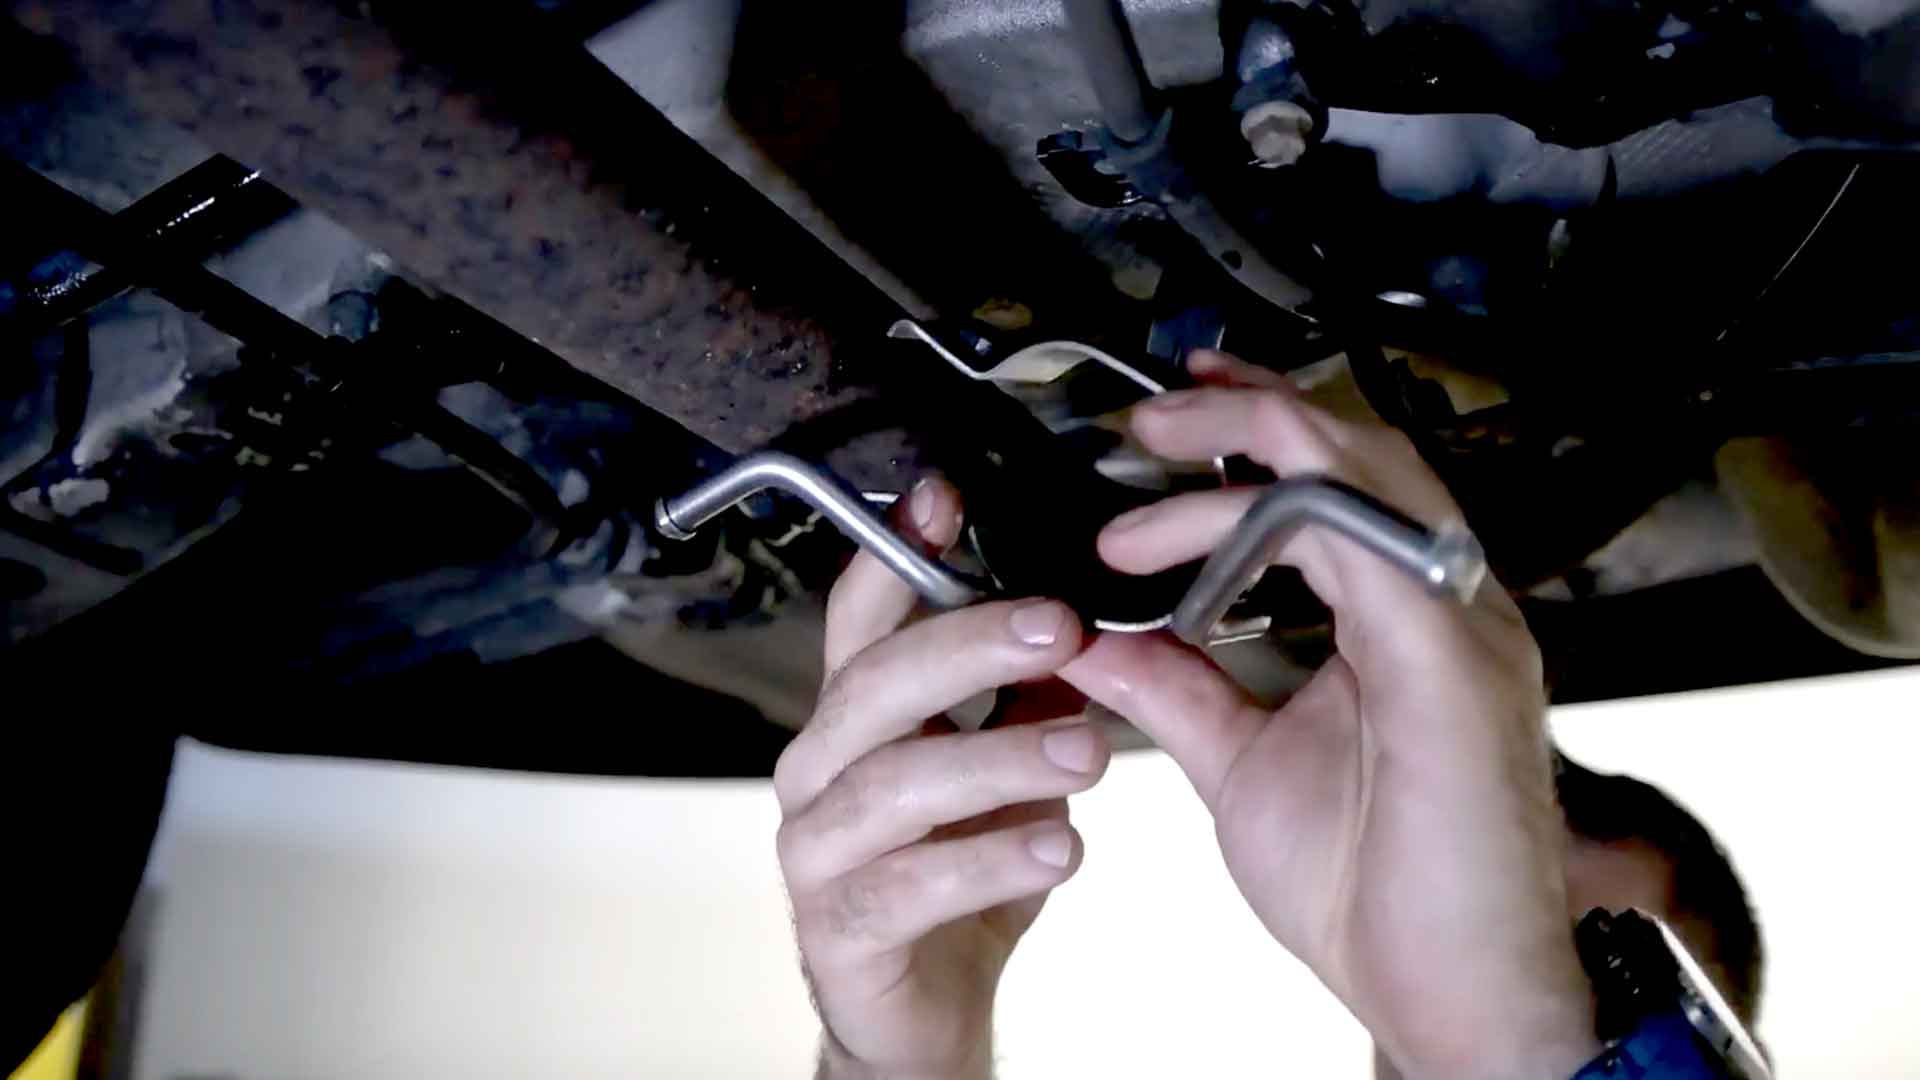
How Does It Install?
- Under the vehicle you'll notice an existing cross member. Remove it and install the brand new one from the kit.
- It may look a little different, don't worry. Now, tighten the bolts to 18 ft-lbs.
- Install the rubber hangers on the cross member.
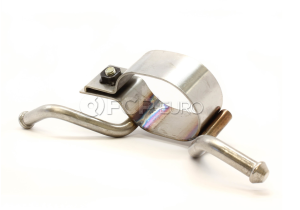
- Install the clamp around the exhaust pipe and tighten that to 18 ft-lbs as well.
- Connect the hangers between the cross member and the clamp.
But What About The Rear Exhaust Hangers Closest To The Muffler?
The two mounting ears are broken off and your exhaust is hanging low. You noticed the ears are welded on and you're worried you'll need to weld them back on or replace the whole exhaust system.
Check out the following kits which install by bolting the kits in place - no welder necessary:
Install Procedure:
- Remove broken hanger pieces from the exhaust pipe
- Install the new clamp and tighten nut (18 Ft-lbs)
- Install rubber hangers
Check Out Our DIY Repair Video Here: