- 02/01/2017
- 1 Min Read
- By: Alex Fiehl
Mercedes Heater Valve Restoration - 450SL (1972-1976)

In the last article on replacing the Mercedes-Benz heater valve I discussed two options to get this job done. One was to replace the valve with the new Mercedes “all-in-one” plastic or the option of restoring the original valve. So if your valve is serviceable this article will walk you through the steps of restoring and “retrofitting” your original BEHR heater valve.

The “Wassereintritt” or water inlet/heater valve is the water valve to start and stop the flow of water to the heater box in winter time. While these valves were exceptionally well made, they did require that the cooling system be maintained with the proper coolant and distilled water and that it went through the prescribed coolant changes.
In the event that your system was maintained, your heater valve should be in good working order. So, assuming that it is, the first step is to remove the valve as per my past article titled: Mercedes-Benz Heater Valve Replacement.
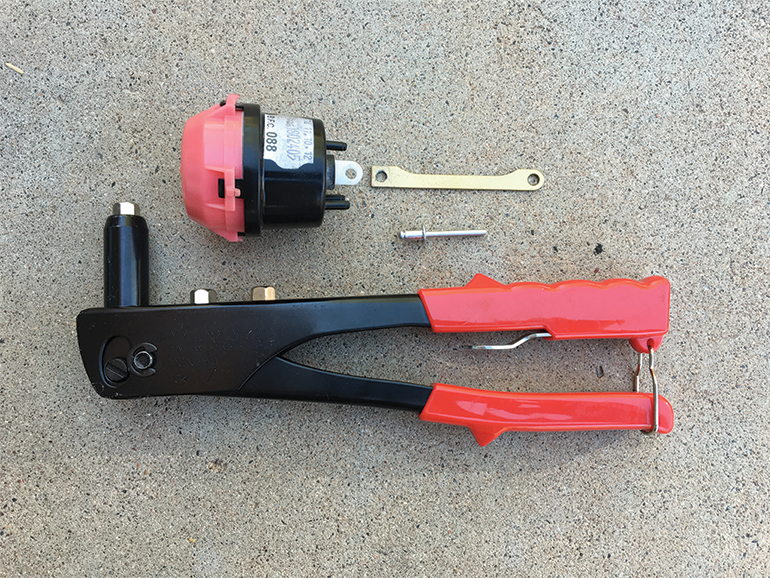
After removing the old BEHR valve, begin by very carefully disconnecting the four pronged retaining clip as indicated in the photo. To do this, use needle nose pliers and a small, thin bladed screwdriver. Gently squeeze two of the prongs together and carefully push the metal actuating arm out as shown. Continue to gently work all the components until the arm is released. IMPORTANT: This is more than likely the original plastic and is very susceptible to breaking and rendering your restoration useless if it does—go slow!

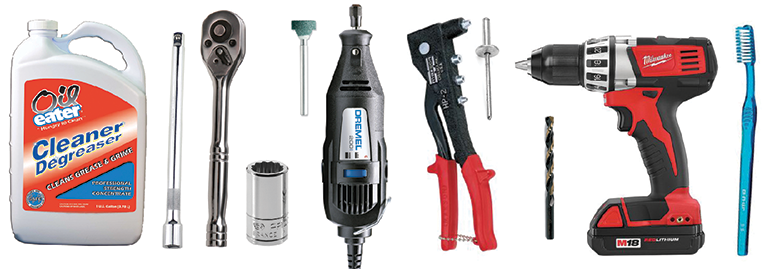
With the actuating arm free from the plastic lever, it will now be time to remove the rivet from the opposite end as shown. You will need a 3/8th in. metal drill bit which is slightly larger than the original hole in order to accommodate a more common 1/8th X 3/8th in. rivet. The upsizing only expands the hole infinitesimally, which is why I did not struggle to locate an off sized rivet. It may also be helpful to grind down the one side of the old rivet prior to drilling. I also found it helpful to
have a Dremel fitted with a green grinding bit to grind down the flanged side of the rivet prior to drilling.
NOTE: No matter how you attempt to remove the rivet, take time and cool off the rivet regularly. If you do not, the white plastic actuating arm connector will begin to melt. Do not get any fluids inside the vacuum element.
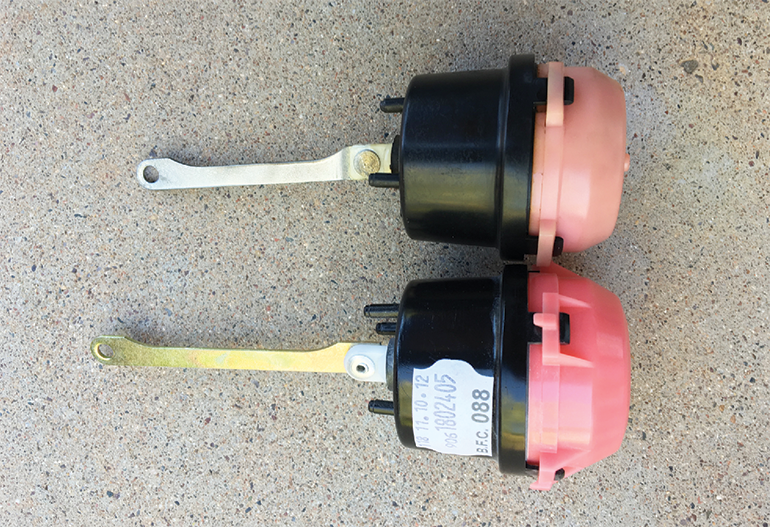
When the actuating arm has been completely separated it is now time to attach it to your new vacuum element. The photo below shows the old vacuum element and the new prior to attached actuating arms removed. While the old is nearly identical it is to long to function properly.
Now that your new vacuum element is riveted to the old actuating arm, it is ready to be assembled once again with the valve. Prior to doing so however, if necessary use a 1:1 solution of Oil Eater and distilled water. Scary solution on a toothbrush and gently scrub the unit. Rinse in clean water and dry thoroughly.
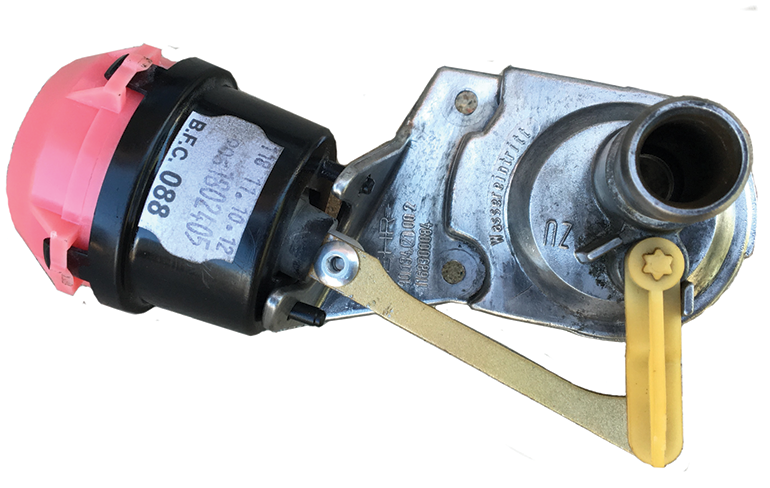
To finish up your project, simply revers your steps form separation and once again being very gentle with all the plastic components. Your finished product will look like the image below and ready to be reinstalled back in the car.
Before installing however, the hoses should be carefully inspected and if they are old, should be replaced. Even if they feel “soft”, if you do not know when they were last replaced, it should be done. In a subsequent article we will cover how to replace the two hoses that connect to the heater box from the valve and engine.
Parts needed:
- 1 Mercedes-Benz Vacuum Element (MB No. 116 800 11 75) designated for a W123, 240D
- 1 Grommet at firewall (if needed)
Helpful tools:
Shop Mercedes Heater Control Valve


