- 08/06/2020
- 7 Min Read
- By: Christian Schaefer
How To Repair A BMW Transfer Case Actuator (BMW X3, X5, & X6)

The transfer case in BMW 4x4 vehicle is what gives the vehicle its namesake capability. The transfer case is responsible for dividing the drive from the engine and sending it to all four wheels, rather than just two. Transfer case designs differ between makes, but all are designed to add another two wheels of drive at the push of a button or pull of a lever. In BMW’s case, a button is pressed, and an electric motor drives a couple of gears that put the transfer case into 4-wheel-drive. Over time these gears can wear down, leading to an inability to select the 4-wheel-drive.
Changing the plastic gear in the transfer case actuator is a moderately challenging task. A new transfer case actuator assembly isn’t monumentally expensive, making the repair of the actuator gears a job for the truly frugal and adventurous. With the help from our guide, you can have your BMW’s 4x4 system back to full health in an afternoon.
BMW models and years applicable:
|
|
|
Symptoms of a failing BMW transfer case actuator:
- 4x4 dash light on
- ABS dash light on
- Brake dash light on
- Clicking from transmission
Inside the transfer case actuator is a set of plastic gears. Over time the teeth on these gears will strip, leading to a non-functioning transfer case actuator. A failing actuator dampens the BMW’s ability to use its 4-wheel drive crossmember if not eliminates it.
How much will it cost to repair a BMW transfer case actuator?
The transfer case actuator repair kit we offer costs just a touch over $100. The kit contains all of the gears and necessary clips and seals to replace the gears. Changing the gears will not help a broken actuator motor. While down there, it would be a good idea to change the fluid in the transfer case. The fluid needs to be changed every 50,000 miles to keep the transfer case properly lubricated.
A transfer case actuator repair, along with a fluid change, is not a cheap procedure. You can find testimonials of shops quoting X-series owners over $2000 for the repair. The replacement of the gears is a tedious process, but one that can be achieved by a non-professional who can follow instructions.
Additionally, if you feel confident enough to remove the actuator but not rebuild it, we sell the entire transfer case motor and actuator assembly as one unit. That’ll run you $540 but will save you the entire rebuild process.
How long will it take to repair a BMW transfer case actuator?
This is a job best done slowly and carefully. The actuator needs to be disassembled and reassembled in the correct order with all of the clips and seals installed correctly. On top of that, the condition of the hardware underneath the SUV will directly affect the length of the job.
Set aside a few hours to get the job done. A rust penetrant will help to remove corroded bolts and, a clean and organized work surface will make servicing the transfer case actuator that much easier.
Tools required to repair a BMW transfer case actuator:
- Jack Stands
- Floor Jack
- 10mm Socket
- 13mm Socket
- 18mm Socket
- E7 Torx Socket
- E10 Torx Socket
- 16mm Wrench
- T25 Torx Bit
- Ratchets
- Ratchet Extensions
- Swivel Socket Adapters
- Torque Wrench
- Hammer
- Chisel
- Flathead Screwdriver
- Fluid Pump
- MoS2 Grease
- BMW Flange Sealant
Parts required to repair a BMW transfer case actuator:
Steps required to repair a BMW transfer case actuator:
Step 1: Drain the transfer case and expose the actuator
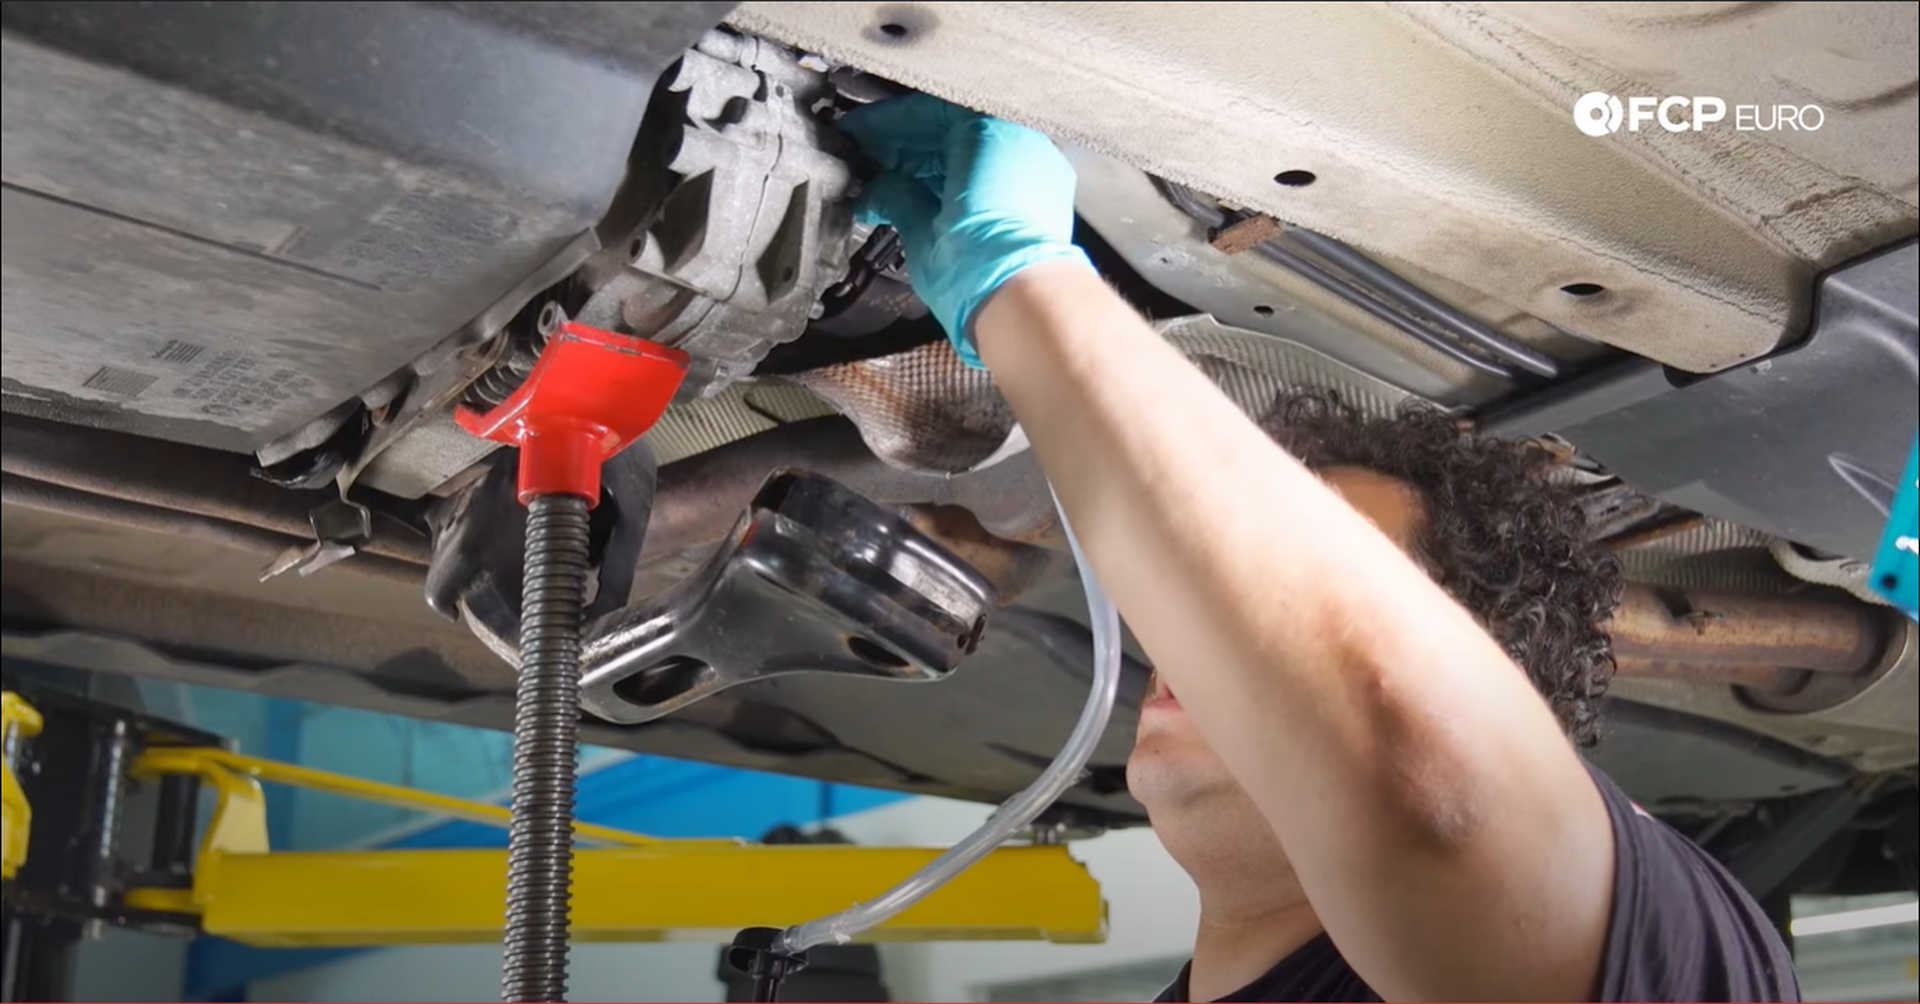
Jack the car up to give yourself space to work underneath it. Grab a pan or bucket and place it under the transfer case drain plug. Crack open the fill plug and then remove the drain plug, catching as much of the old fluid as possible to dispose of it safely. Put the drain plug back in once the fluid has completely drained out.
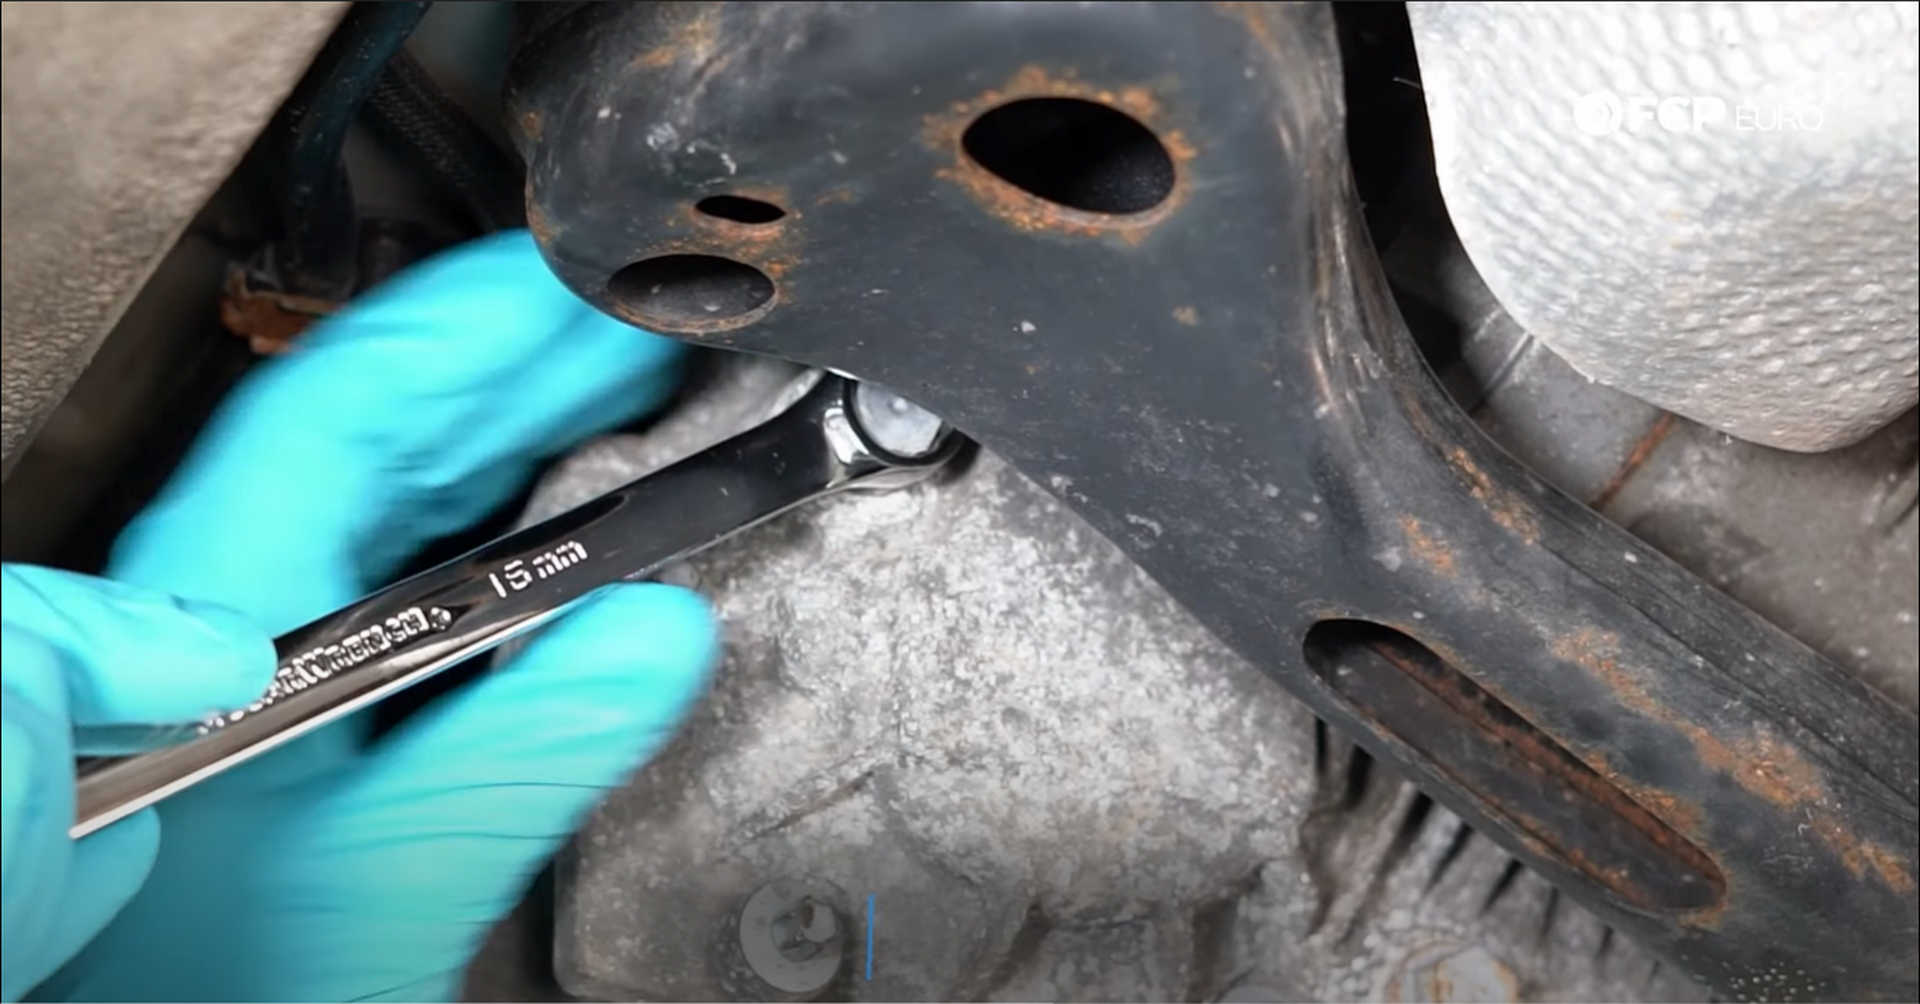

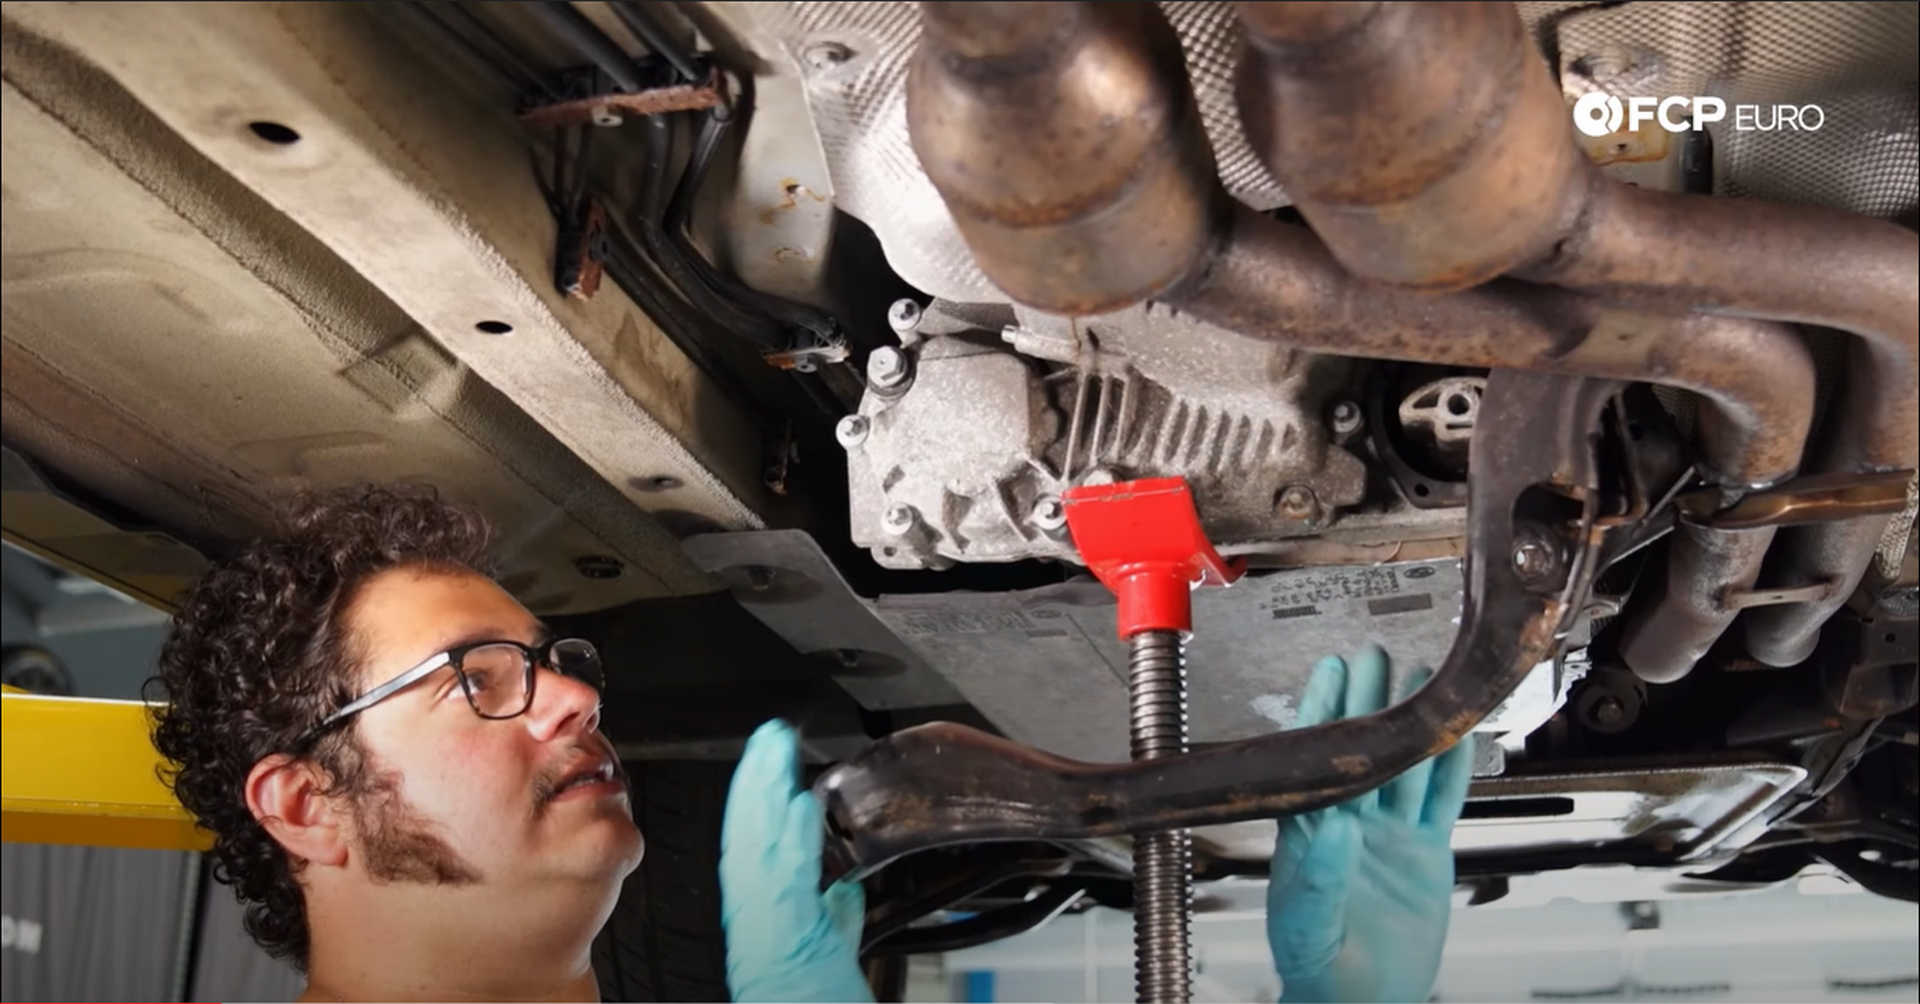
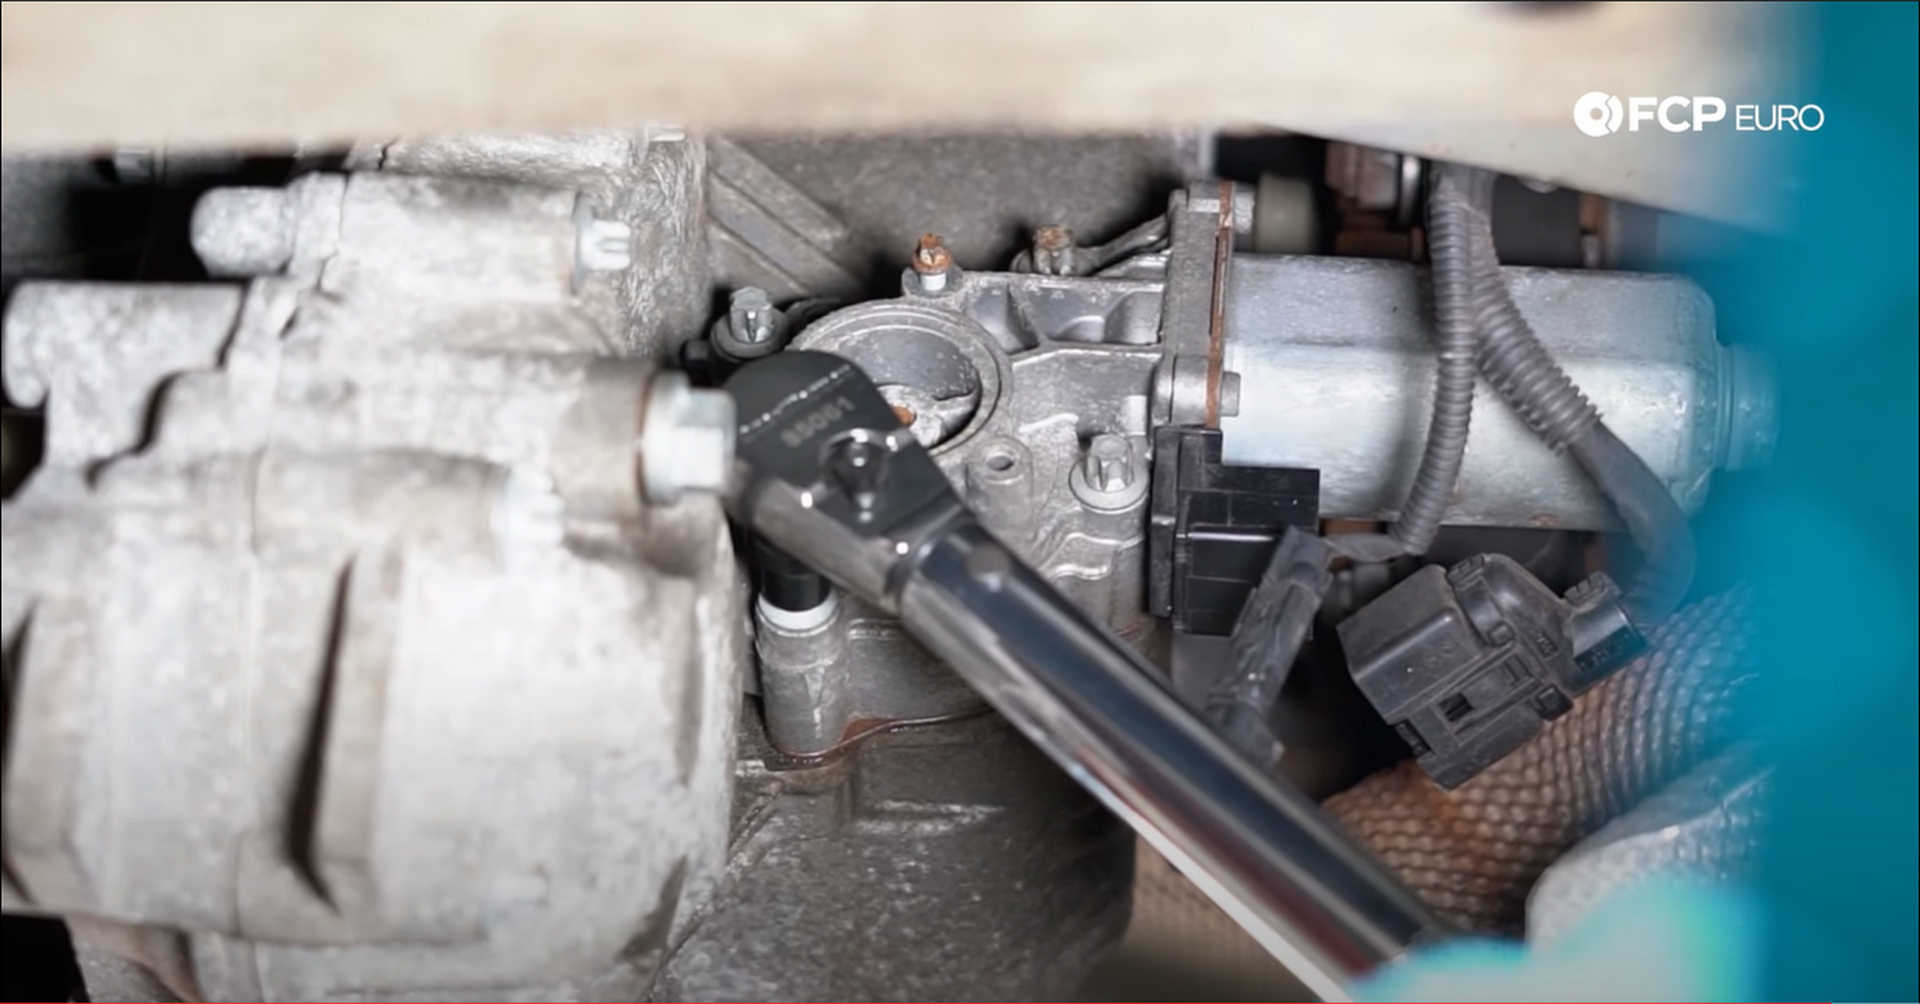
Next, unbolt the transfer case from the transmission crossmember. Use an 18mm socket to remove the one bolt mounting the case to the crossmember and use a jack to support the case.
Use a 13mm socket to remove the four bolts holding in the crossmember. The crossmember doesn’t need to be fully removed and can hang in place if you have the room for that.

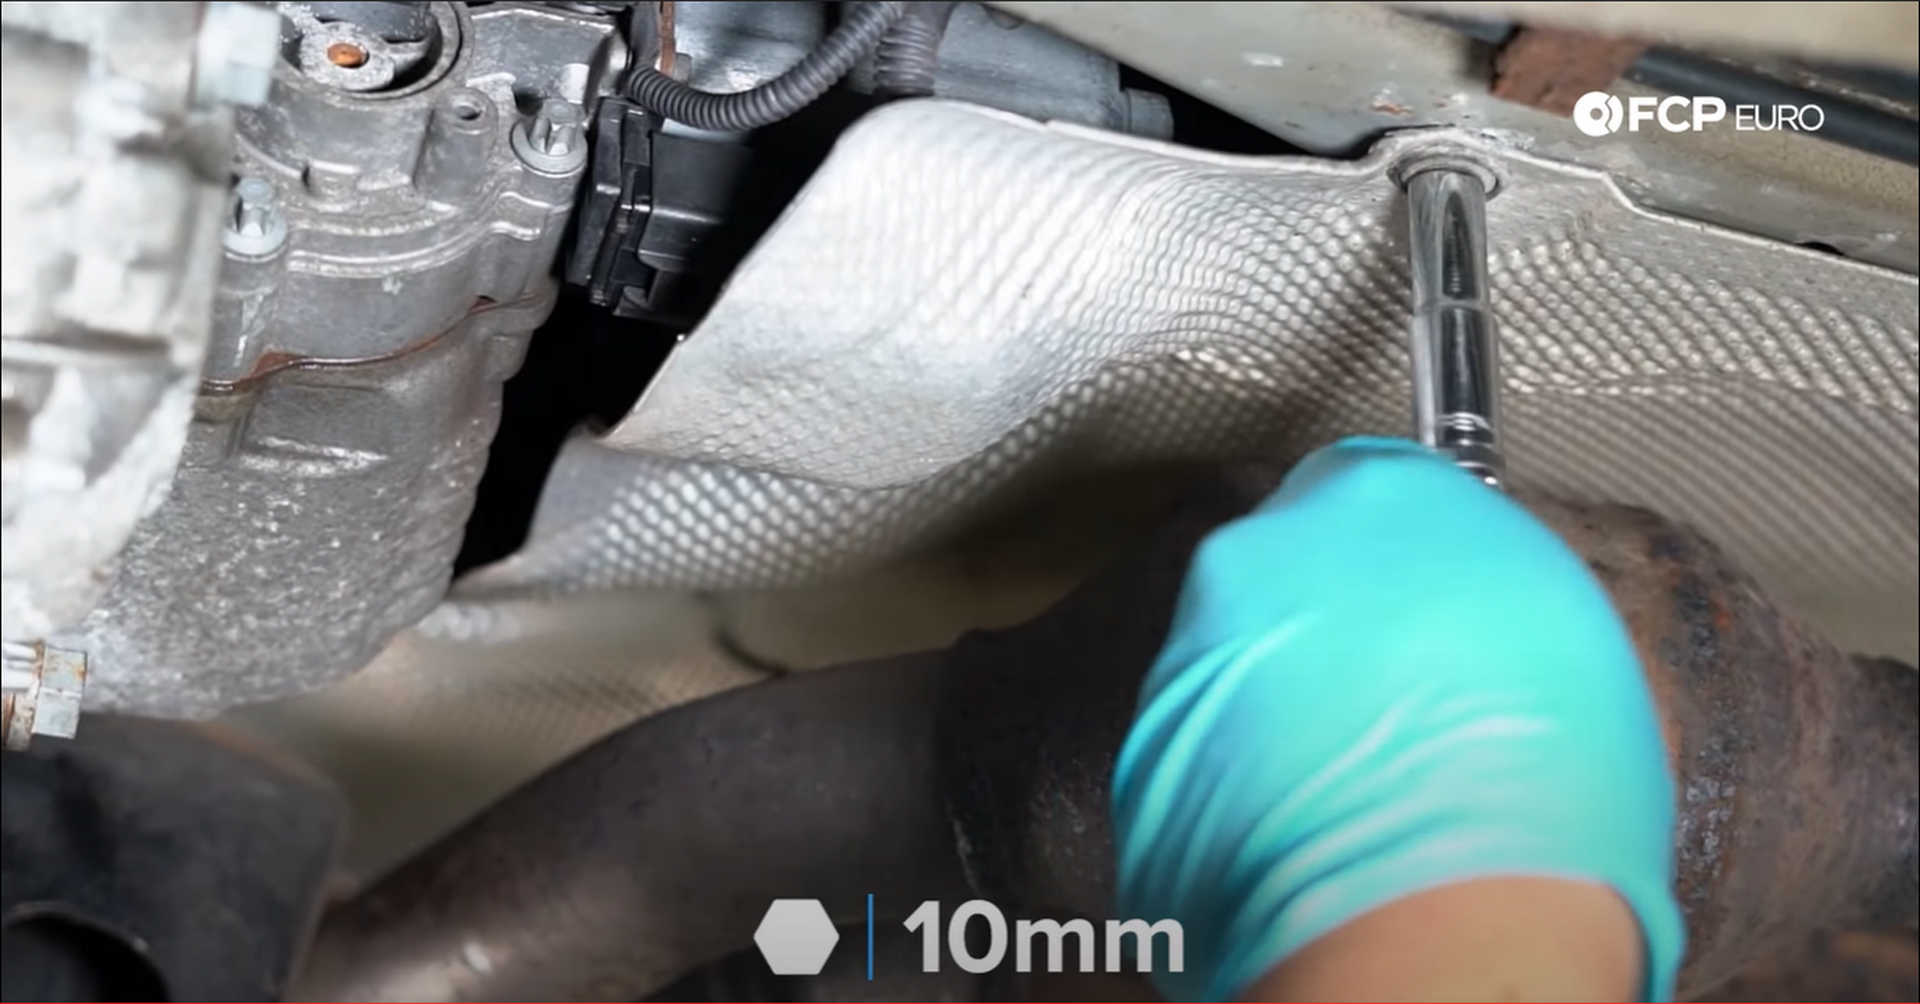
Lastly, remove the 10mm bolt holding the heat-shield to bend the shield out of the way.
Step 2: Remove the transfer case actuator assembly
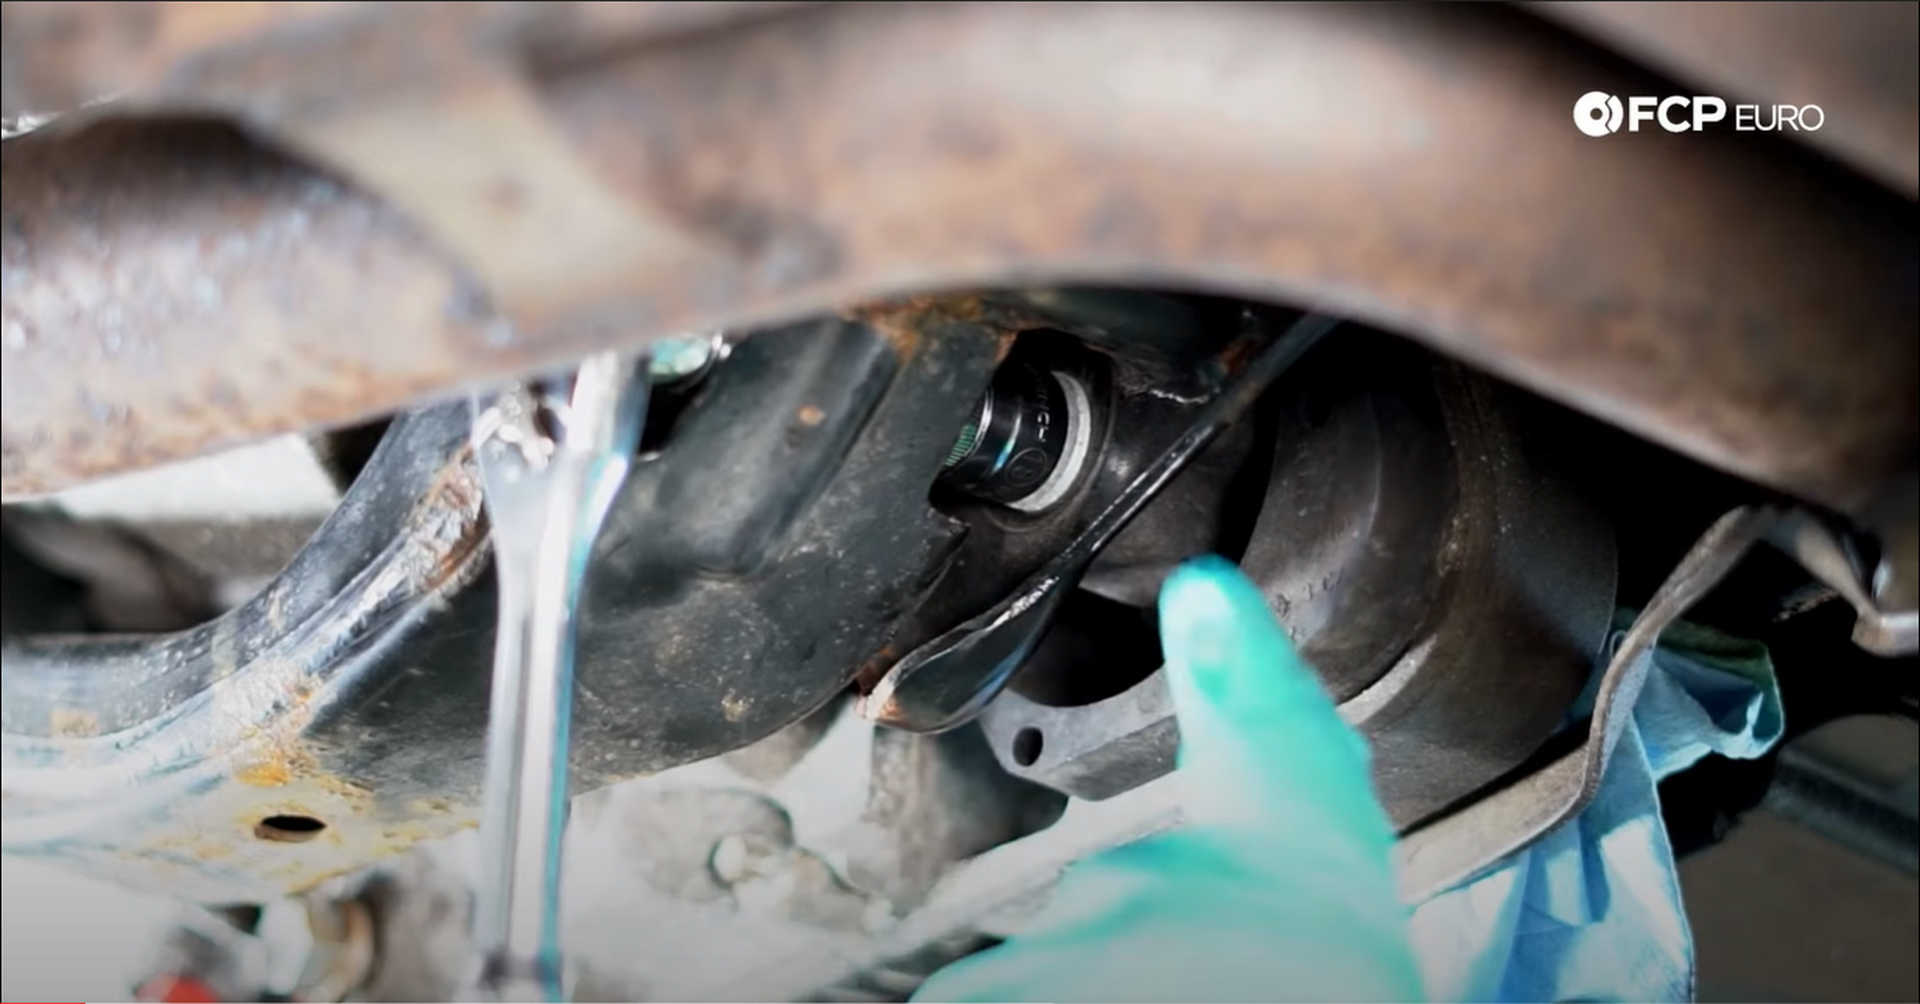
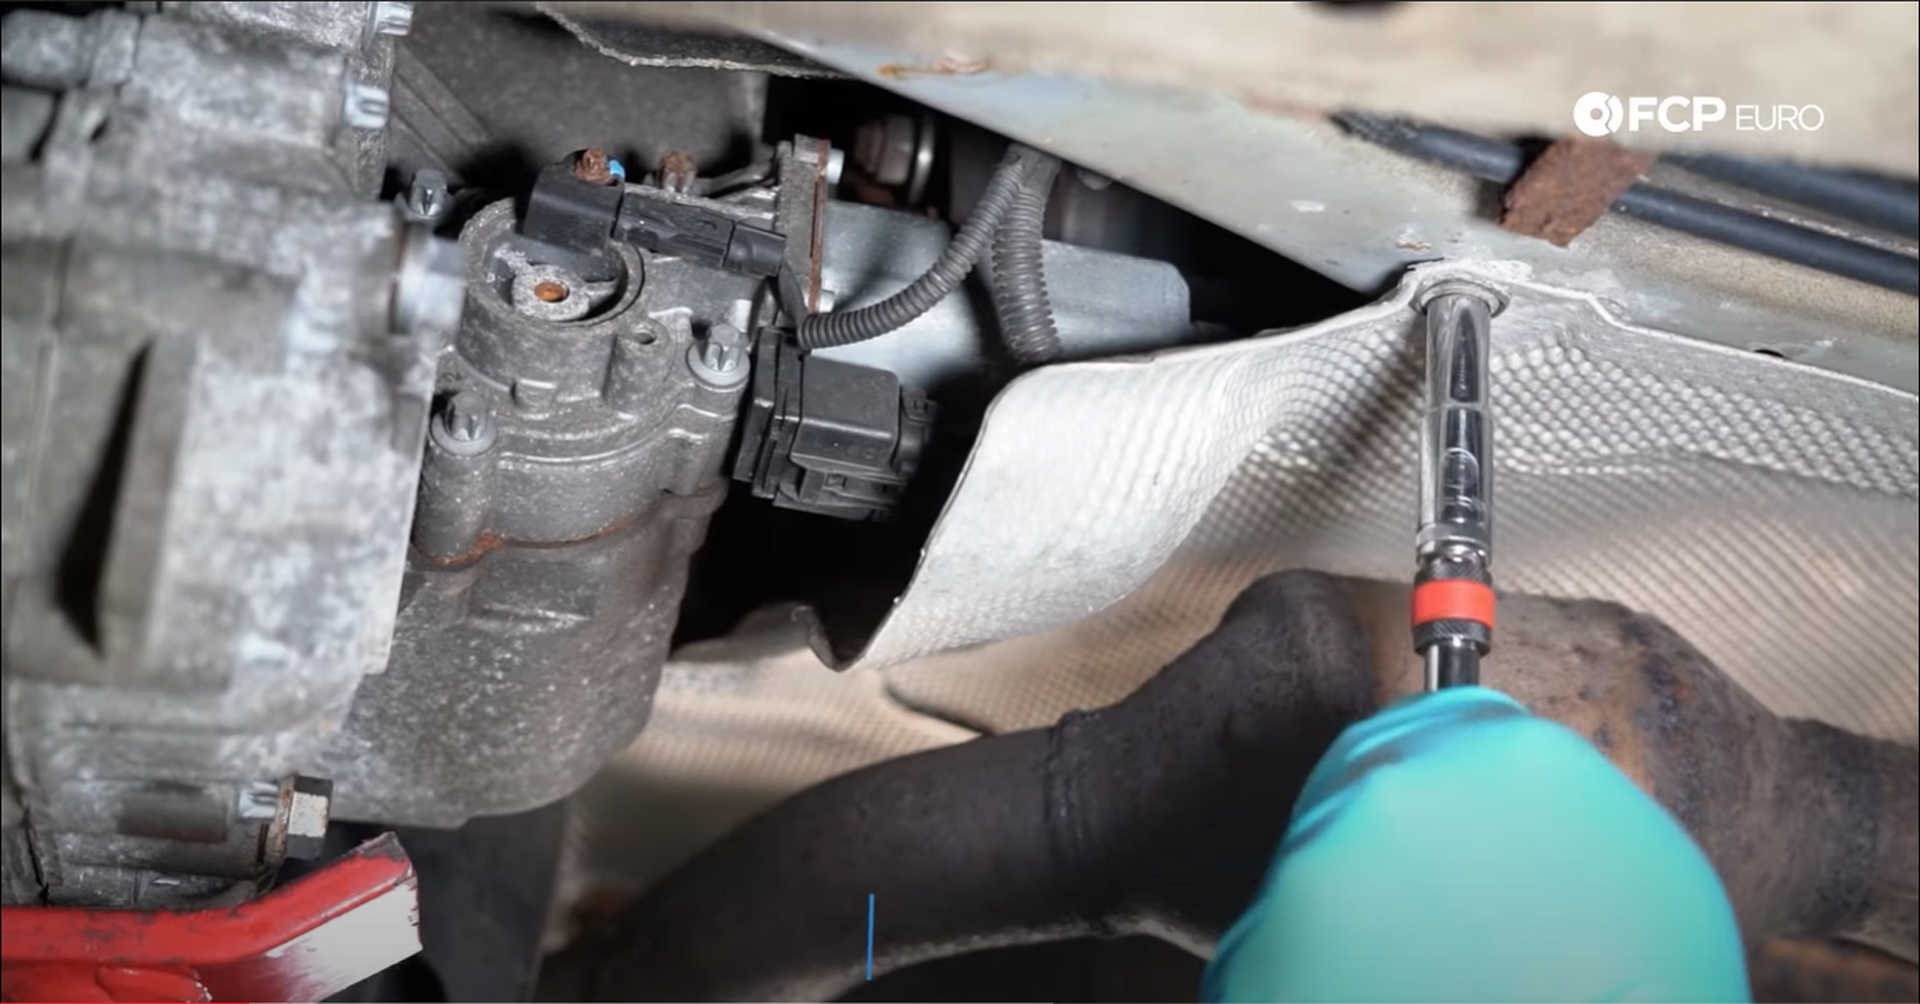
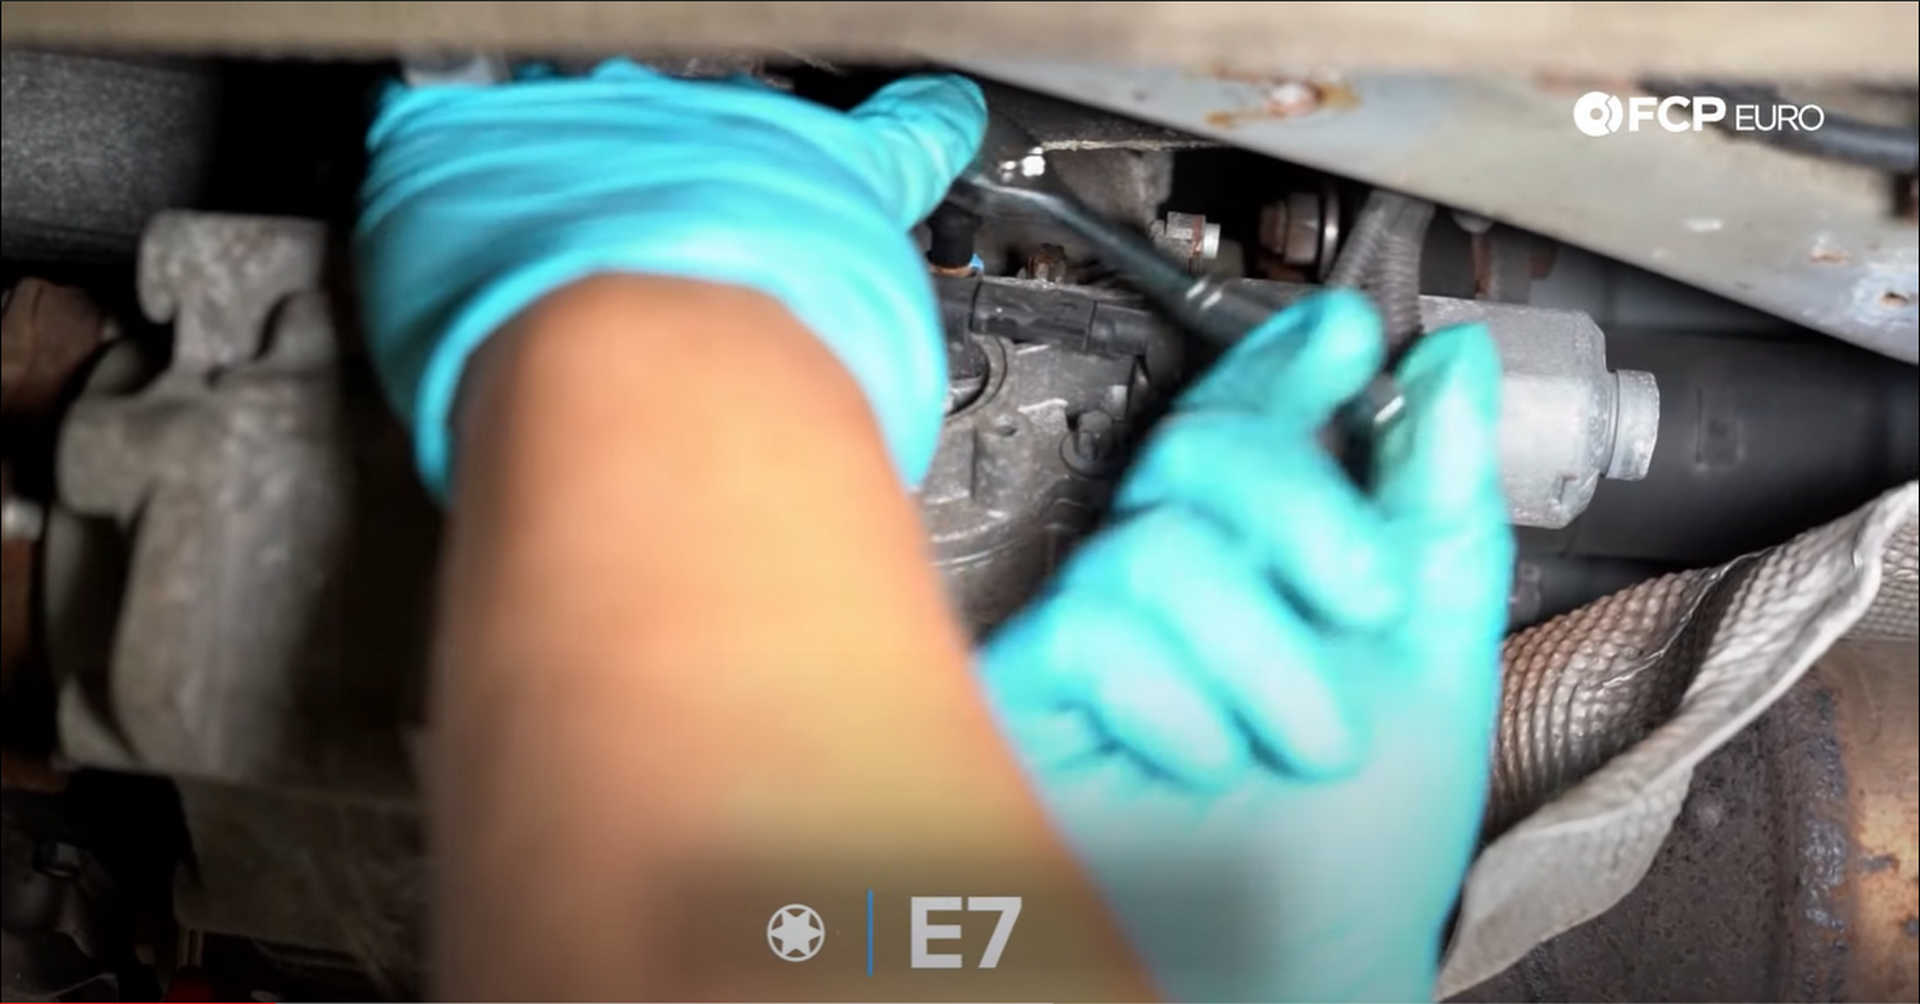
First up, take an E7 socket and remove the mounting bolt for the sensor on the side of the actuator. Then unplug the actuator’s electrical connector. Thread the sensor bolt back into the actuator for safekeeping.
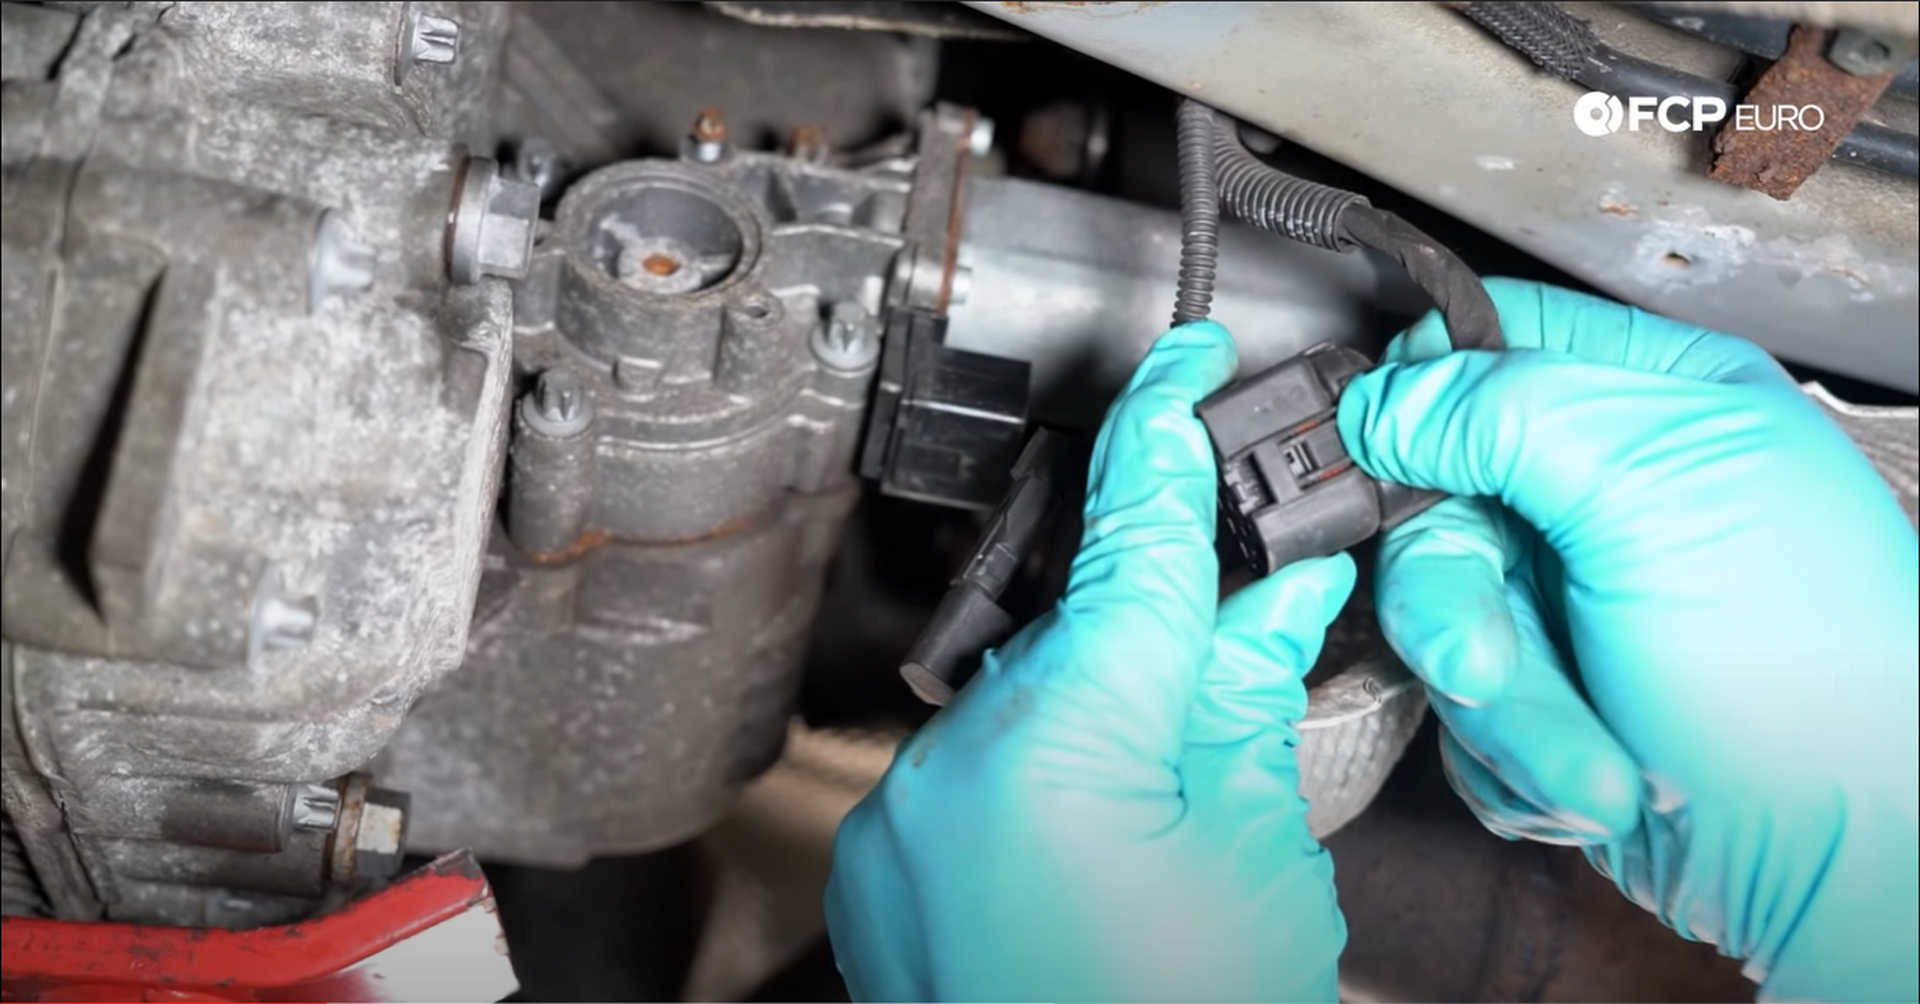
Push down on the tab for the electrical connector and wiggle it off of the actuator.
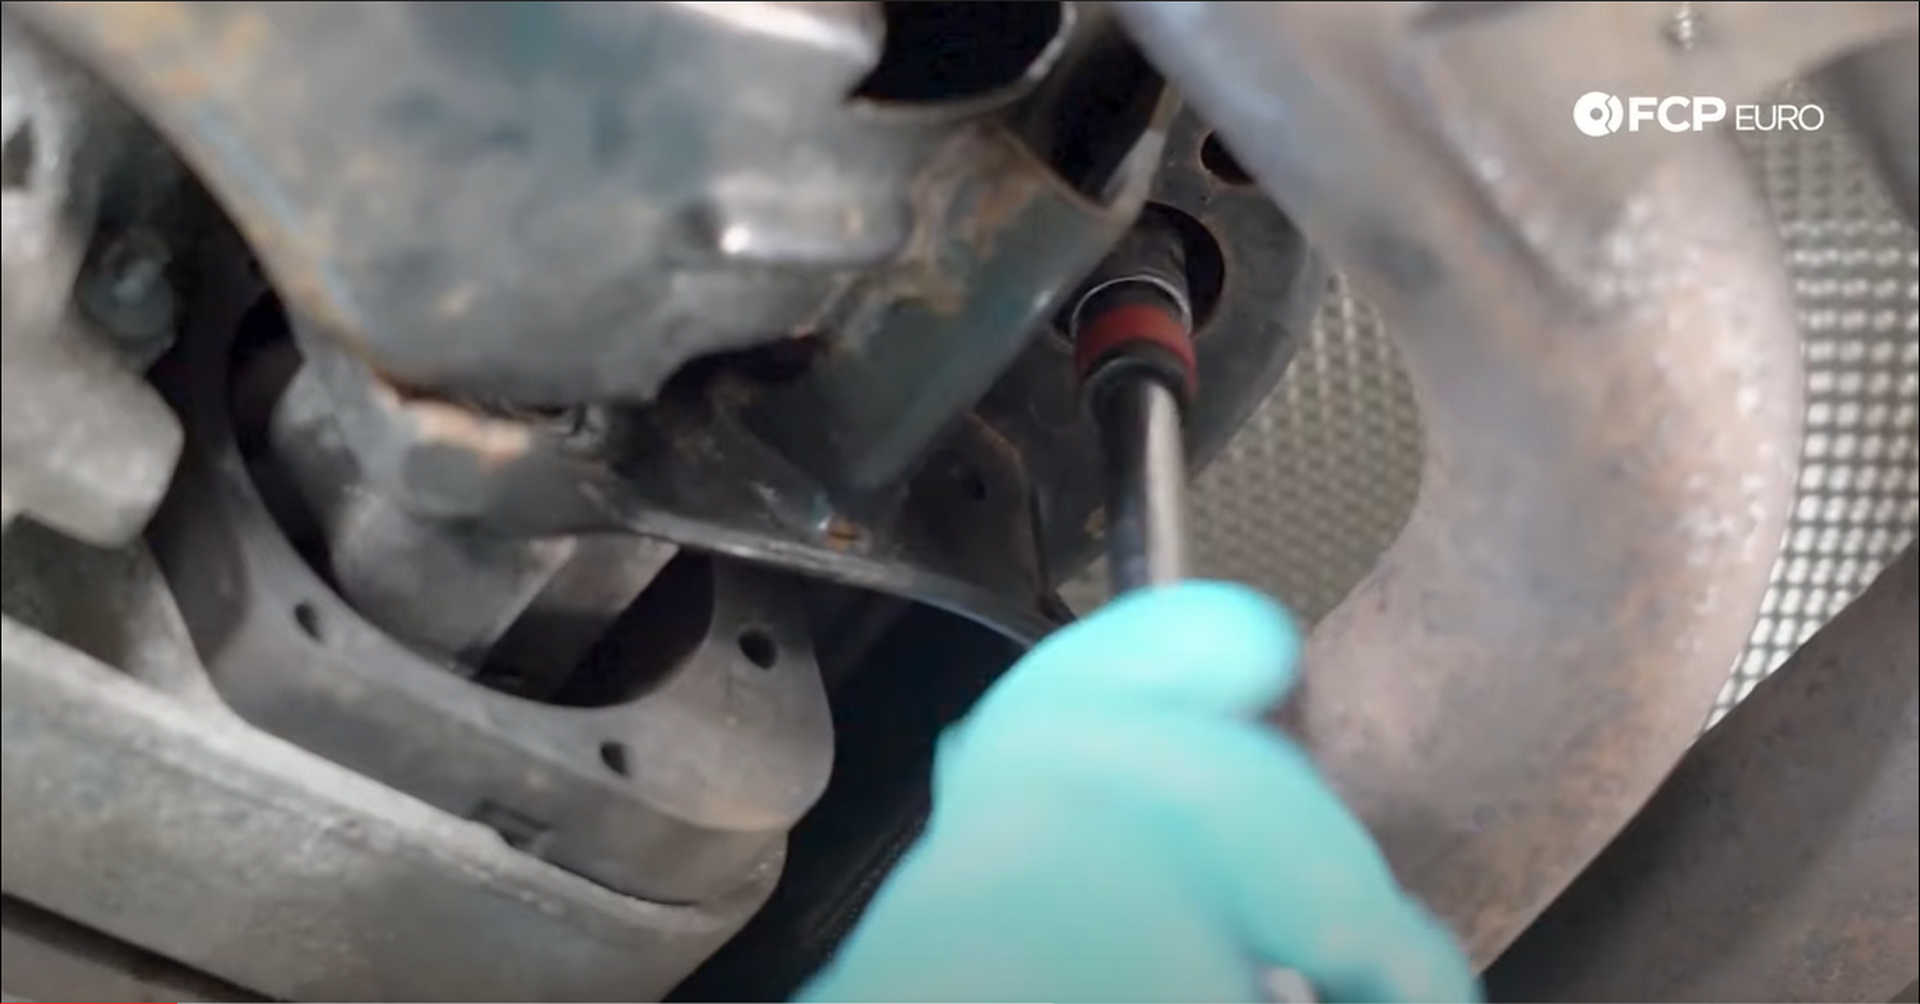
Next, lower the jack slightly to give yourself more room to access the actuator mounting bolts. Once you can reach all four bolts, remove them with an E10 socket.
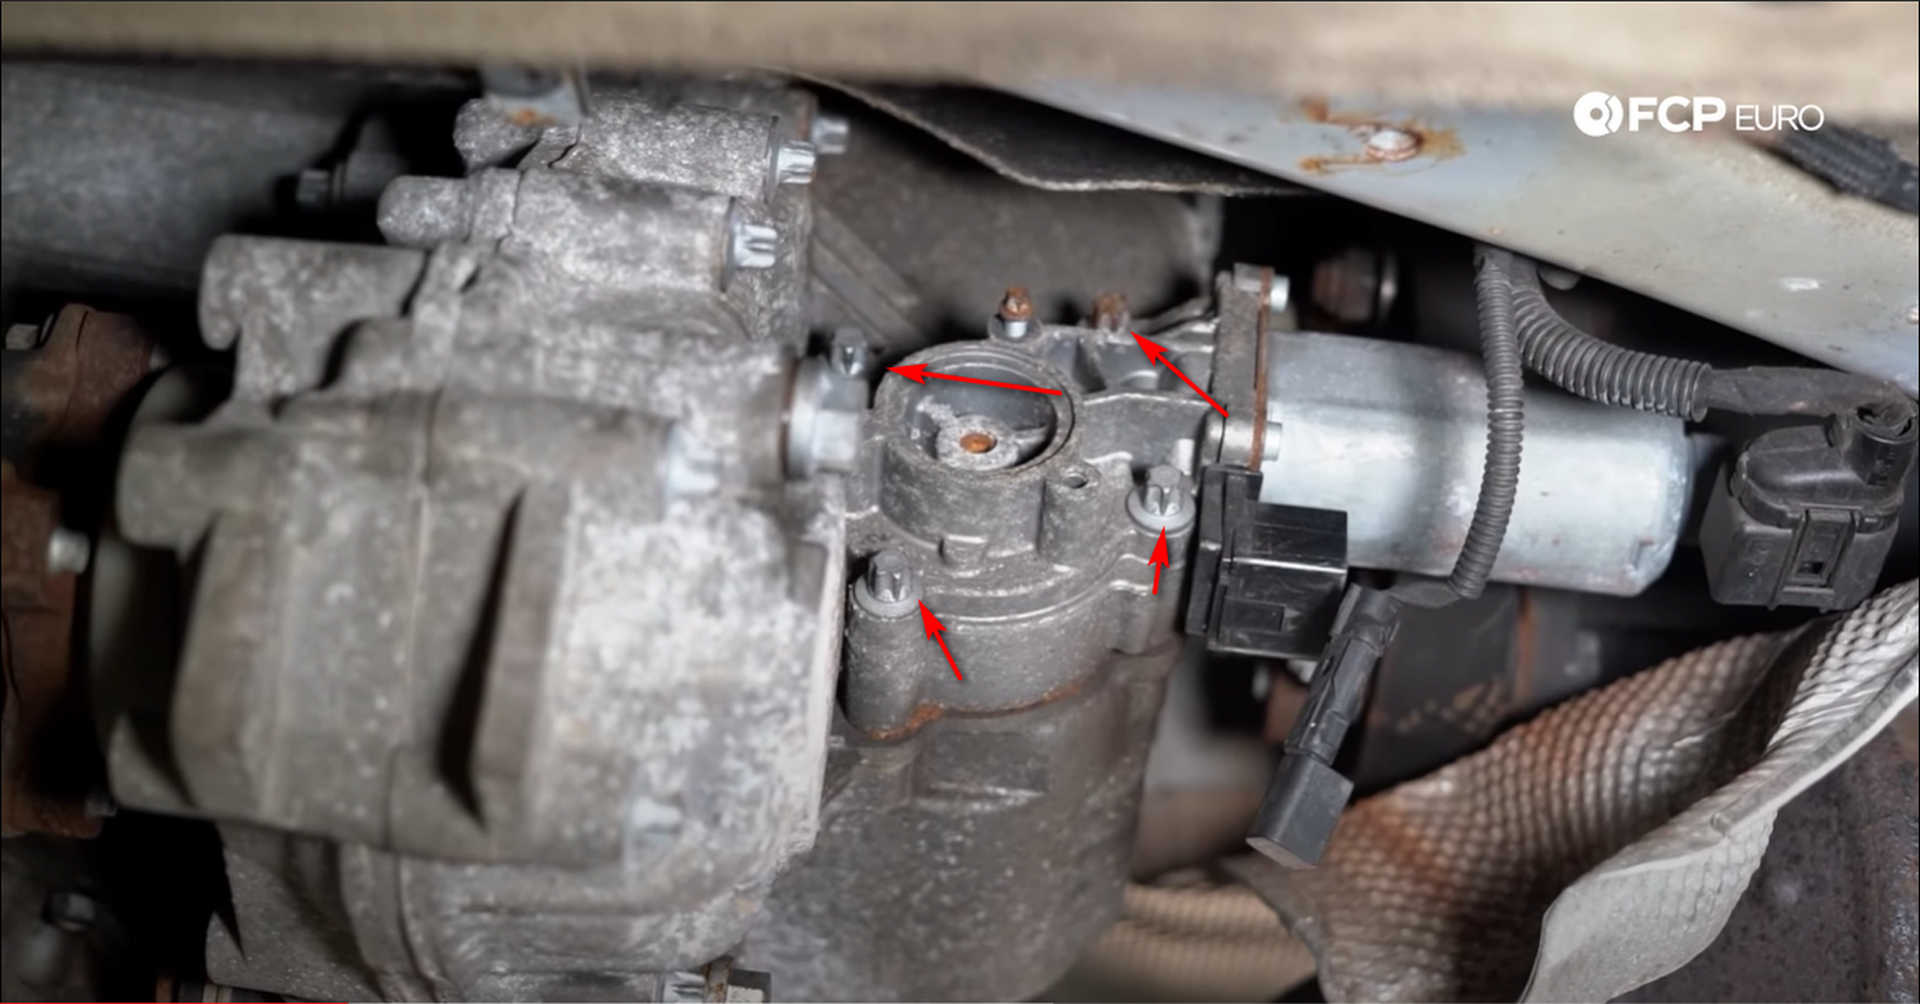
Wiggle the actuator back and forth while pulling it out to remove it from the transfer case.
Step 3: Disassemble the transfer case actuator
If you purchased a new transfer case actuator, now is the time to pop the new one in and repeat the previous steps. If you bought the rebuild kit, continue reading.
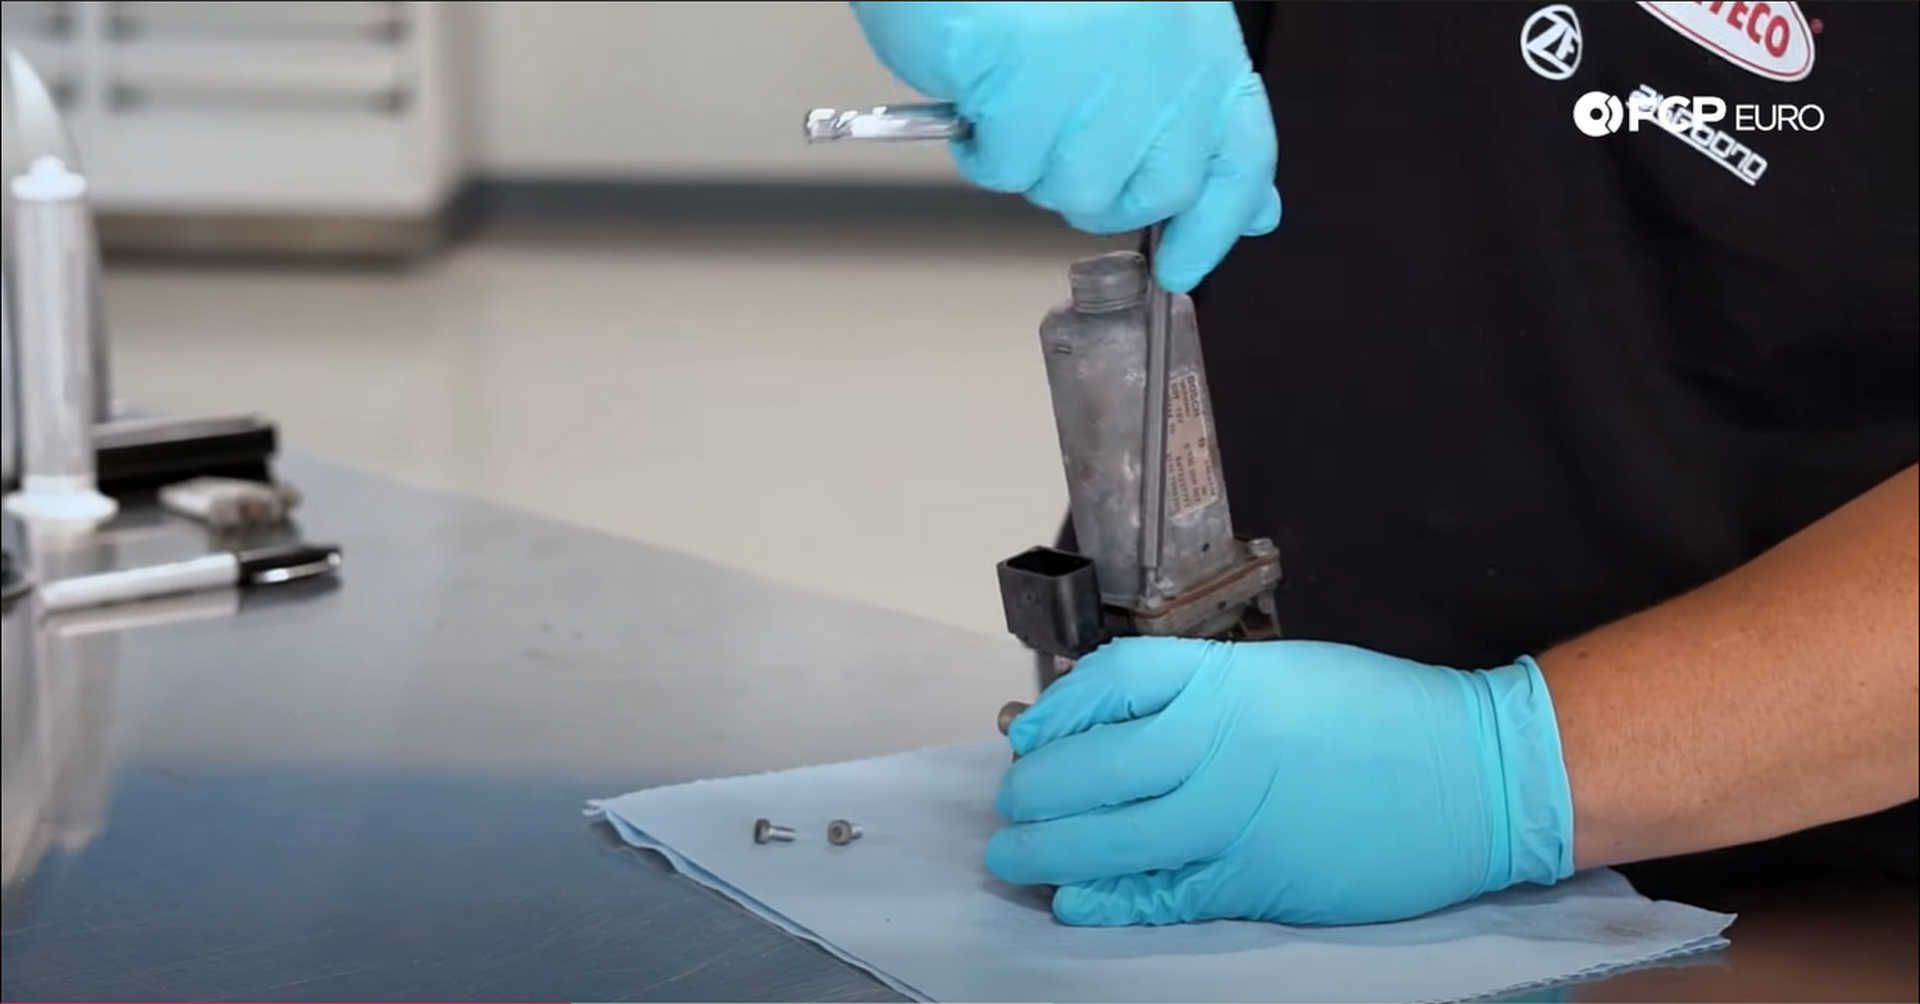
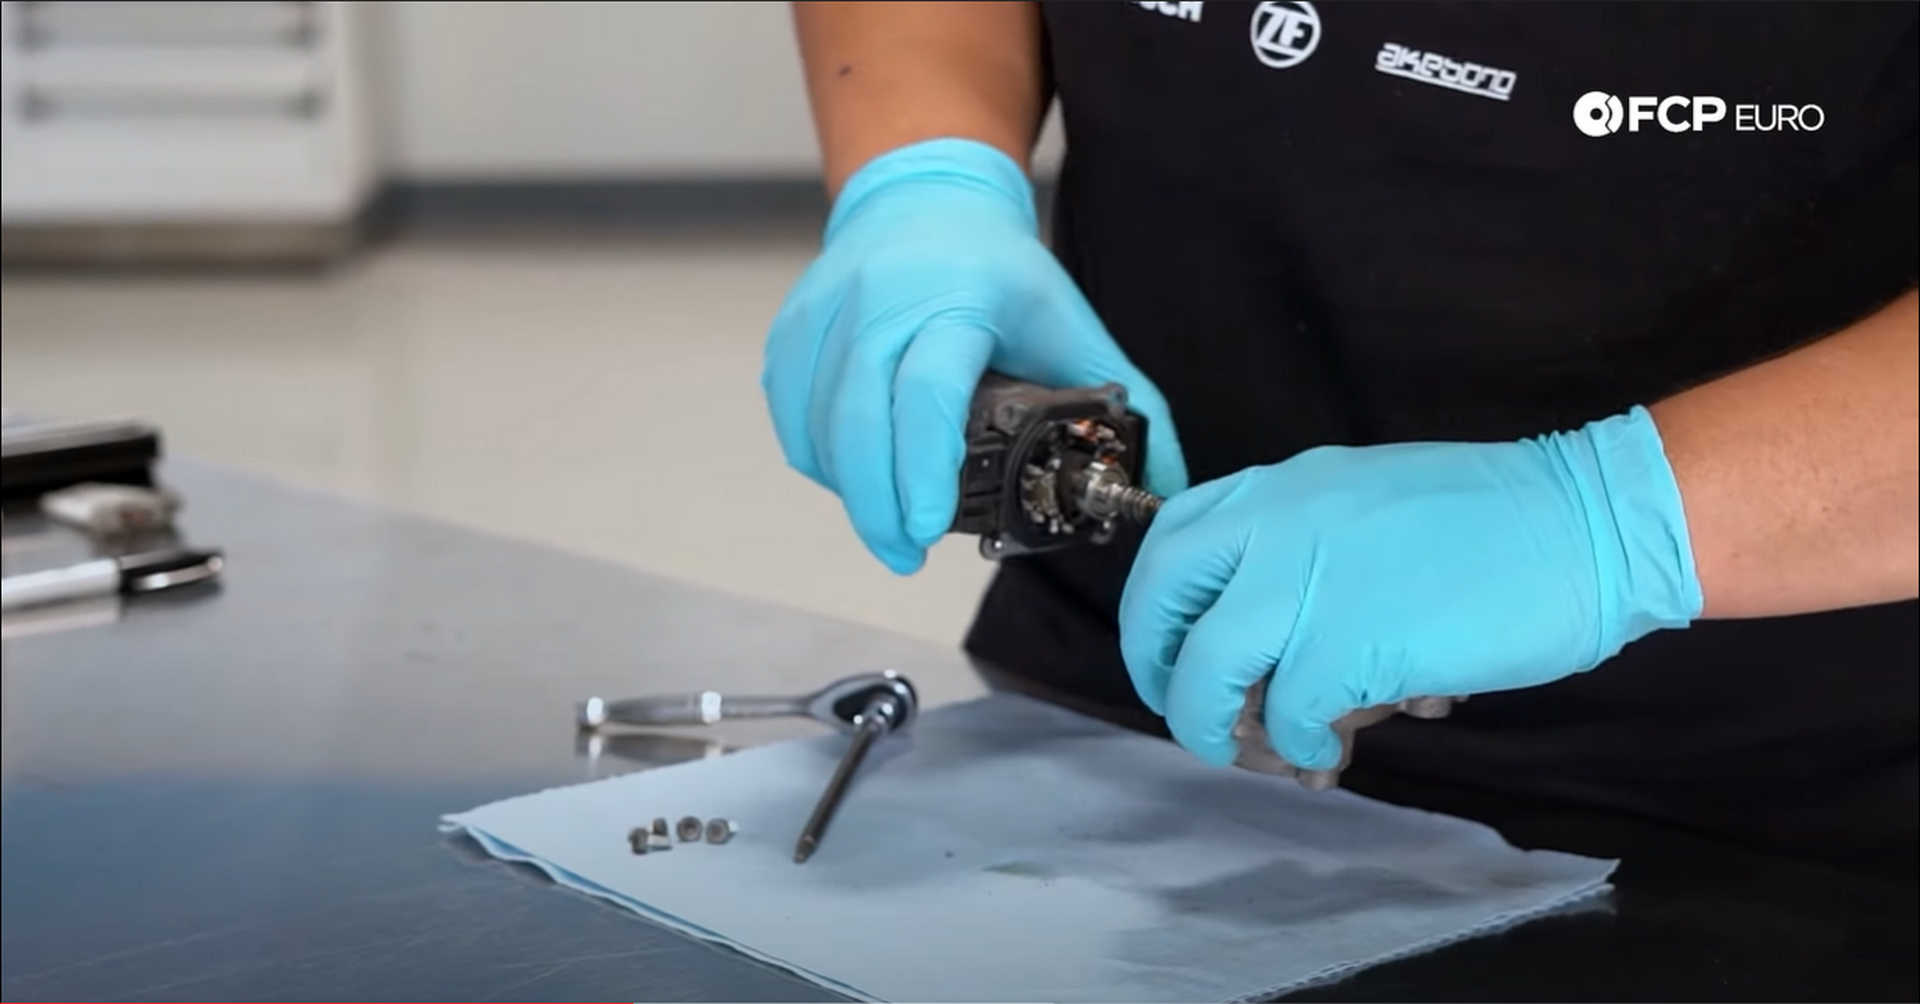
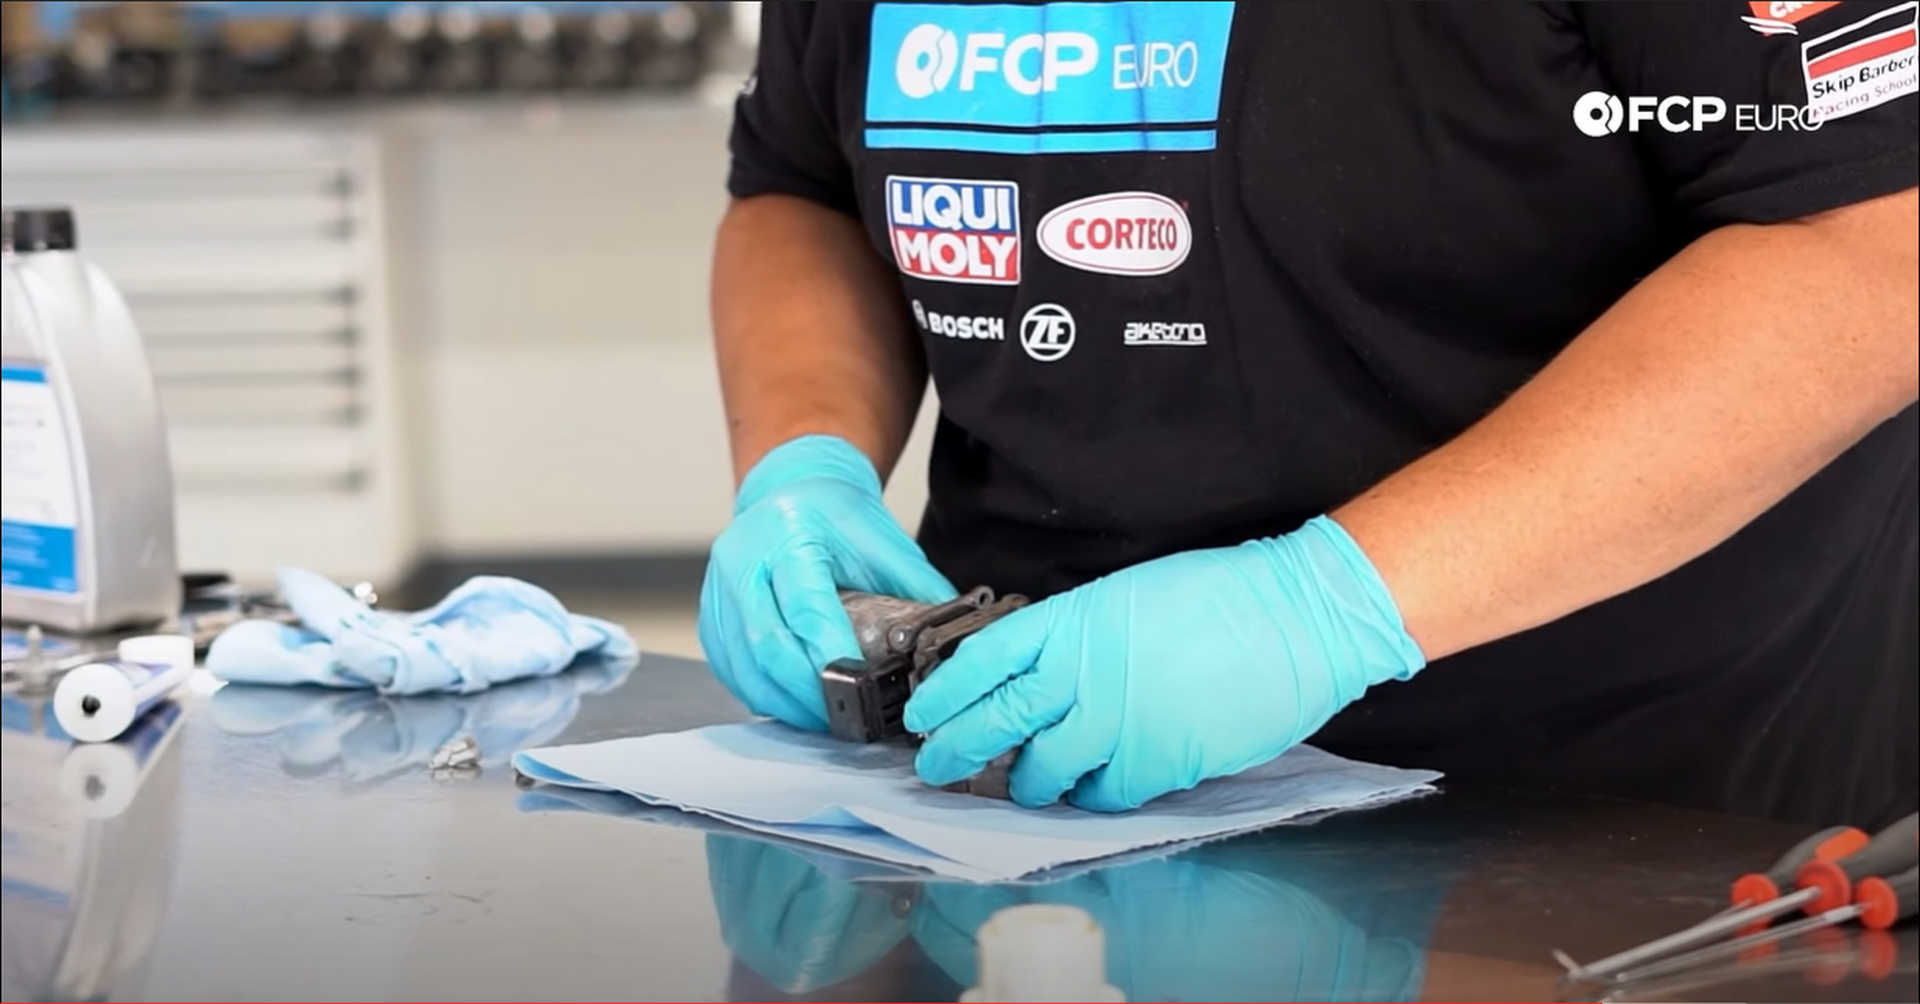
The transfer case actuator’s motor needs to be removed to disassemble the actuator itself. Remove the four T25 screws mounting the motor to the actuator. Then grab the motor by the electrical connector and the black plastic bit on the underside, and pull the motor out of the actuator.
The edges of the actuator housing are flattened over the faceplate of the actuator. Using a chisel and a hammer, tap back the flattened edges. Then, use a pick or flathead screwdriver and pry the faceplate off of the actuator housing.
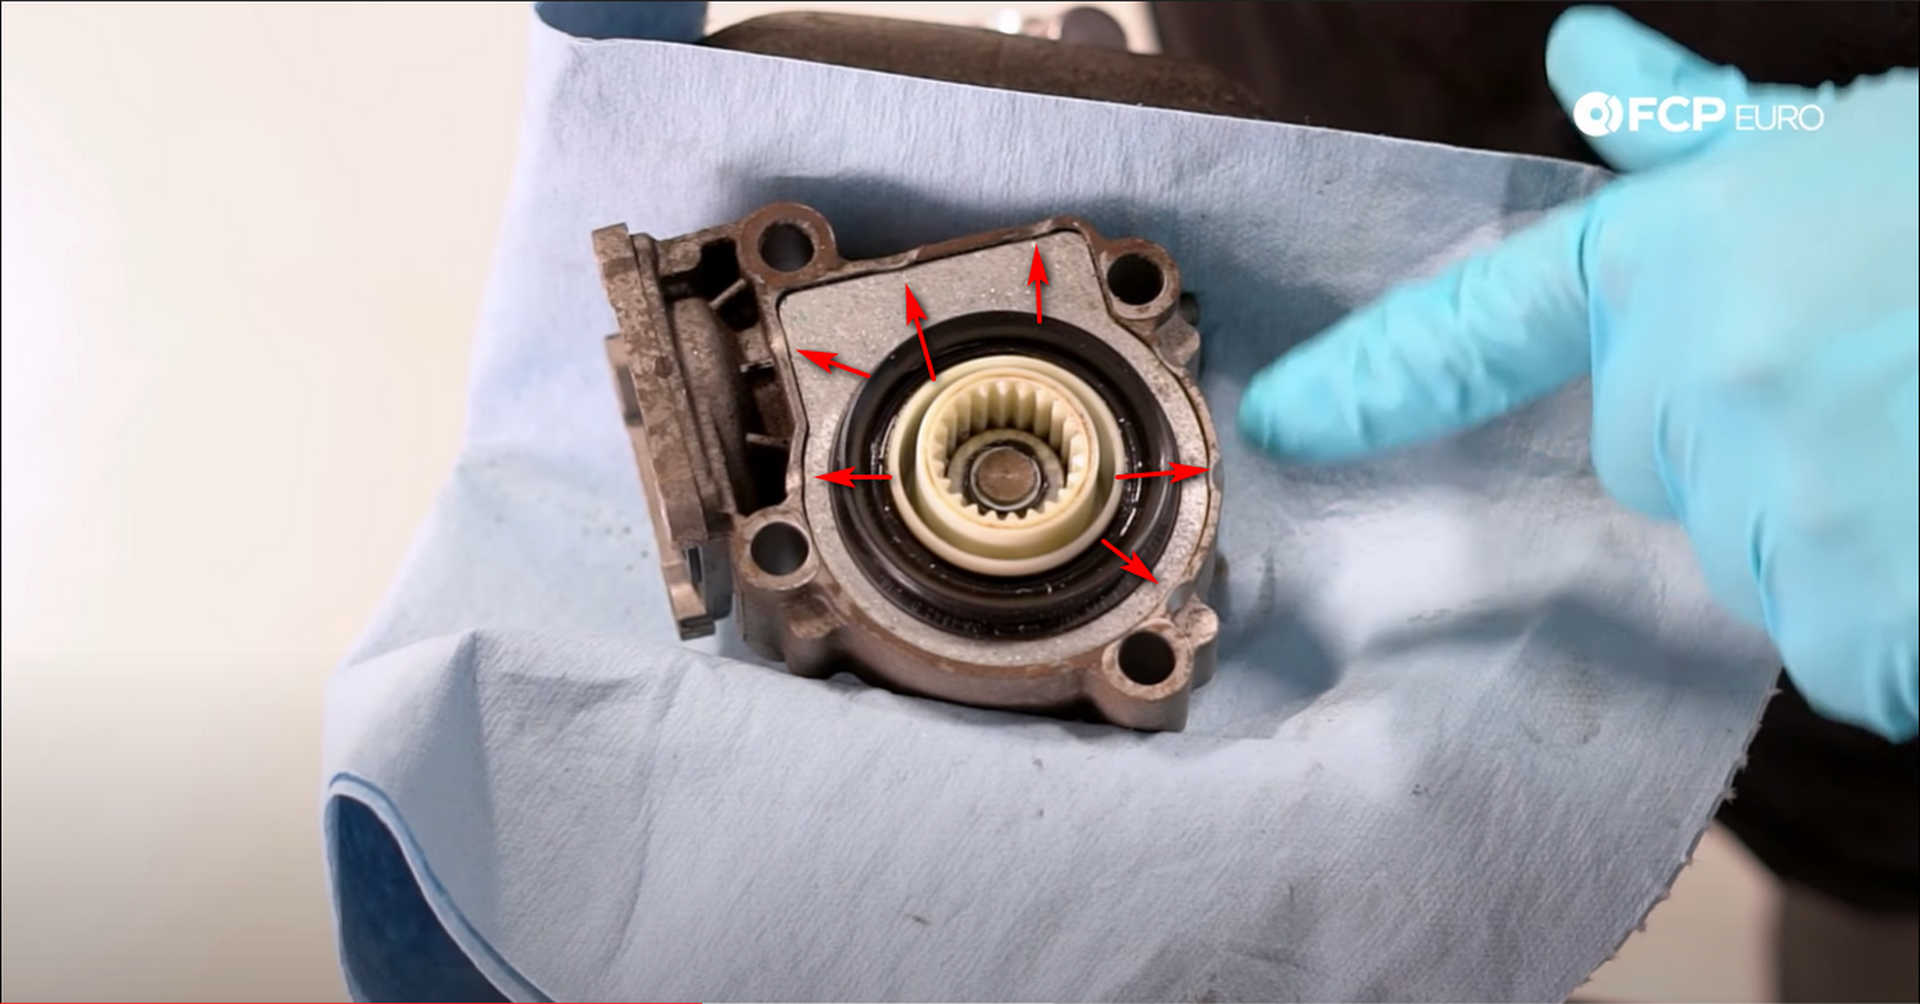
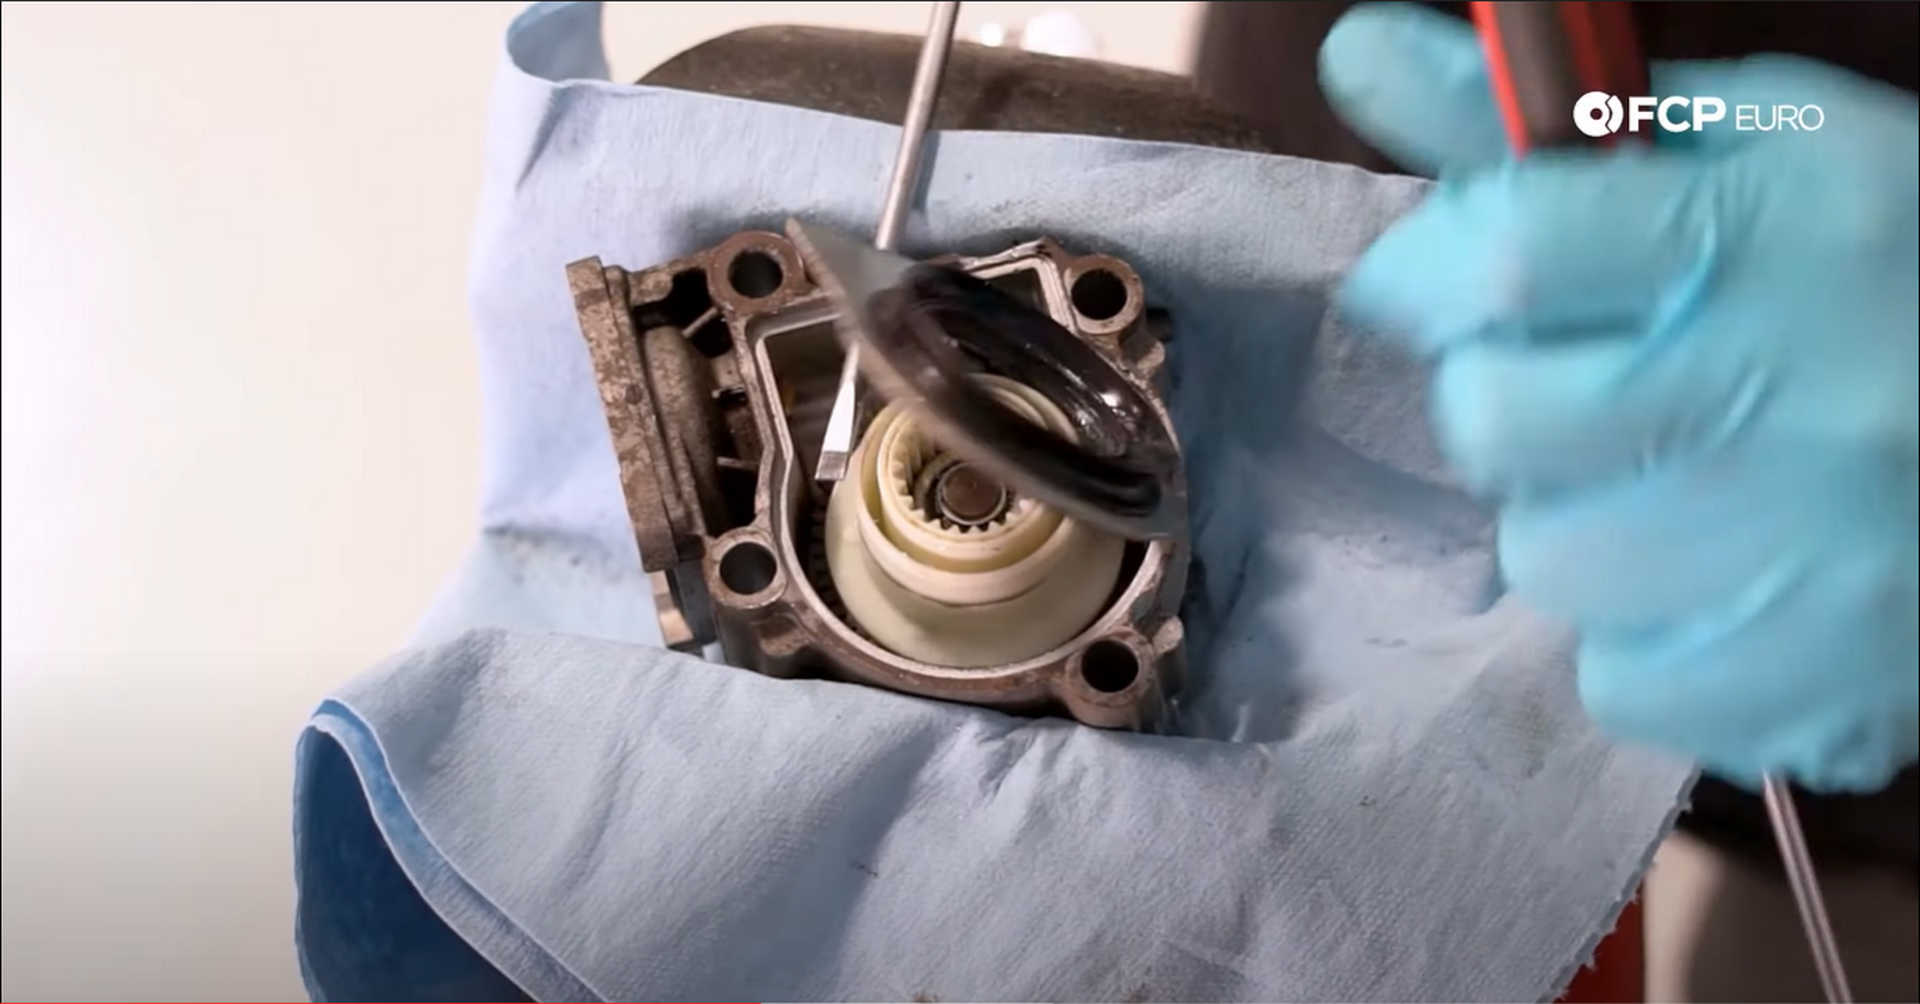
Don’t worry about damaging the faceplate; a new one is provided in the kit.
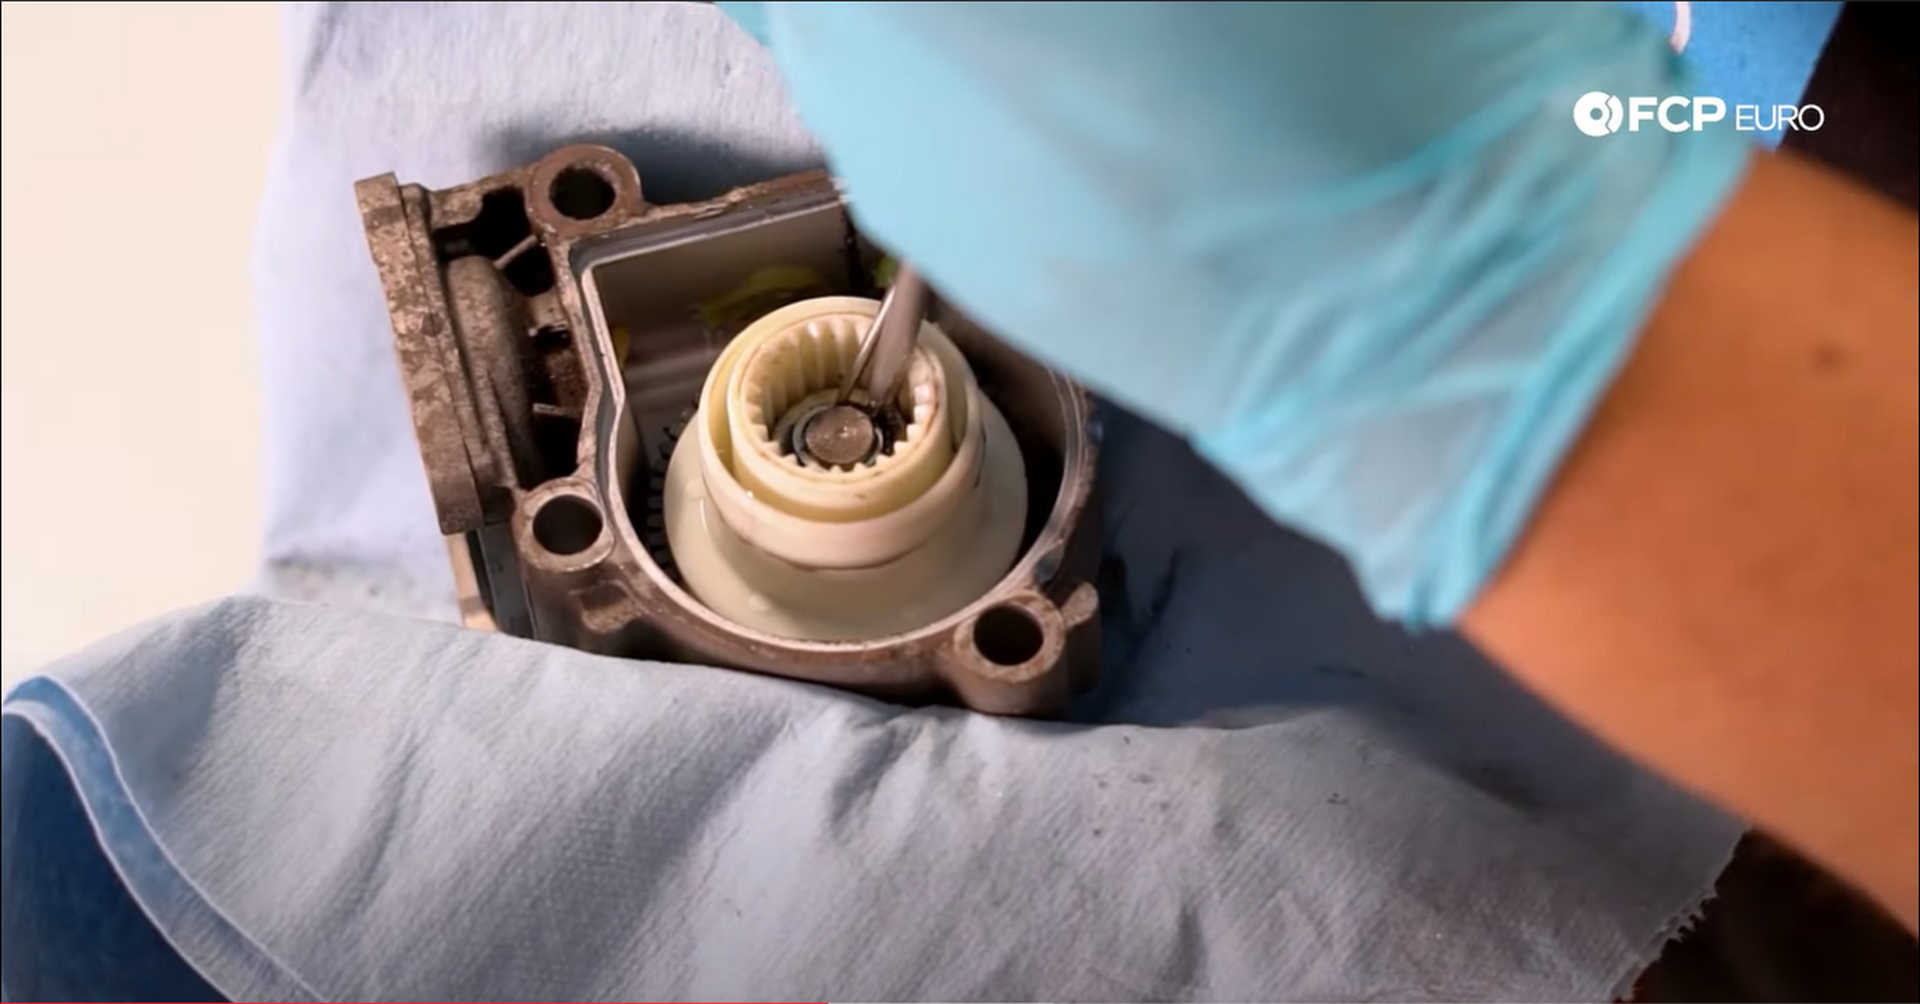
A small c-clip secures the gears into the actuator. Use the pick and flathead screwdriver to remove the c-clip, and then pull out the gears.
Step 4: Reassemble the actuator
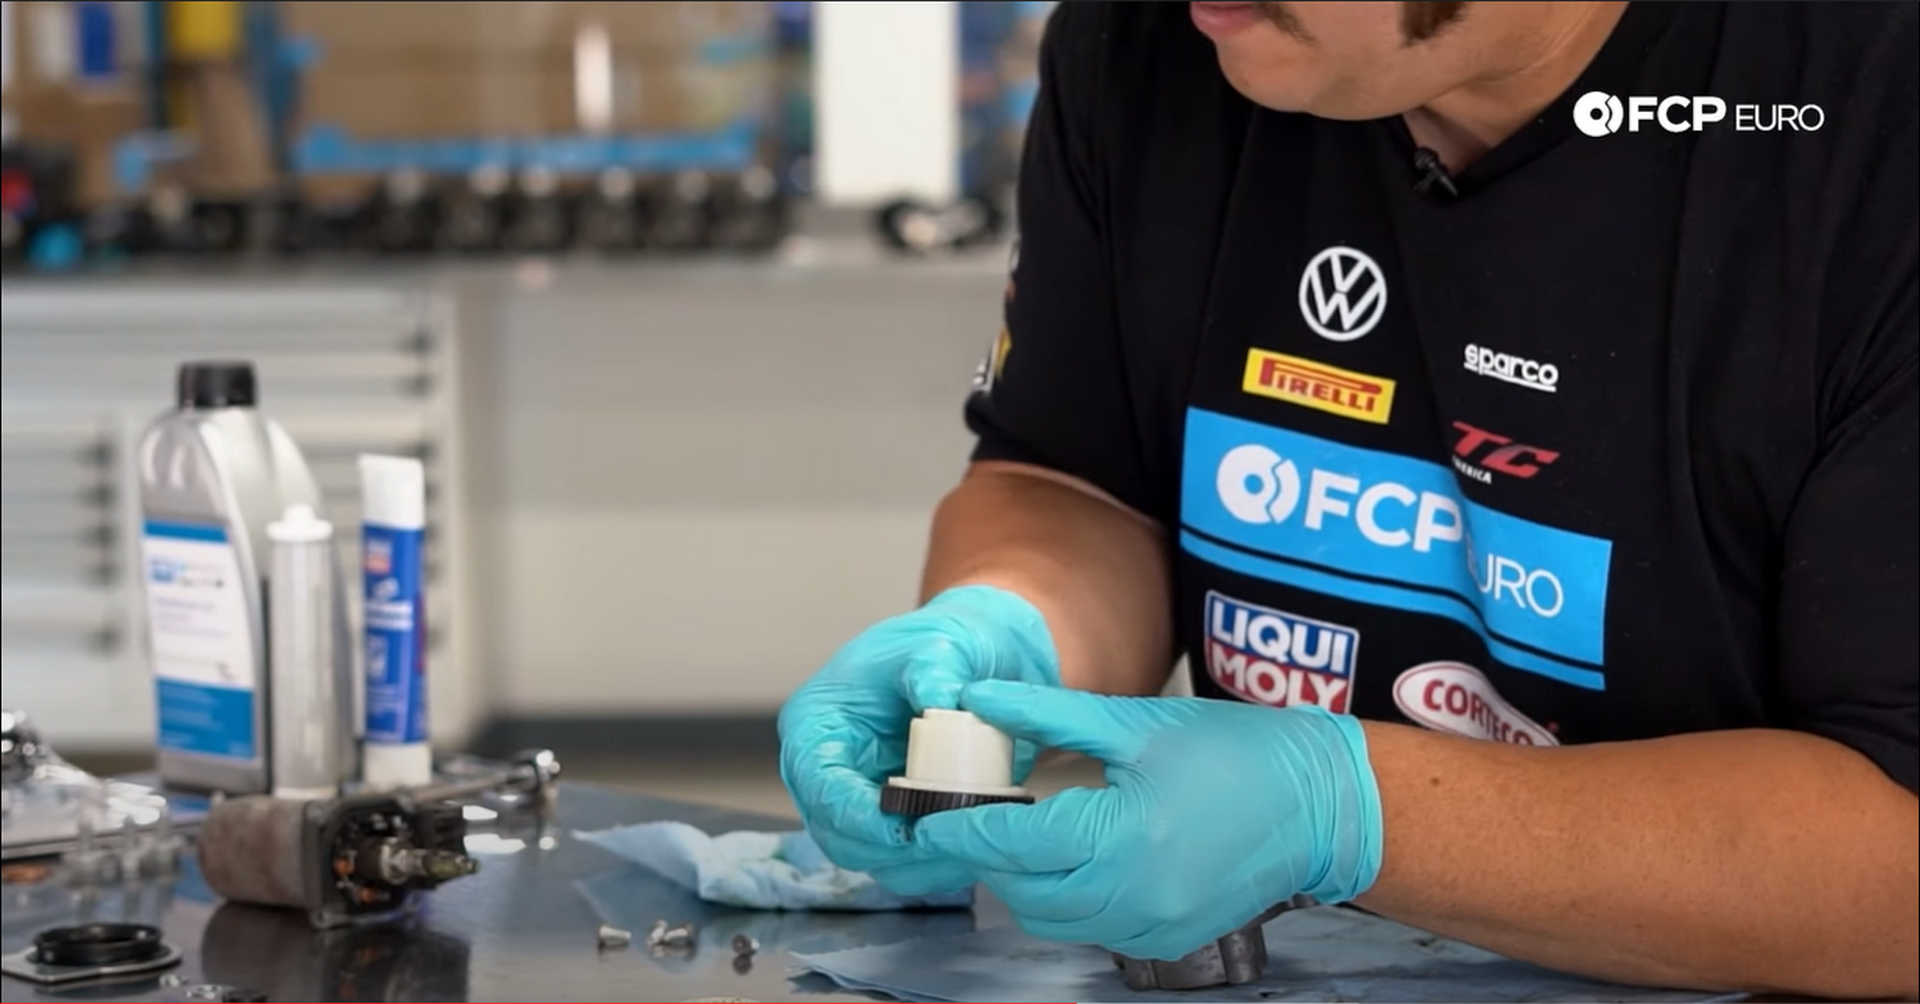
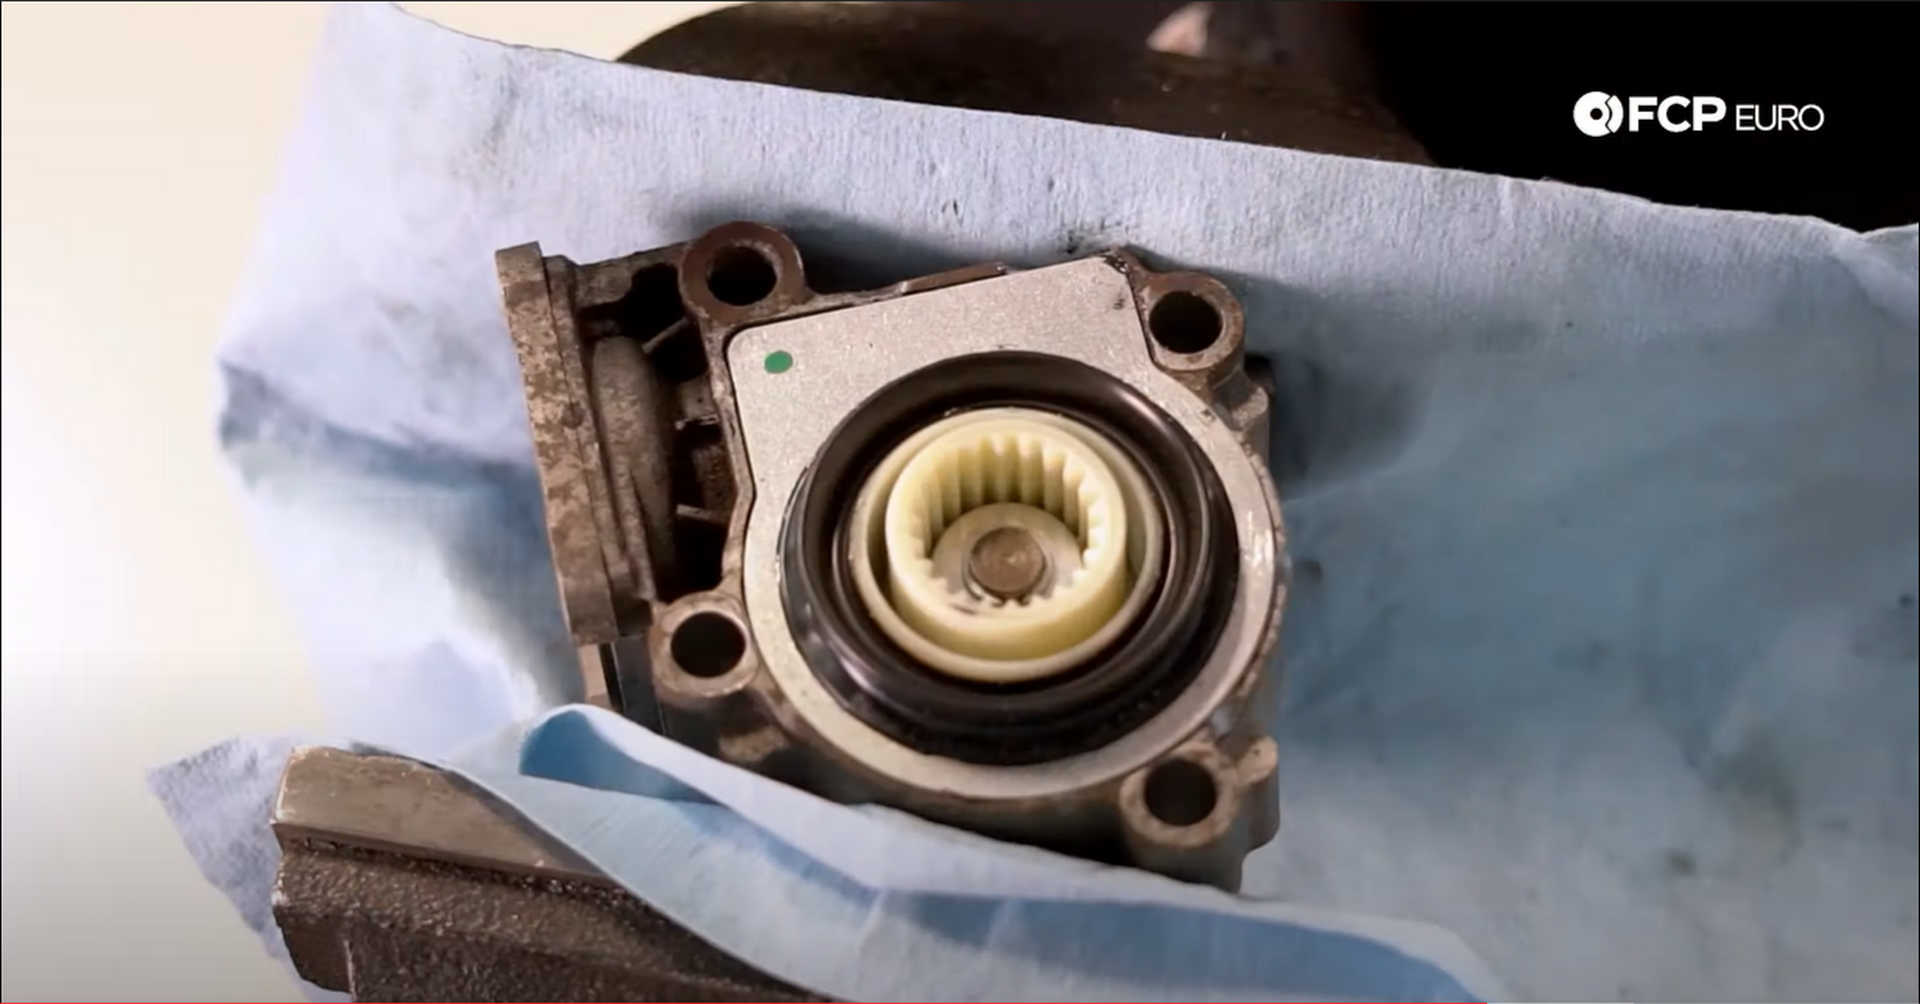
Start by fitting the new black and white gears together. They are keyed and will only press together one way. Fit the small, black, circular seal, flat side down, into the white gear. Use a 13mm socket to help push the seal down into the gear.
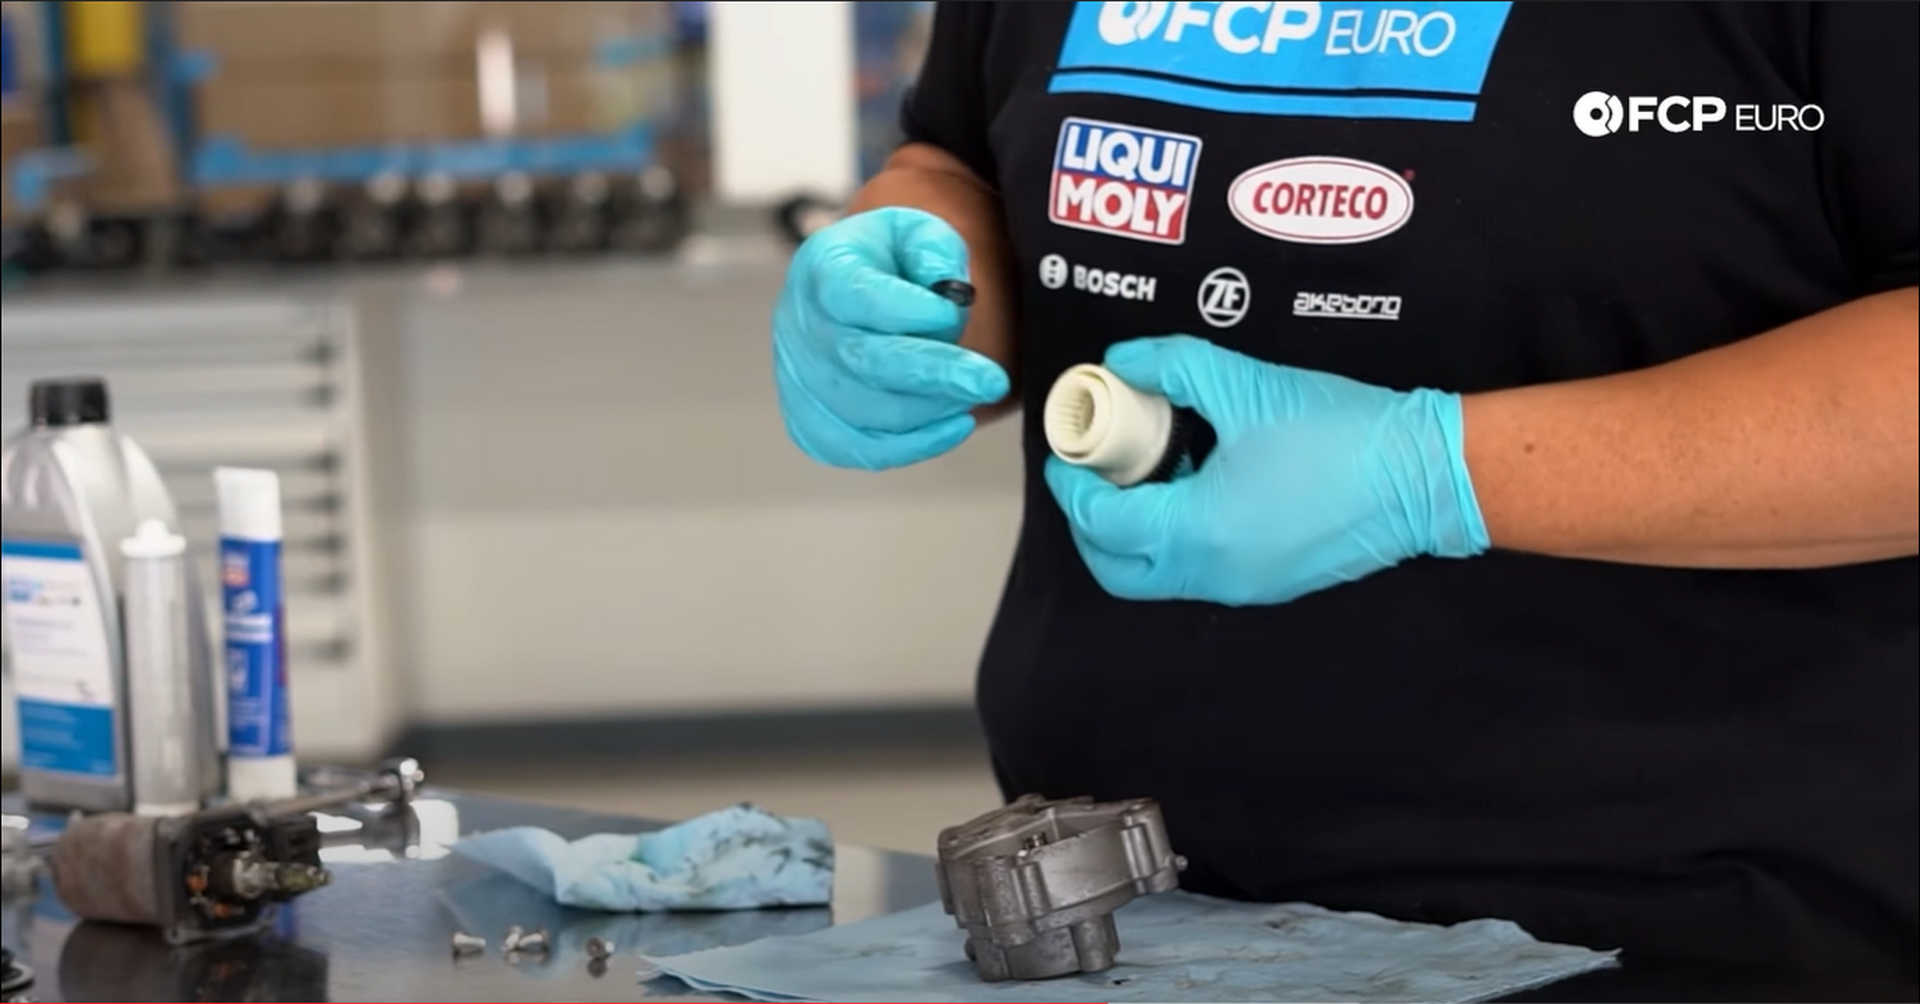
Spread assembly lube or grease on the teeth of the new black gear. Then slide the gear set over the shaft in the housing. Grease up the worm gear inside of the actuator as well.
Place the new washer onto the shaft, over the seal in the white gear. Then use the picks and screwdriver to install the new c-clip onto the shaft.
Now the housing is ready to be resealed with the new faceplate. Use some assembly lube to grease the inside of the circular seal on the faceplate. Keep the edges of the faceplate, clean, and dry.
Next, use your sealant and spread a thin layer on the lip that the faceplate sits on, on the housing.
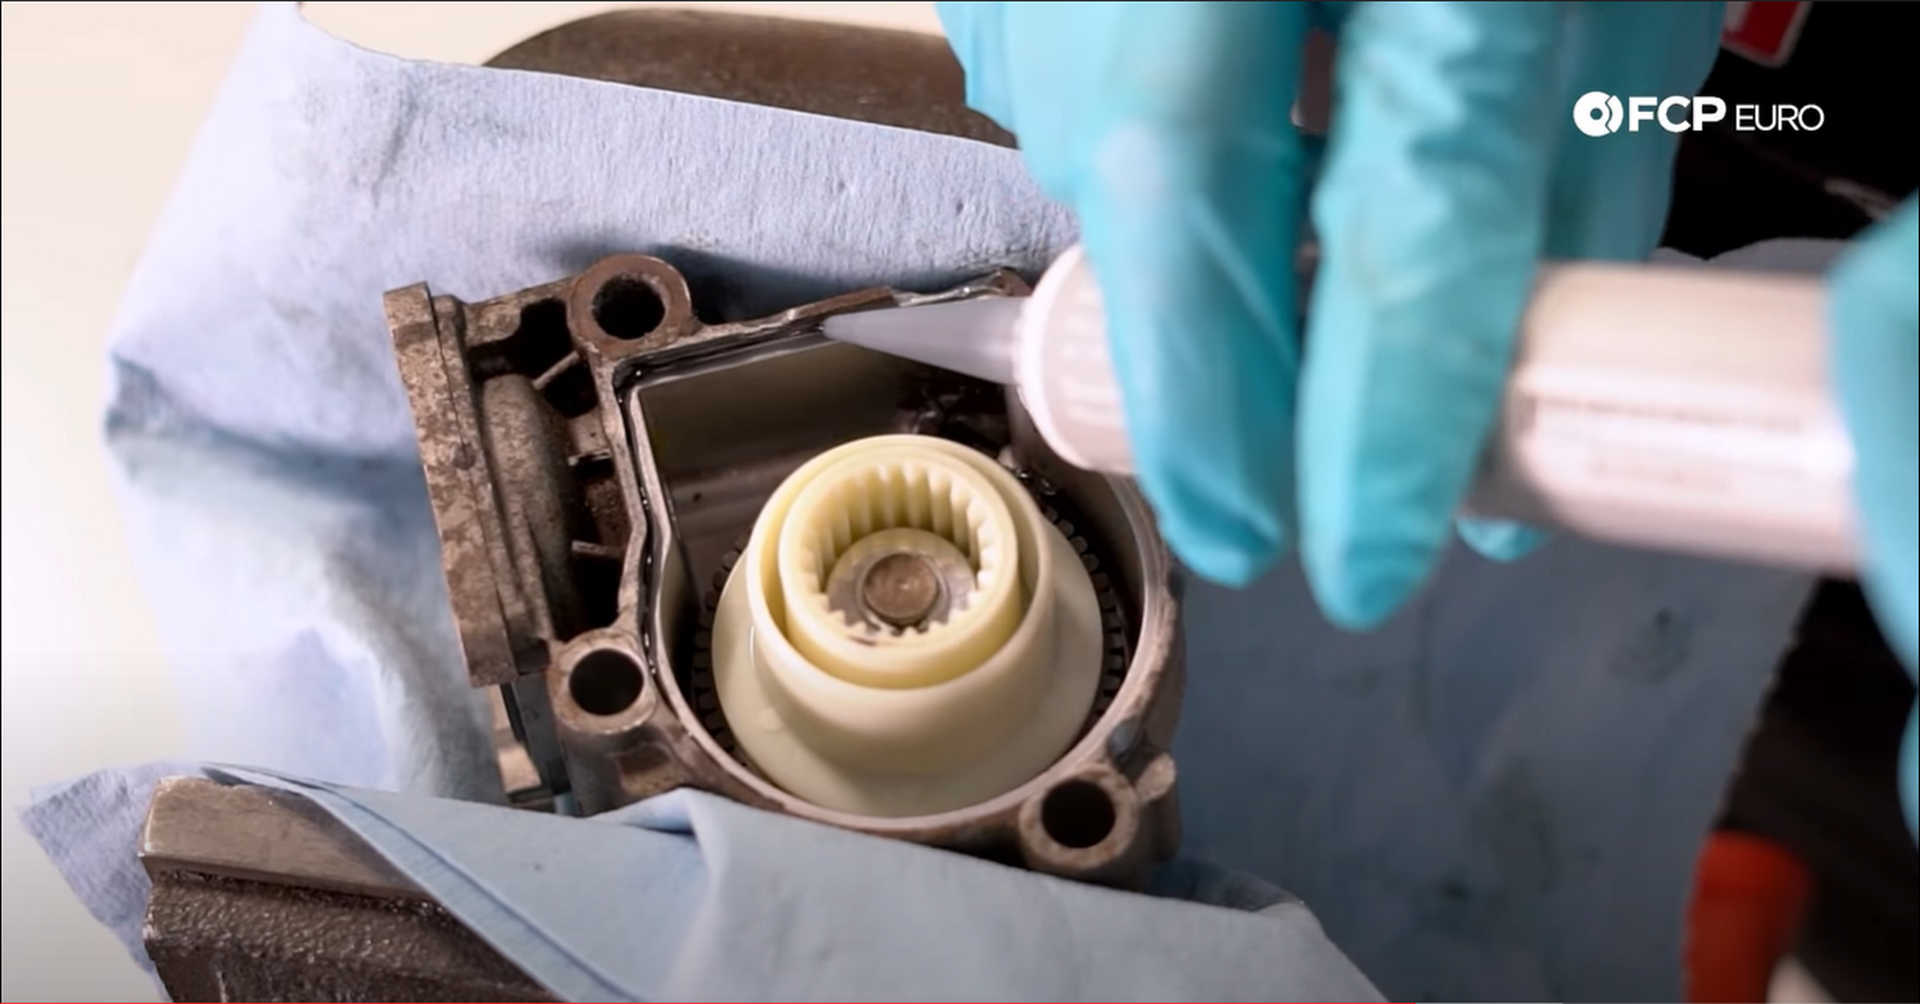
Seat the faceplate onto the housing and press it down onto the sealant. Use a chisel and hammer, and give it a few light taps to get it seated flat.
Apply a light coating of grease to the worm gear on the motor before reuniting it with the actuator. Slide the actuator onto the motor, making sure that the label on the motor faces the same way as the gear on the actuator.
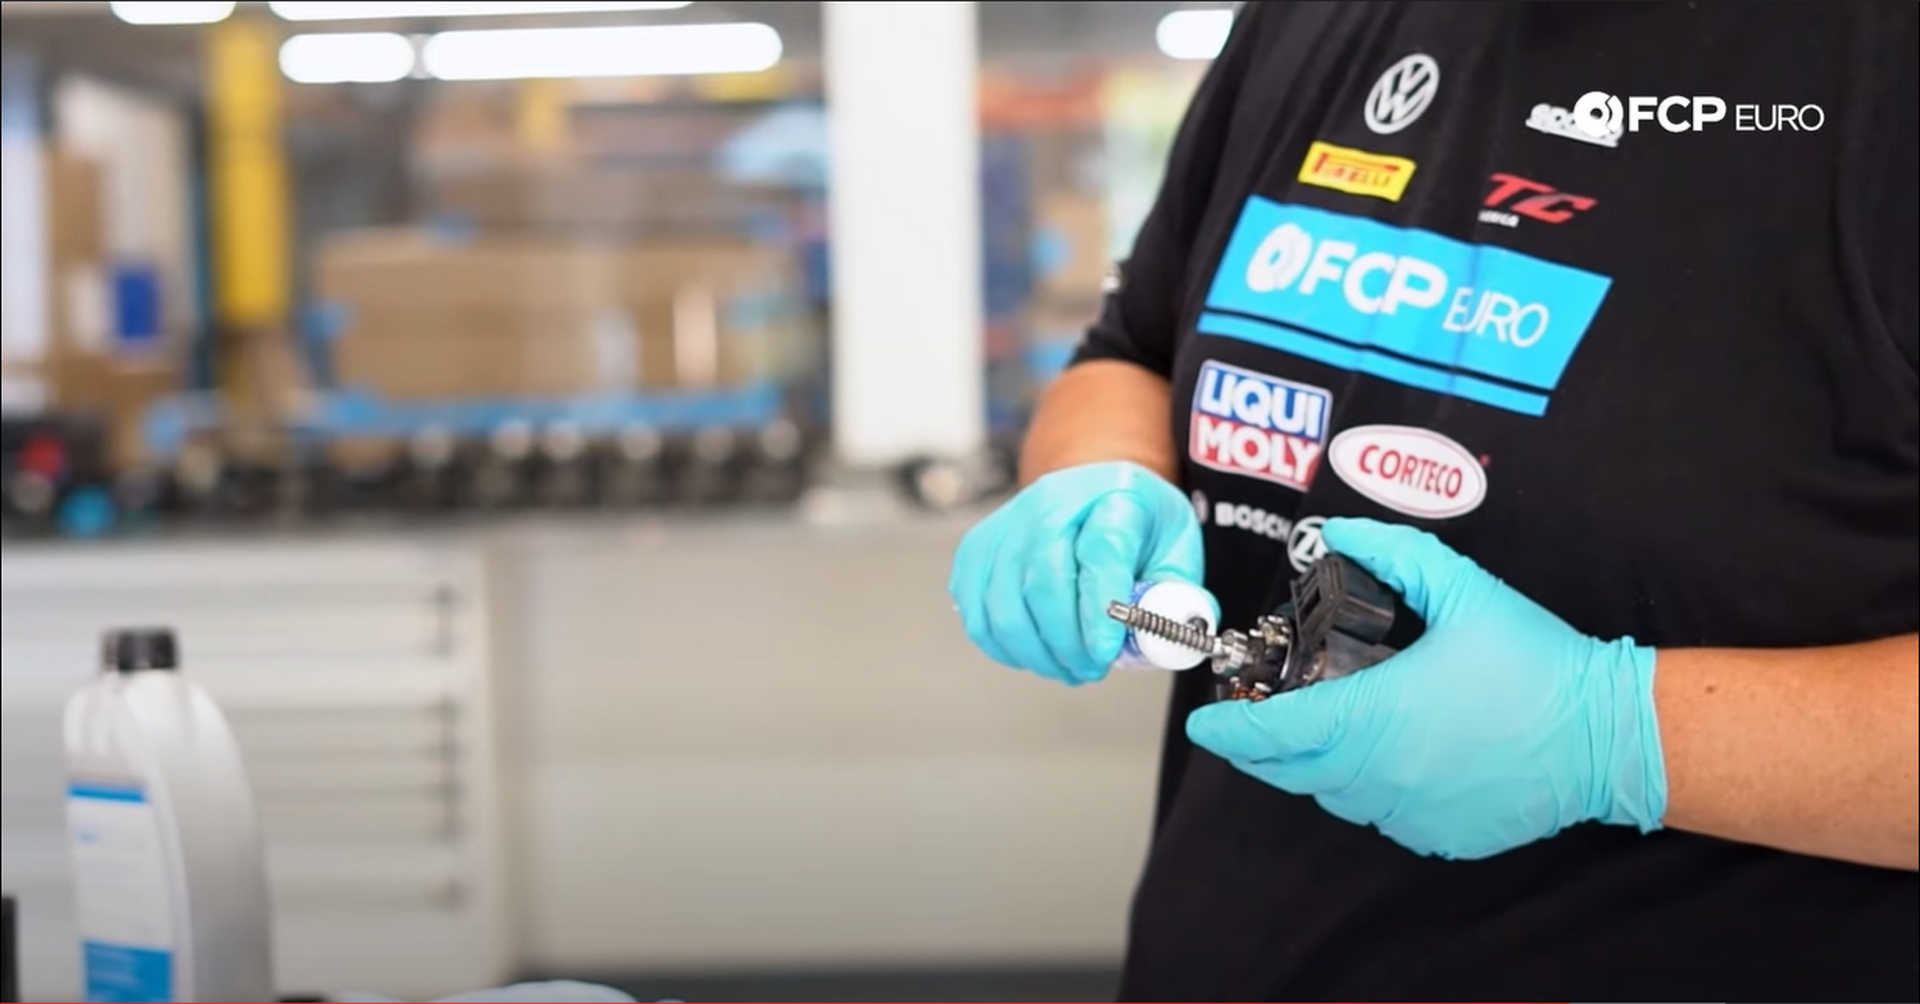
Thread in the four T25 fasteners and get them to finger tight. Check to see that the motor is mating flat against the actuator housing and then tighten them down in an X-pattern.
Step 5: Reinstall the transfer case actuator
Slide the actuator assembly onto the transfer case and thread in the four E10 bolts that secure it. Then use a torque wrench to tighten the bolts to 22Nm, in an X-pattern.
Next, plug the electrical connector back in and remount the sensor to the side of the actuator. Use an E7 socket to tighten the sensor mounting bolt.
Step 6: Refill the transfer case with fluid
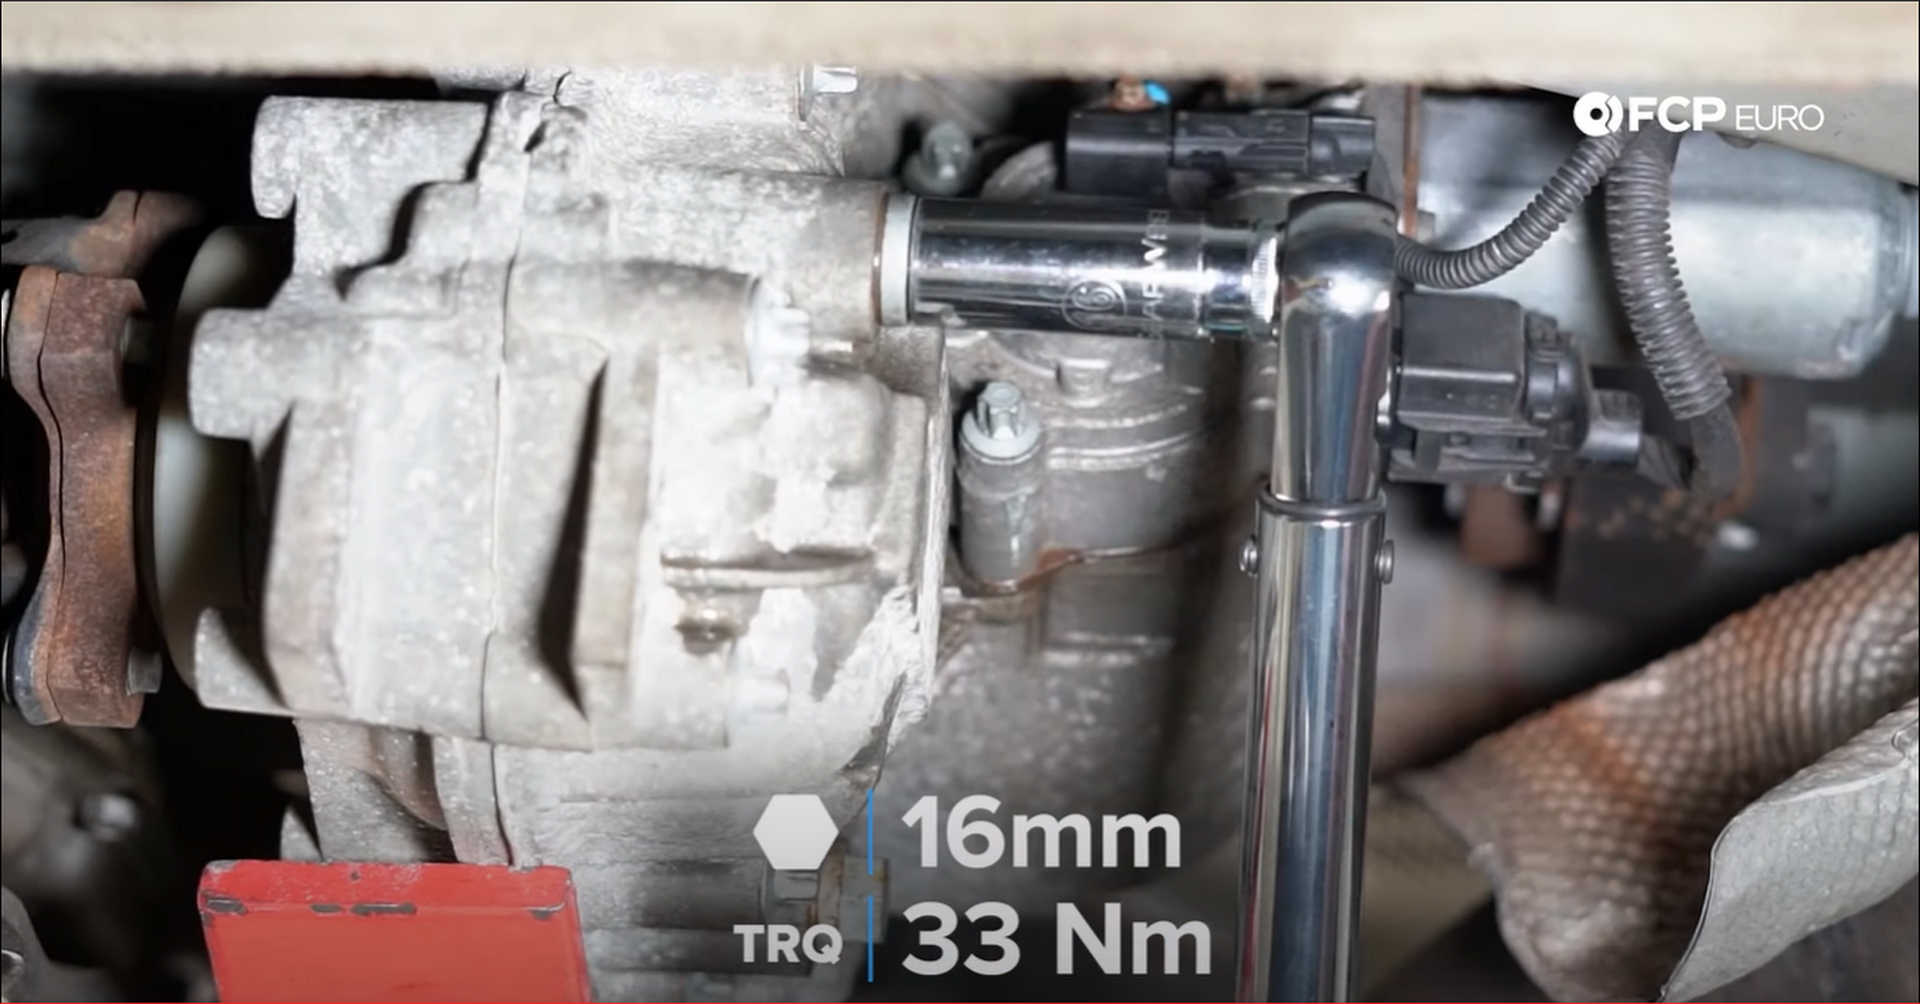
Place a new crush washer onto the transfer case drain plug and torque the plug to 33Nm with a 16mm socket. Then, remove the fill plug and insert the end of the hose for the fluid pump. Use the pump to fill the transfer case with oil until it starts to leak out of the fill hole.
Step 7: Refit the transmission crossmember
Bend the heat shield back into place and remount it to the body with the 10mm bolt.
Next, hold up the crossmember enough to fit the 18mm bolt for the transfer case mount through the crossmember. Snug up the mounting bolt, and then raise the crossmember and transfer case together to insert the four, 13mm crossmember bolts, into the chassis. Finish tightening the mounting bolt after the crossmember is secured to the body.
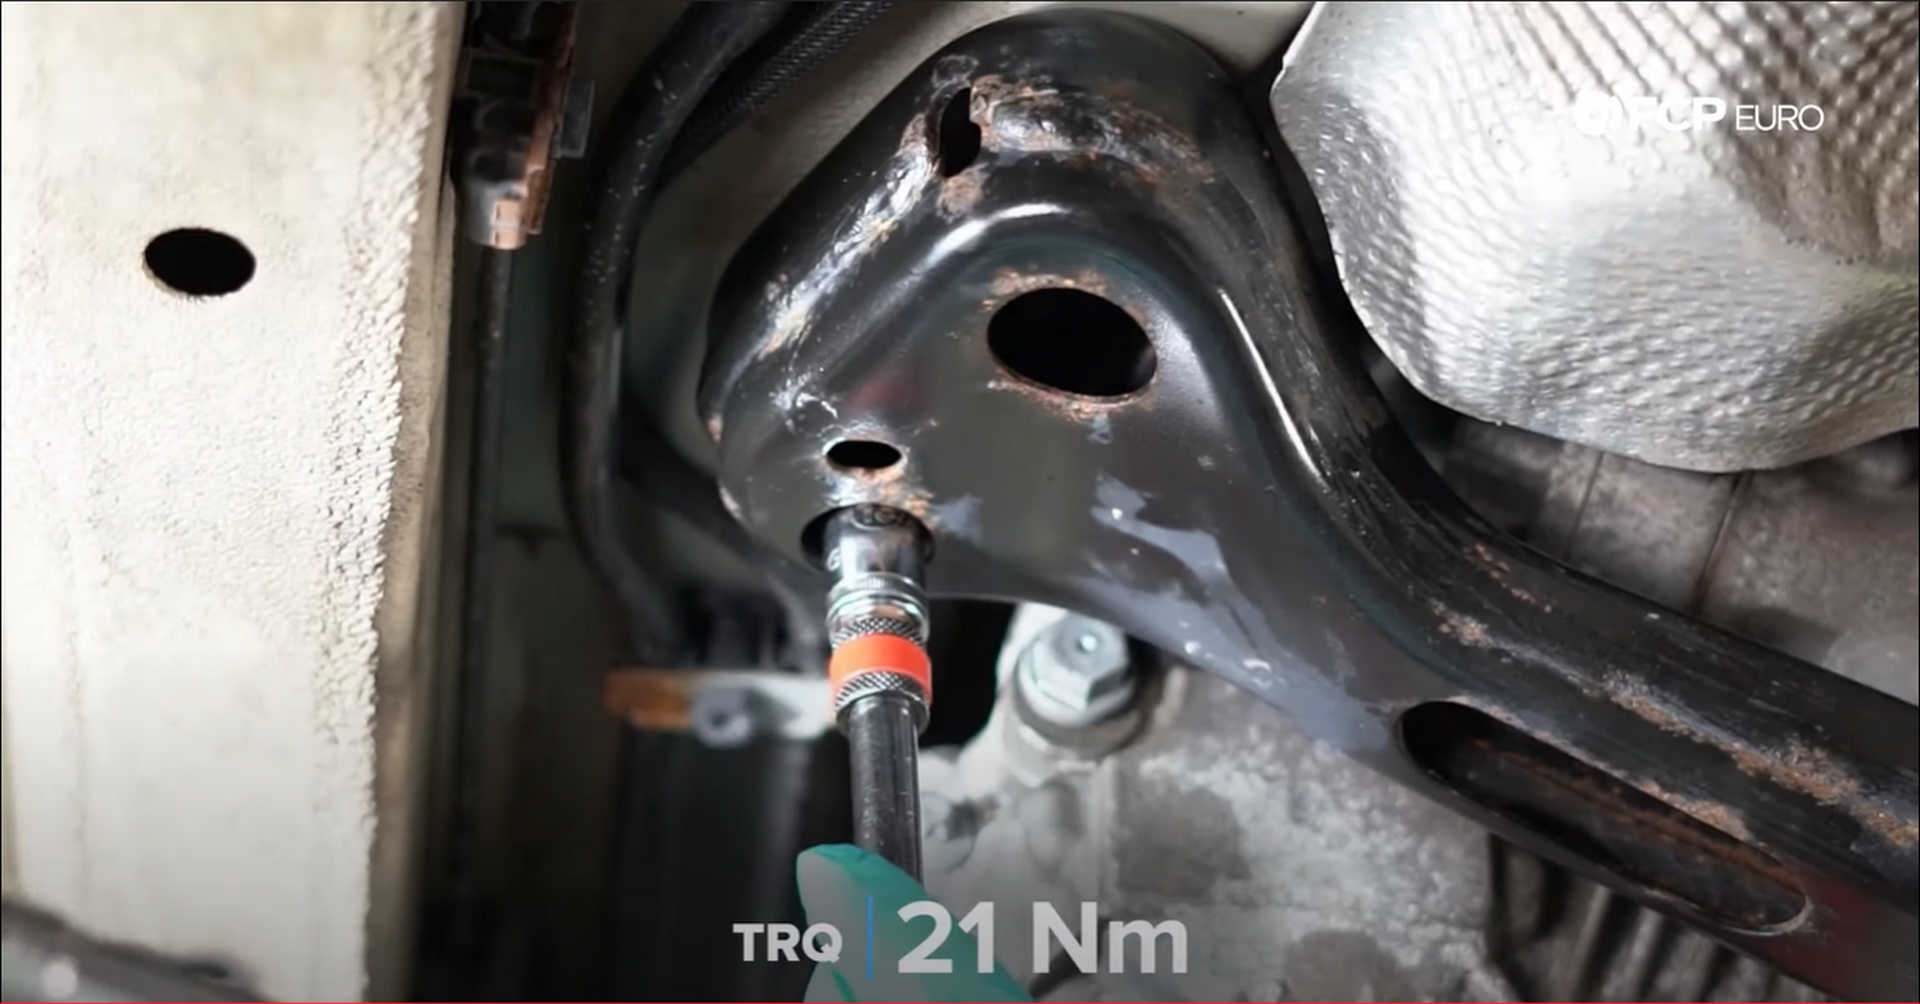

Torque the four 13mm bolts to 21Nm and the 18mm bolt to 74Nm.
BMW Transfer Case Actuator Torque Specs:
- BMW Transfer Case Actuator Bolts = 22Nm or 16.2 ft-lb of torque
- BMW Transfer Case Drain and Fill Plugs = 33Nm or 24.3 ft-lb of torque
- BMW Transmission Crossmember Bolts = 21Nm or 15.5 ft-lb of torque
- BMW Transfer Case Mount Bolt = 74Nm or 54.6 ft-lb of torque
If you're interested in more DIYs for your BMW, you can visit bmw.fcpeuro.com and subscribe to our YouTube channel. If you have any questions about this process, leave them in our comments section below.


